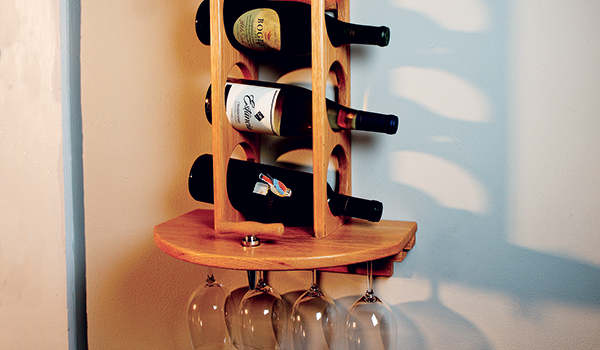
Initially, I thought a wine rack would be a finicky project to create, with the necessity of holding the bottles at a certain angle, etc. However, this ended up being a quick, easy and fun build. The shape of the bottles lets them rest on the rack at the correct angle (which is really only important when you are going to let your wine age). The simplicity of the design also allows you to see the labels on the bottles.

I decided to use wine glass molding from Rockler to hold glasses under the wine rack. The molding is made from red oak, and so I used red oak for the rest of the wine rack, too. It is a hardwood common at home centers and easy to work.
Starting with the Stock
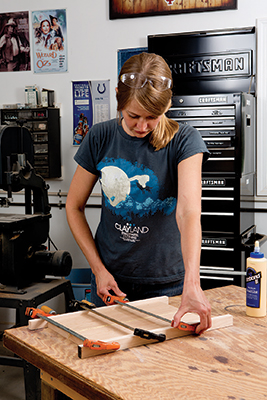
The first step is to mill your lumber square and to the proper thickness. I chose to mill up a little extra so that I’d have scrap pieces for setting up the sliding dovetail cuts. After thinking it over, I decided that 11/16″ thick stock would be perfect for this rack. We see so many woodworking projects that are the standard 3/4″ thick that even a little variance from that norm visually sets this project apart. In order to get a piece of wood wide enough for the bottom shelf of the rack, I had to glue up two pieces. So the first day was taken up with going to the lumberyard, selecting my wood, milling the stock, and then gluing up just those two pieces.
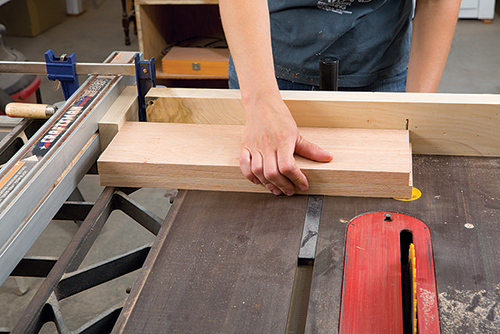
The next day, I started by sanding off the glue squeeze-out. Using the table saw, I ripped everything to width and I used a miter gauge to cut them to length. When making multiples that I want to be exactly the same, I will stack them and align them to make the final crosscut. A stand-off block clamped ahead of the blade allows you to safely creep up on the exact dimension desired without trapping your stock between the blade and the fence. With the parts cut to size, it’s on to the next step.
It’s Router Time!
I chose stopped sliding dovetails to assemble this project. They are a strong joint that are actually pretty easy to make. I make the slot cuts frst because I find it easier to fit the tails to the slots rather than vice versa.

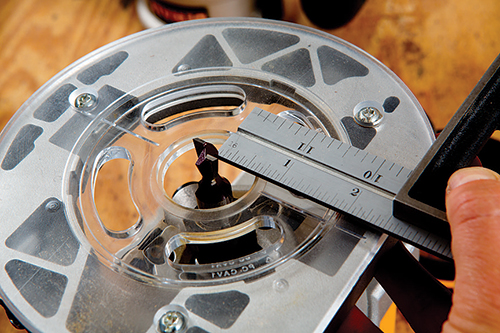
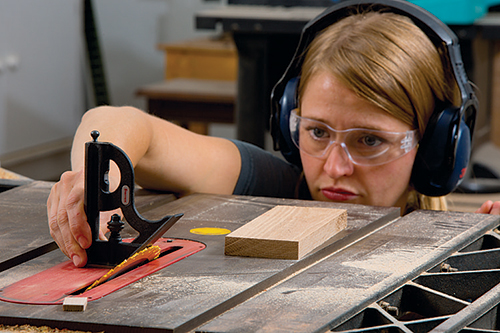
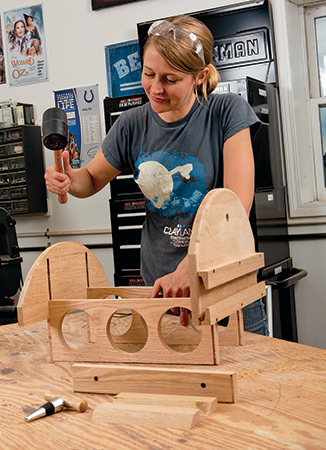
Start by making two different fence guides that will locate your cuts on the top and bottom shelves. Since these are stopped sliding dovetails, you have to start on the left of each piece and rout to the right. This requires two different scrap spacers. Mark the width of the bottle holders so that you will be able to see where to stop routing. As shown in the photo, I found the distance from the center of my dovetail bit to the edge of the router base. Then I cut the two “spacer fences” so that the dovetail grooves would be located where I needed them (see the Drawings). In use, both the shelf piece and the scrap fence are butted up to a taller fence.
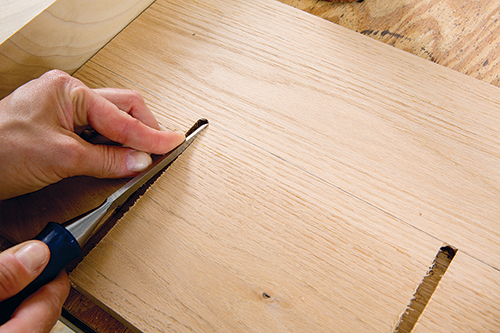
As you rout left to right, maintain solid pressure against your fence because the router will want to pull away a little bit. One at a time, rout just up to the line that marks the width of the vertical pieces. Now carefully chisel the ends of your slots so that you make them square so your vertical pieces will slide in all the way without a gap.
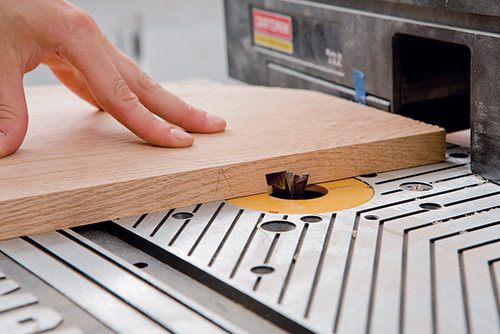
I cut the sliding tails on the router table. Set up your router table with the same dovetail bit, and lay a slot piece face-down to set the height of the bit exactly the same as the depth of the slot. Set your fence to where the bit will remove slightly less than the amount you need to take off to make the same size dovetail as the router bit. This way you can creep up on the exact size. Using a tall auxiliary fence for support and safety, run a test piece first. Then adjust the fence accordingly, rerout and check it again until you get the dovetail to fit. A good fit for this joint means that you can tap the sliding dovetail into the slot lightly with a mallet.
With the sliding dovetails cut, grab one bottle holder and mark the centers for the large bottle holes. I used a wing-cutter to form those large openings. Check the speed on your drill press and set it to a low rpm (mine was 500) to prevent burning. Using double-sided tape, stick the two boards together. This way, you can use the piece with the centers marked to locate the holes in the second piece. The mandrel will penetrate the second piece at each hole location. When the first three holes are cut through the top piece, take the two pieces of wood apart and proceed to cut out the other three circles.
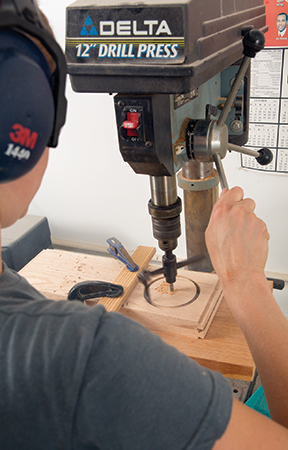
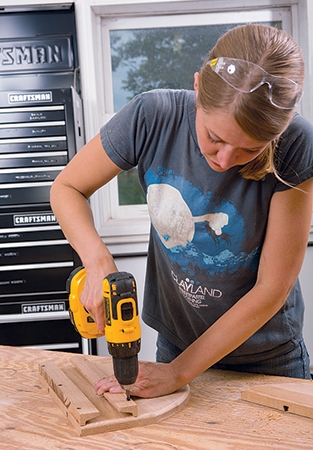
While I was making a mess at the drill press, I drilled the hole in the bottom shelf that holds my wine stopper. I used a 3/4″-diameter Forstner bit with a backer board to prevent tear-out.
The next step is to draw the gentle curve onto one of the shelves. I used a thin strip of wood fixed into a curve to draw my line. Since the pieces are already cut to width and length, simply align the fronts and ends of the top and bottom shelves so you can cut the curve on both pieces at once. I used double-sided tape to hold the pieces together during cutting and subsequent edge sanding.
To mount this rack on the wall, I made a French cleat for the top and a wall mount for the bottom for extra stability. Using the French cleat on the top makes it easy to get the rack level. At my house, I used toggle bolts to mount the rack to the wall, because there weren’t studs available. The blank used to make your French cleat should be sized so that you can make both beveled parts from the same workpiece (see the Material List). Trim the blank to fit between the bottle holders and then rip the 45˚ angle down its center. Drill countersunk holes sized for your toggle bolt heads and wooden plugs.
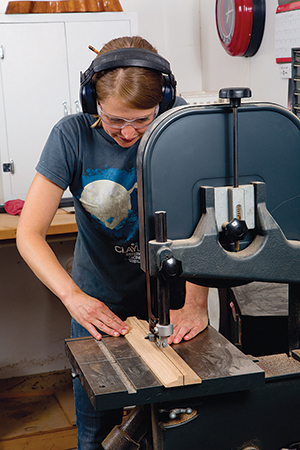
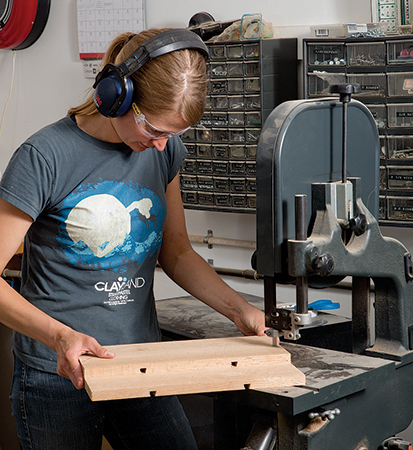
I ripped the wine glass molding in half to make it usable for just one line of glasses. There isn’t an excess of material when cutting these in half, so ripping it on the band saw saves as much wood as possible, and it’s safer. Sand the edges after ripping the parts. Cut the molding to length and then countersink for the screws that will hold the molding to the shelf while the glue dries.
Before I eased all the appropriate edges and sanded everything up to 220-grit, I re-checked the fit of my sliding dovetails. While you have the project dry-fitted together, try to visualize what the project might look like with different edge profiles. I chose to rout a classic roundover for the edges, but this is a place where you can get creative with the edge treatment. Maybe you’ll want to incorporate more hand tools and create a completely unique detail here. It’s up to you!
Combo Cork Screw and Stopper
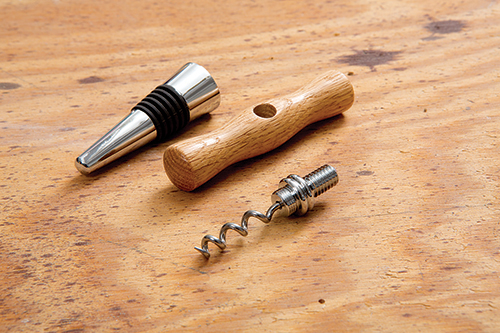
I love turning. I especially like cool little details like this wine stopper/corkscrew. It adds another customized component to this wine rack. You can start with a very small scrap of wood: 7/8″ x 7/8″ x 4″ is all you need.
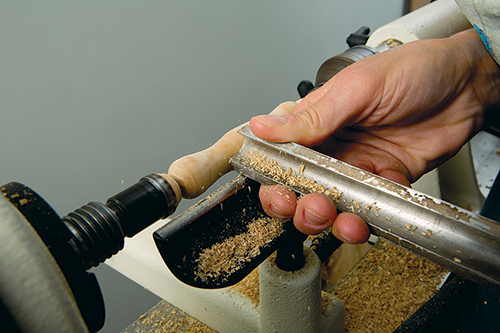
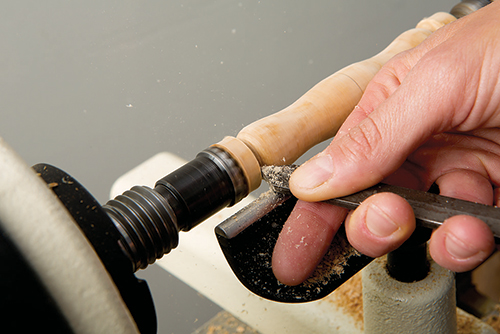
Rough out your blank to a cylinder with a spindle roughing gouge, then shift to a standard spindle gouge to shape the handle. When the shape is pleasing to you, use a V-parting tool to incise the handle ends in shallow cuts. I like to sand spindles on the lathe, as you can work up through the grits and get a super smooth surface in short order.
Often, I will apply finish while the piece is still on the lathe, but in this case I cut the handle free with a Japanese saw and then sanded the ends smooth.
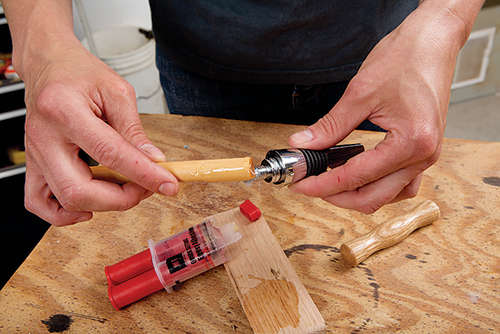
To match the wine rack, I used Arm-R-Seal as my finish. Next, I drilled a 3/8″ hole for the hardware and then epoxied the hardware in place.
It’s Assembly Time!
Because you’ve taken the time for a dry fit, assembly should be easy to do. First, I attached the wine glass molding with glue and screws. Next, I glued the bottom wall mount on using clamps. I let that dry several hours while I made the wine stopper/corkscrew and had lunch. The last step is a little different kind of glue-up because you don’t need clamps to assemble the shelf and bottle holders. I put glue in the slots and brushed it around. Since the glue will be pushed to the stopped ends of the slots, I recommend keeping an inch or so of this slot area free of glue—less squeeze-out will make cleanup easier. Then I tapped the pieces in place, and glued on the top French cleat. When I glued on the top piece of the French cleat, I first clamped both cleat pieces together where I had previously ripped them apart. This provided a square edge on the bottom of the wall mount piece, allowing easier clamping. The next day, I cleaned up the remaining glue squeeze-out with a chisel and sanded the rough spots smooth. Then I chose Arm-R-Seal as an easy finish for this project. Simply wipe it on with a lint-free rag. Sand with 400-grit between coats, and apply three to four coats. The humidity was really high when I was finishing this project, so I let it dry overnight between coats. Don’t forget to finish four screw plug covers, too. Then mount your new rack on the wall.
I think the red oak on this project looks beautiful, and the wine stopper/corkscrew is very handy to have close by. Happy entertaining and, of course — cheers!
Click Here to download a PDF of the related drawings.
Hard to Find Hardware
Wine Glass Moldings (1) #22210
Oak 3/8″ Screw Hole Buttons (1 pack) #20503


