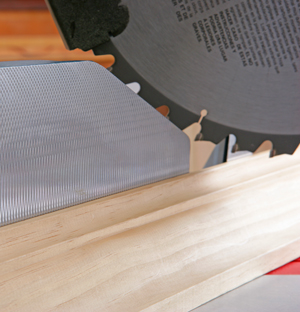
My question concerns the cutting of crown molding on the compound miter saw. The experts say to place the crown molding on the saw with the bottom up (or upside down). But no one has ever explained why. I’ve done it both ways and the results have been comparable. Thank for your attention to this issue. – Jerry Levins
Chris Marshall: Crown molding is typically cut upside down on a miter saw so the narrow edge that will rest against the wall butts against the saw fence and the top edge of the molding that will meet the ceiling rests on the saw table. In this orientation, the molding is tipped on the saw to replicate the “sprung” angle it will assume once installed. This way, if you have a conventional miter saw that doesn’t tip to compound angles, you can still make the appropriate compound cuts. It’s the way carpenters used to do it when using simple wooden miter boxes and hand saws. If you have a compound miter saw, you can lay the molding flat with its back surface against the saw table and the “ceiling” edge against the saw fence. Swiveling and tilting the blade will produce the “sprung” angle instead. Since you have a compound miter saw, I’m assuming that the latter method is how you’ve done it before, Jerry, and as you know, it produces great results. Compound miter saws were probably invented to solve this essential task cutting crown more easily.
Tim Inman: There are competing issues here. If the saw is spinning with the blade going in the “common” direction, placing the bottom “up” will probably result in less tearout on the “good” surface. However, if putting the good side “down” tips the molding so it is not truly parallel with the saw table, then the compound angle you thought you correctly set will be thrown off and the joints won’t quite fit right. Putting the flat bottom of the molding down will make the angle settings correct for the settings you want. Of course, if you want to put the good side down to minimize tearout, and you compensate the angles for the amount of error in the face of the molding, then you’re back in the “good to go” category. Short answer: Try it both ways and see what works best for you.


