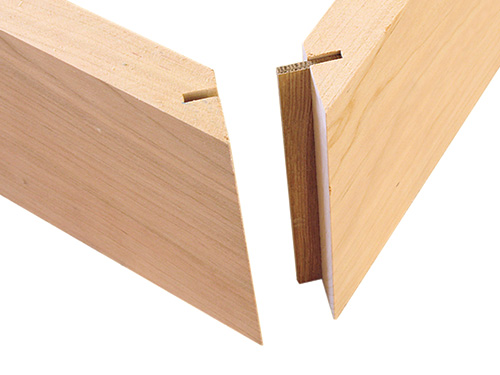
I often see small boxes with near invisible joints and would love to know how to make them. I have an excellent miter saw, a great table saw, and a wonderful planer, among other tools. My parts seem perfect — squared and sanded and smoothed — yet I still end up with gaps in my miters. Being a self taught woodworker, have I missed some basic, simple steps in joining angles, mitering corners, etc?
Michael Dresdner: Three things come immediately to mind. First, check your tools. Cut a set of 45 degree angles, put the two boards together seamlessly, and check the outer and inner angles with a good square. Often, tools cut close to 45 degrees, but for invisible joints, they must be dead on. Tweak the tool if need be. Second, cut your miters after the wood has stabilized to the relative humidity of the assembly room. If a board expands by absorbing moisture, the miter will be open on the outside. If it contracts, the miter will open on the inside. Finally, be aware of your fit before and after glue up. Waterbased glue can expand a miter enough to throw it off, and too much glue will result in a visible glue line. Use the glue sparingly, and get the piece in clamps as rapidly as possible.
Rick White: Is your material flat? The longer the miter you’re making, the harder it is to make sure your work piece lies flat when you cut without cupping – especially when you’re using a wider board. It’s also possible when you’re using solid lumber that your two pieces are from different logs, or even from different parts of the same board, and are not exactly the same thickness. Then, when you flip your miters together, you get gaps.
You say you have good equipment, but have you checked things like how sharp your saw blades are? To get your miters right, all of your tools have got to be right on.


