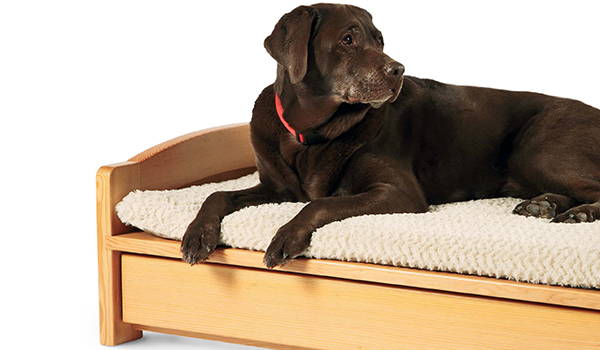
Hope you or the staff can help me with this one. I have a sleigh style bed with a curved footboard. I also have a Labrador Retriever puppy named Black Jack. One night, Black Jack decided that the curved top of the footboard perfectly fit his growing teeth – you guessed it. I now have a 4” x 8” patch of gnawed walnut veneer. The question is, how do I square up the damaged wood, and can I just glue in a matching veneer section, sand the joints smooth and refinish? – Bob Wasielewski
Rob Johnstone: Having lived most of my life with hunting dogs that have demonstrated similar events of creative thinking, I can really sympathize with you. Without actually looking at the damage, my gut feeling is that a patch would be a good bit of work that would likely yield less than satisfactory results. Making a patch disappear in the context of a large area of wood figure where the pattern was literally “grown” is very tricky. In similar situations, I have decided to hide the repair by drawing attention to it. Perhaps you can cut out a larger area of the veneer and lay in a piece of walnut burl in such a way that it looks intentional to the original design. Perhaps an overlay piece of molding that is in the style of other molding pieces elsewhere on the bed. Another option is to hang a picture of Black Jack over the injured area … just a thought.
Tim Inman: I have a friend who is a surgeon. He claims that motorcycles and horses have been the root of a very prosperous living for him in his practice. Dogs and kids – and poker parties – have been my business salvation. Lab puppies are notorious for chewing. Labs are “mouthy.” I grew up with them, and love them. Keep the dog; fix the furniture.
Seriously, your damage complaint is not a unique one. It is part of just living your life with the joys of pets and whatever. Unfortunately, the repair you are needing is probably beyond the skill and expertise levels you may have. Not that you can’t do the job, but rather, executing this repair is something that takes experience and practice; it is a job for a professional. People like me do this repair very often. We’re “practiced” and trained for it. People who do not do this repair will struggle with the finesse it takes to make the repair invisible.
You can cut in a patch, and you can make it very much less visible. Removing the ruined veneer and filling the surface to accept a new veneer is the first thing to do. Don’t forget about crossbanding. Although the chewed veneer is drawing your attention right now, the subsurface is the most important part of the repair. If it isn’t flat and true, and up to the correct height, it will show through the new veneer, forever. Check out polyester filler for the rebuilding job. It is strong and stable, and carves and sands very well. If you do decide to tackle this on your own, I would very highly recommend you set up some practice exercises and do six sample repairs successfully before you launch on your bed. (Maybe Fido will help you with the “damage” part again….) Practice can make perfect. In addition to the woodworking repair, you will also need to draw from your finish repair box of tricks to get everything to look “right.” Faux graining to bridge the new veneer with the old is an important technique to know about. An acceptable job is not too impossible. A perfect job is a master’s level project.
>One last comment: Not too long ago, I was commissioned to restore a dining table. There were those too-familiar teeth marks on two of the legs. I was instructed specifically NOT to remove those scars. They had been made by two favorite pets over the years, and they were now the only remaining source of fond memories of them. I’ll bet they weren’t fond memories the day after they made the marks, though. Enjoy life!


