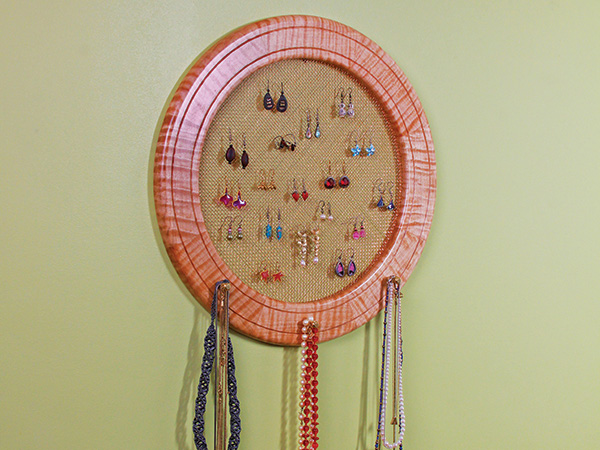
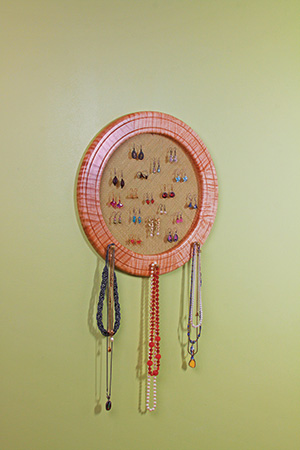
My wife’s earrings and necklaces tended to get jumbled up and twisted in her jewelry box, so her frustration inspired me to create this easy-to-make circular jewelry frame. It’s designed mostly like a picture frame, except that a sheet of copper screen with 1/8″-square openings (dickblick.com, “Decorative” Mesh, item 33408-7060) provides an easy means of displaying earrings neatly — those with hooked-wire backs slip right into the mesh. A few brass hangers from Rockler keep necklaces organized and accessible, too. This could be an ideal project for using a piece of figured or special lumber you’ve had squirreled away (I used curly maple here). A 5-ft. length of 3-1/2″-wide stock is all you need.
Quick Jig for Accurate Angles
The strongest way to build a circular frame from wood, and avoid showing end grain, is to make this jewelry frame from miter-cut segments that form an octagon. Then, cut the circle out of the octagon shape. To make this project’s 16-1/2″-diameter frame, with the frame having 2-1/4″-wide members (final width), you’ll need eight workpieces that each begin at 3-1/4″ wide and 7-1/8″ long — they’re overly wide because some stock width will be lost during the circle-cutting process. Rip and crosscut these eight blanks to size. While you’re at it, cut eight test workpieces to the same size from some spare scrap.
The eight outer angles of an octagon each measure 135˚. Bisecting those obtuse angles determines the two acute angles that must be cut to bring the eight segments of the octagonal frame together. So, both ends of each segment need to be miter-cut to 67.5˚ — or half the obtuse angles.
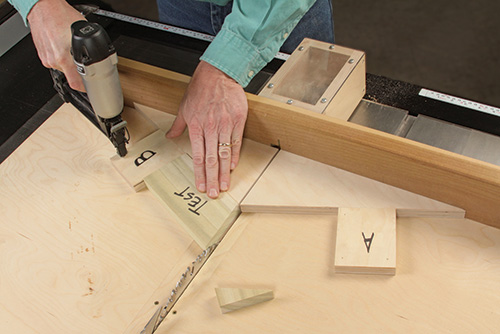
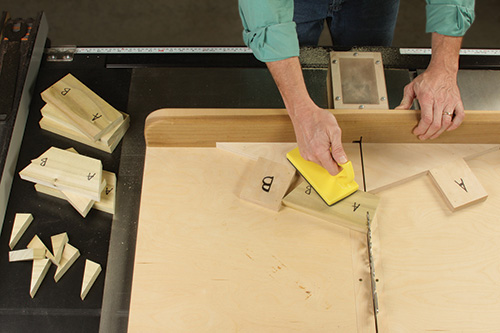
You could cut these angles with your miter saw or table saw’s miter gauge swiveled to 22.5˚ — it’s the complementary angle to 67.5˚. But, I went a different route: I created a quick cutting jig to use on the crosscut sled of my table saw: it’s simply an isosceles triangle, made of 3/4″ scrap plywood, with its top (obtuse) angle measuring 135˚. The advantage to using it is that each pair of octagonal segments can be miter-cut while resting against the legs of the triangle and a stop block — one half of the joint against one leg of the triangle and the other half of the joint against the triangle’s other leg. This way, pairs of adjacent part ends will match the triangle’s obtuse angle and fit together as closely as possible.
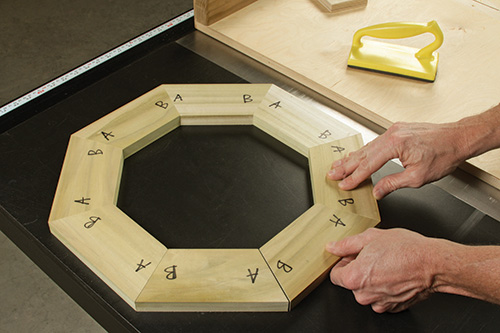
Whether you try my crosscut sled jig or use another option, miter-cut the ends of your “test” segments and see how a sample octagon fits together. Use a stop block when cutting the parts to make sure they don’t get shorter in the process. If your shape won’t close up completely, the joint angles are slightly more than 67.5˚. Conversely, if the last joint of the octagon overlaps, the miter angles are slightly less than 67.5˚. Adjust your cutting angle ever so slightly and re-cut the test pieces to improve their fit. It only takes the slightest change of angle to make a big difference in how the shape fits together, so be very conservative here.
Gluing Up the Frame
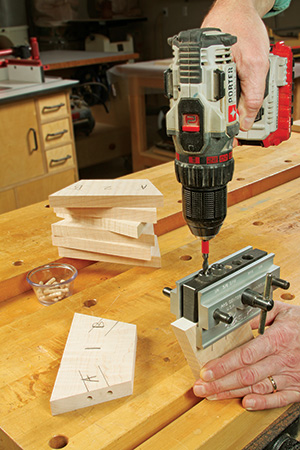
Once your cutting method is dialed in, go ahead and miter-cut the ends of the actual project segments to shape. Since these segments will form weak end-grain joints, a pair of 1/4″ dowels at each joint will strengthen the frame. Lay out their locations. I positioned the center of one dowel 1-1/16″ in from the inside corner of the mitered ends, and I located the center of the second dowel 7/8″ away from the first dowel. Drill pairs of dowel holes at each joint.
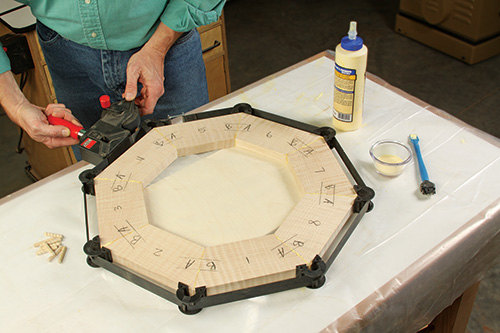
You’re ready to glue and clamp the octagon together. Spread glue on the contact surfaces and into the dowel holes, then fit the segments together. (Note: If you’re planning to cut your frame round with a band saw, see the section on Bandsawing the Circle, below, before gluing all the joints together.) A band clamp is the easiest way to provide even clamping pressure all around the shape at the same time. When you tighten the clamp, be sure it doesn’t distort the frame’s ability to lie flat.
Routing the Circle
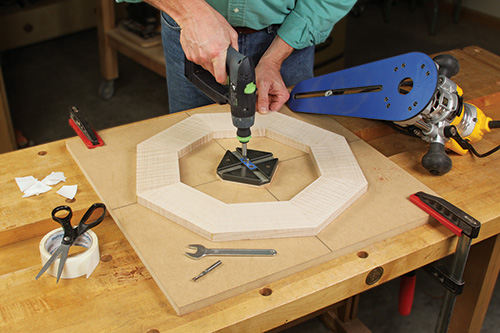
Its center pin will enable the jig arm and your router to pivot around, compass-style, to rout the inner and outer rims of the frame. Then, secure the octagon to the sheet stock with strips of double-sided tape, making sure to center it carefully on the layout lines.
Install a 1/4″-dia. straight or upcut spiral bit in your router, adjust the jig arm to either the inside or outside diameter, and rout all the way down through the wood in several deepening passes. Repeat to mill the frame’s other rim.
Bandsawing the Circle
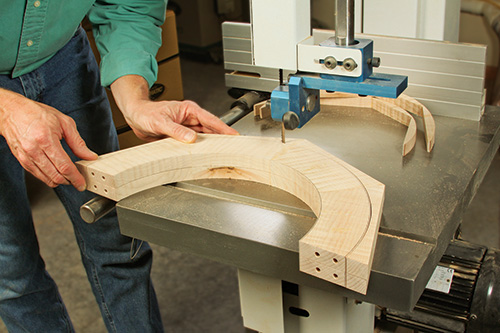
Cut just outside your layout lines by about 1/16″ or so. Then glue the half frames together to form a rough circle.
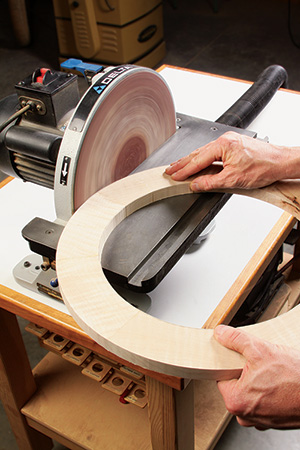
Now, you can refine the rims easily by sanding — a disc sander will clean up the outer rim in no time flat, and a drum sander can do the same job to the inside rim.
Cutting, Detailing the Circle
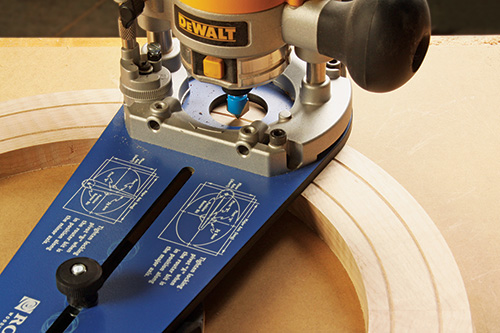
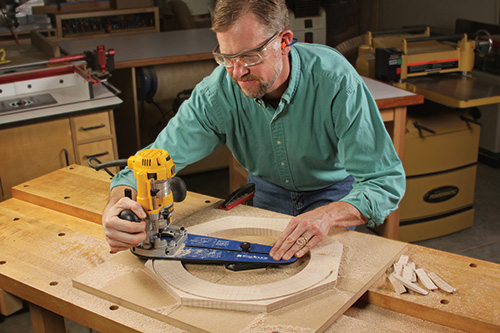
When the glue dries, remove the frame from the clamp and flatten the joints with a hand plane, card scraper or sander. Next up, it’s time to cut the frame round, and here again, you have options. You could use a compass to draw the frame’s circular shape, then cut it out with a jigsaw, scroll saw or band saw. But a quick, accurate and really fun way to do the job is with a circle-cutting jig and a router.
Besides the convenience and accuracy a circle-cutting jig offers you for routing this frame to shape, a second benefit is that you can also use it to form decorative details on your frame’s face. I used a V-groove router bit to cut a pair of shallow, concentric rings, spaced 1/2″ in from the inner rim and 5/8″ in from the outer rim. Cutting them was as easy as setting the bit depth to 1/16″ and taking the router for a spin around the frame at each ring location. Experiment with this detailing on scrap, first, to arrive at the look you prefer best. If you don’t have a V-groove bit, a little core box, ovolo or even a straight bit can provide other design options.
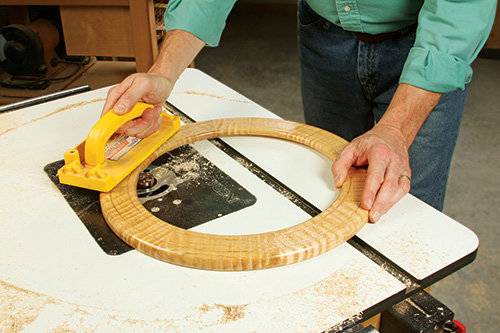
Next, shape the inner and outer edges of your frame. I routed the frame’s outer diameter with a 3/8″-radius roundover bit and eased the inner rim with a 1/4″ roundover bit. A 1/8″ roundover took care of the back’s outer edge.
Give your frame a thorough sanding up through the grits to 180 or even 220 if you’re using some attractive figured wood. Then, apply your favorite topcoat. wiped this curly maple down with an oil finish first to enhance the figure, let that dry, then sprayed on four coats of satin lacquer for a low-luster sheen.
Adding Screen and Hardware
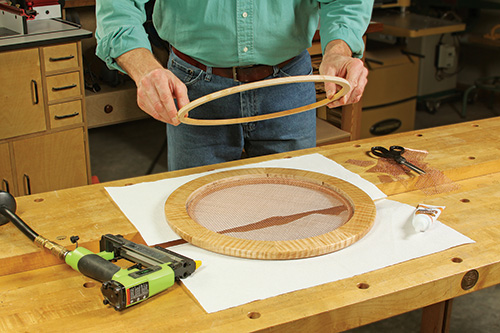
We’ll fit the center screen into the frame just like a piece of glass in a photo frame. For that job, I routed a 1/2″-wide, 3/8″-deep rabbet around the inside back edge with a rabbeting bit in the router table. Then cut a 13″-diameter circle of screen with a scissors to fit inside the rabbeted recess — the copper wire is pretty soft and easy to cut by hand.
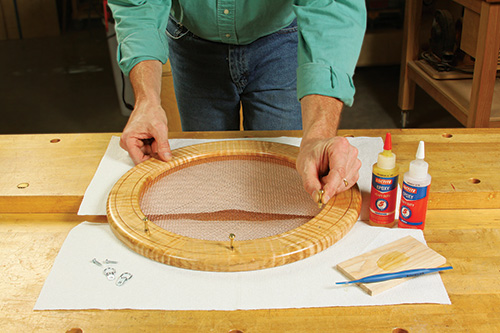
I milled a circular backer ring from a panel of 1/4″ maple to cover the back rabbet and screen. Make it 1/2″ wide and 5/16″ thick. I made mine using my compact router and circle-cutting jig again. To bond the wooden ring and copper screen to the frame, I used a thin bead of silicone caulk dispensed around the rabbet. Embed the screen in the wet caulk, and press the wooden ring down into the rabbet. I secured the ring with 5/8″-long, 23-gauge pin nails to hold everything securely while the caulk set.
All that’s left to do is to install some necklace hangers to the front lower half of the frame. Those I’m suggesting from Rockler in our “Hardware” section at the bottom of the page are solid cast brass and will give your project a quality finishing touch. A shallow hole and a bit of epoxy will mount these hangers permanently.
Now, attach a couple of picture hanging brackets to the back of the frame and tuck this project away until it’s time to wrap up for the holidays — you’re one handmade gift closer to done!
Click Here to Download the Drawings and Materials List.
Hard to Find Hardware
Compact Router Ellipse and Circle Jig #27867
Freud® Solid Carbide Upcut Spiral Bit #55748
V-groove Router Bit, 1/4″ Shank #90869
Self-centering Doweling Jig #49221
Spiral Dowel Pins, 1/4″ Dia. #21113
Solid Brass Necklace Hangers #93633


