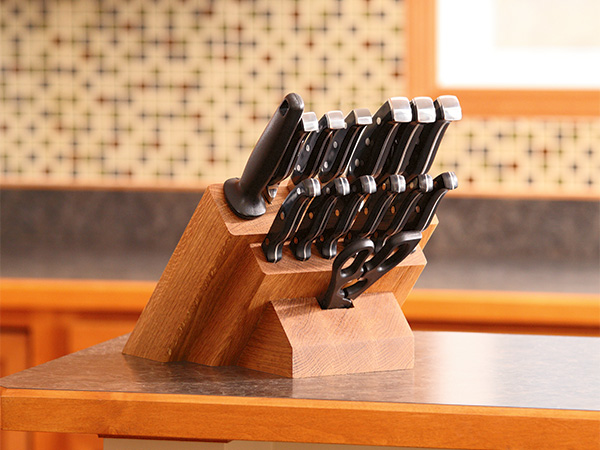
The thought goes through my head on a regular basis: “Why should I buy one of those, when I could make one in a snap?” and that is the reason that I have never owned a knife block. Fortunately, my charter membership in the procrastinator’s club (meeting schedule to be announced later) did not stop me from getting into the shop recently and making this version for my knives. It was fun to make, only took a day to fabricate (even with breaks for glue-up) and works like a charm.
If you are interested in building a knife block, the steps and Drawings we show here will teach you how to make it, but you will need to adjust the slot measurements and placements to accommodate the knives and accessories you own.
This unit is made of four pieces of solid wood. Cut them to length and width and get ready to cut some slots, using a standard full-kerf saw blade. This will leave you with openings that will fit the vast majority of knife blades. As you can see in the Drawings, by matching up the slots cut into piece 1 with the slots cut into the thicker piece 2, you can adjust the size of the knife openings. Align the openings by laying out and cutting all of the slots in piece 1 first and then using that piece to set up the rip fence for each matching cut in piece 2. The small 3/8″ square opening for the honing steel was formed with multiple cuts from the saw blade, versus switching over to a dado head or moving to the router table.
Totally Table Saw

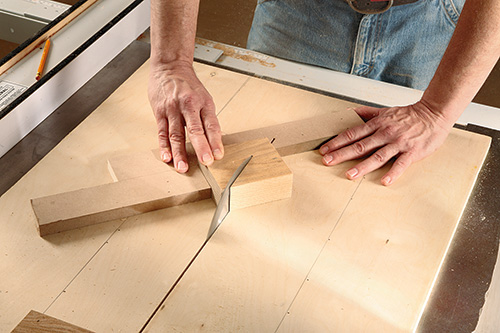
Point of fact: I made all the cuts for this project on my table saw. Piece 3 was made in the same manner as piece 1. This section was made to hold a set of steak knives and is an optional feature. You can include it or not, depending on your collection of knives. Piece 4 (which is glued together to make the final roughly triangular “chunk” that forms the base) is made from three pieces of 1-3/4″-thick lumber. To be safe, I used a small sled with fences attached on my table saw to secure them as I cut.
Once I had glued these three pieces together, I added a notch (see Drawings) to hold a scissors — of course, if you don’t have a scissors, don’t make the opening. It would look silly.
Now it’s time to glue the knife-holding pieces together. Careful application of your glue is important; you don’t want globs of it getting into your knife slots. Alignment is important as well. As you can see in the photo (bottom right), I used small slats of 1/8″-thick plywood, well oiled so glue would not stick to them, to help me keep pieces 1 and 2 properly aligned during the glue-up.
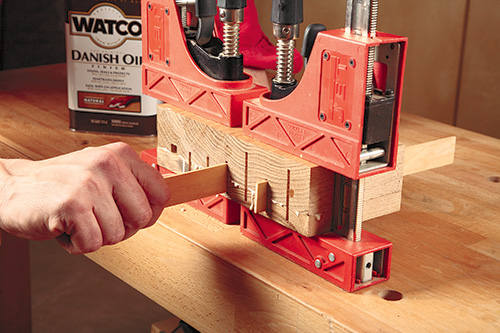
Once the clamps are tight, pull the strips out. (Be careful; even when they’re oiled, they might want to stay stuck!) Now, once again step to the table saw and cut the 45° angle onto the bottoms of the knife-holding pieces. The glued-up subassembly of pieces 1 and 2 will need to be cut in a two-step process on the table saw because a 10″ table saw blade will not slice through the whole piece on a 45° cut. Cut halfway through it, then flip it to the opposite face to finish the cut. With the blade still set at 45°, cut the chamfers onto the edges of the knife-holding pieces as shown on the Drawings. Then, sand your parts smooth, but be careful not to burn the end grain as you are doing so.
With that done, glue piece 3 to the subassembly (pieces 1 and 2) with their mitered ends aligned. Be sure it’s centered. Once the glue dries, do the same thing with piece 4. Scrape off any excess glue and then apply an oil finish. I used Watco® Natural — three coats and that is it — you’ve got yourself a knife block, and you didn’t resort to buying it retail!


