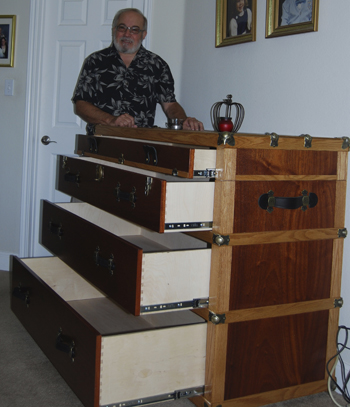
Yesterday I finished Sandor’s trunk dresser from the February 2013 issue of Woodworker’s Journal. Although I’ve built many cabinets over the years, this was the first regulation piece of furniture I tackled. As with any cabinetry, keeping corners square during the build-up is the key to keeping your sanity as well as saving “tweaking time”. Scratch one honey-do project.
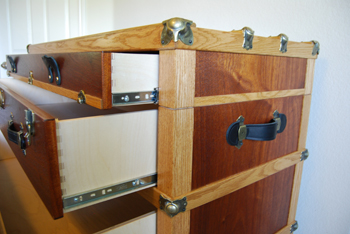
I did make a couple of alterations. First, I couldn’t find any 3/8″ birch plywood in my area so I used 1/4″ birch plywood and added (2) 3/8″ x 1″ stiffeners to the bottom of each drawer, glueing them to the plywood. It actually made the bottoms very strong with very little flexing and reduced the weight of the drawers somewhat.
Secondly, I added some low profile casters to the bottom of the cabinet. They are set back from the edges and not visible from standing or sitting angles. The slats along the bottom do a good job of concealing them. You think of these “aids” as you get older and don’t have the strength you once had to manhandle heavy furniture (and the dresser is pretty danged heavy when fully assembled).
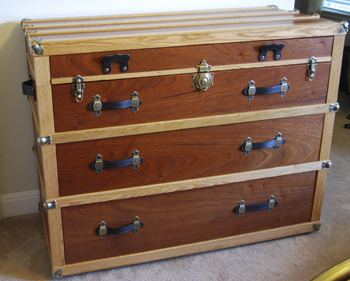
When I talked to the good folks at Shenandoah Restorations to purchase the hardware, they offered a different hardware package specifically suited to the trunk dresser. Apparently, they’ve had enough demand for the hardware, that they have prepackaged the hardware and I didn’t have to deal with the darkening steps.
The dresser is intended to be placed in a room with other deep red mahogany furniture and I wanted the dresser to complement that furniture. I finally settled on a blend of Watco Danish Oil in these proportions, 1 part original, 2 parts golden oak, and 1 part dark walnut. I made two applications of the oil, allowing the oil to cure for a week and then applied 5 coats of General Finishes High Performance Satin Poly, scratching between coats with an 0000 equivalent abrasive pad.
This was a very satisfying project and I look forward to the next project in the fall, after the Texas heat abates. Thanks for the great article, I had no trouble following the plans and illustrations were very helpful.
-William Chermak


