A traditional, yet surprisingly quick and efficient way to form a mortise.

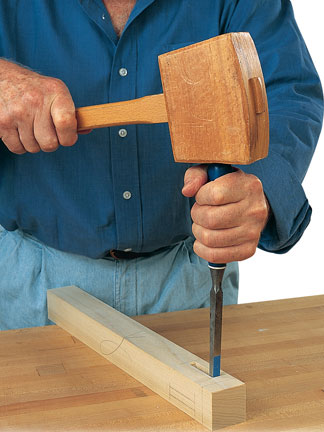
1. The first step in this process is accurately marking up the joint. In essence, drawing out on stock all of the specific details of the joint. A properly marked out joint is the key to creating a well fitting bit of joinery (Photo 1). (Click here to read an article on proper mark-up techniques.)

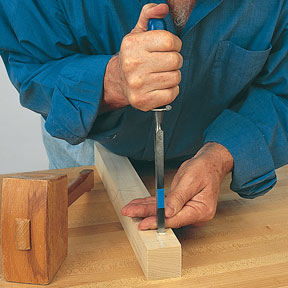
2. In order to get to the actual cutting technique, we will skip the mark-up steps. To set the depth of your mortise, simply use a piece of blue masking tape (Photo 2).
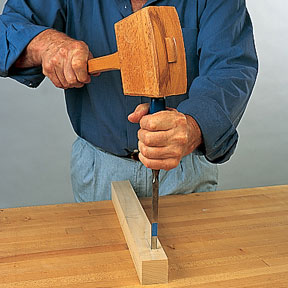
3. Position the chisel with two hands (Photo 3), then firmly tap the chisel with a joiner’s mallet to set the edge into the stock (Figure 4).
4. Now you have a decision to make. Do you chop to the full depth of your mortise in one process, or cut the mortise in “layers”? We’ll describe the layered process here.
5. The layered effort will take five chisel cuts before you remove the first wastes:
5.1 Set the chisel about 3/16″ from the far end of the mortise. Tap the chisel lightly to set it — then hit it hard. It will take a few blows to drive it in to the first level.
5.2 Move the chisel about 3/16″ towards you, set the chisel and then give it three hard smacks. It will go a bit deeper than your last effort because of the space created by your first cut.
5.3 Once again, move the chisel about 3/16″ towards you. Set it and then smack it three more times. You will drive it a bit deeper than in step 5.2.
5.4 Reposition the chisel as before, set and then drive it to the same depth as in step 5.3.
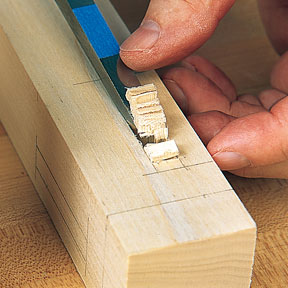
5.5 Now position the chisel, back face away from you, 3/16″ away from your last cut. Drive the chisel in, lay the mallet down and lever the chisel handle towards you. Take care to keep it aligned with the mortise sides. Then scoop out the waste (Figure 5).
6. To remove the second layer, go ahead and repeat steps 5.1 to 5.5.
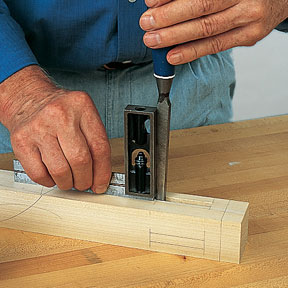
7. Once the bulk of the waste is removed, square the ends of the mortise by placing the chisel on the marked line, with the chisel’s back face to the end you are cutting. Align your chisel to a square (Figure 6) — then drive it down cleanly. NOTE: you will not get a flat-bottomed mortise chopping by hand. Make sure the depth is sufficient across the whole of the mortise.


