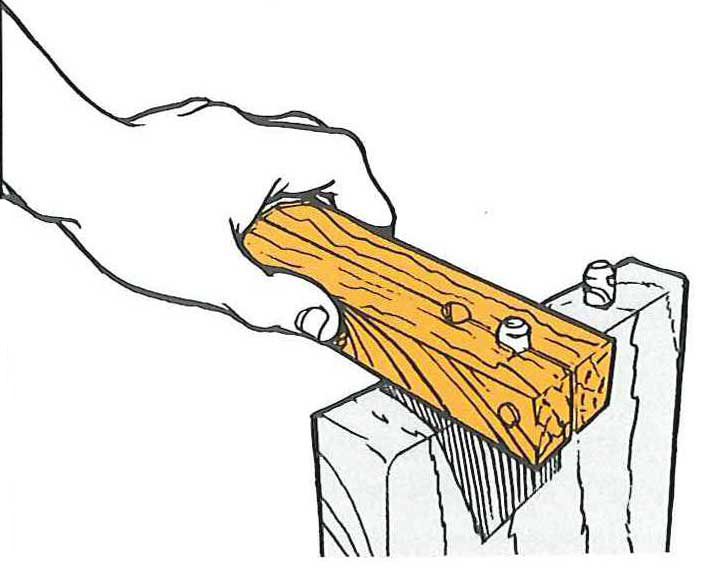
When using closely-fitted dowels for joining or aligning two pieces of wood, there comes a time when the preliminary fitting operation ends with a dowel stuck in one of the holes. No, don’t even think about reaching for the pliers and digging their teeth into the dowels. Instead, try making the dowel removing jig described here.
The dowel remover is constructed by first making a sandwich consisting of two 1/2” x 3/4” x5” arms (oak) separated by a 3/32” thick strip of wood. You’ll find that a few pieces of veneer can serve as the separating strip. The three pieces are then clamped together with the arms extending about an inch beyond one end of the separating strip. Drill holes centered on the separating strip the size of the dowels you normally use. The drawing shows a remover built to handle 1/4” and 3/8” dowels. Be sure to use a brad-point drill bit to prevent the drill from wandering.
Now, flip the whole assembly on its side and drill a 1/4” hole through the two arms at the end opposite the separating strip. Insert a 1/4” dowel glued to both arms. When the glue dries, remove the clamps and the separating strip. The remover is now ready to be slipped over a stubborn dowel, pinched together and twisted to loosen and remove the dowel.
-A.M. Benson
Houston, Texas


