Most scroll-sawn projects are cut with the blade and table perpendicular to each other, which corresponds to zero degrees on the saw’s gauge. However, by cutting at a small angle, usually 5˚ or less, you can create a double-bevel inlay or craft a decorative collapsible basket.
Making the Cut: Angle, Blade Size, Direction
Angled cuts are made with the saw table or arm tilted left or right. Tilting the saw table down to one side is the equivalent of tilting the arm to the opposite side. When the gauge reads zero degrees, a cutout piece will slip completely through the surrounding wood. As the cutting angle increases, less of the piece can be pushed through before it binds. Larger blades create wider kerfs than smaller ones, which means that more of the piece can be pushed through at a given angle than if the cut were made with a smaller blade. That’s why it’s a good idea to make test cuts to determine the best cutting angle for the blade and wood you’ll be using.
The cut is made either “clockwise” or “counterclockwise,” which refers to how the blade appears to move through the wood.
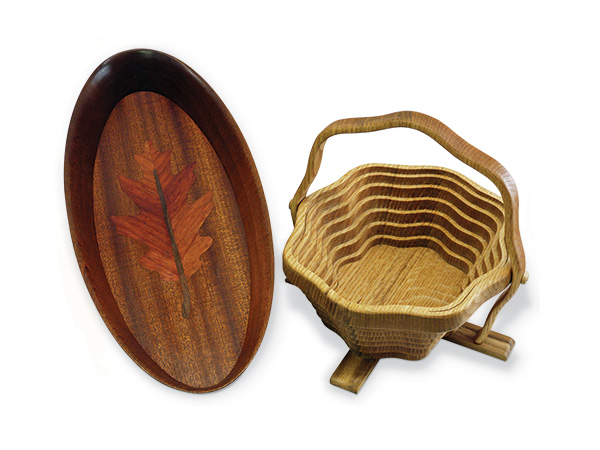
Double-bevel Inlay
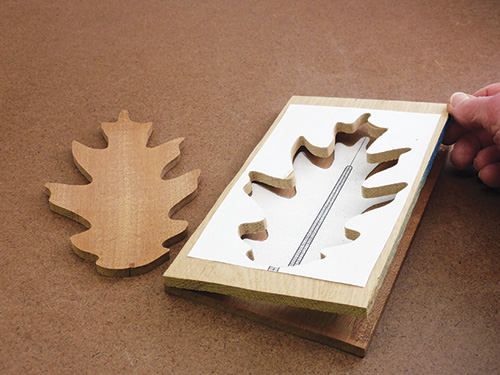
“Double-bevel inlay,” unlike the traditional type, does not require a separately made recess. Instead, it is created from two pieces of equally thick wood (one decorative, the other the base), stacked and secured with tape or hot glue.
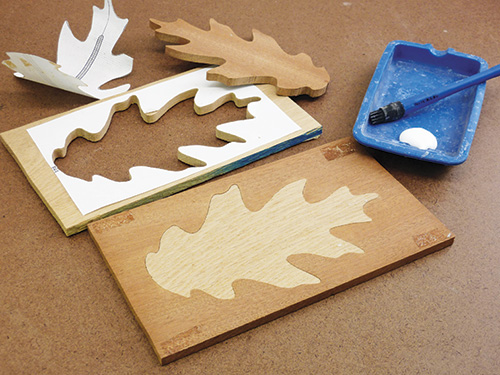
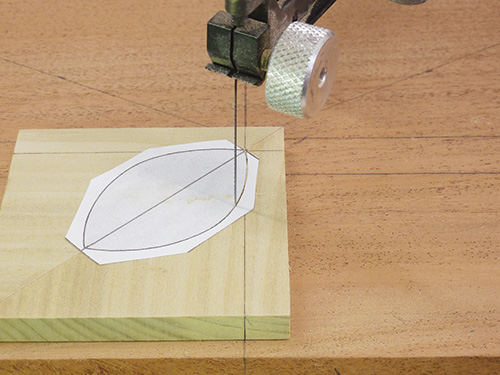
Which piece is placed on top depends on the particular design. A pattern is attached and a blade entry hole drilled on the cutting line, using the smallest bit that will accommodate the blade. You then cut the pattern at an angle that allows the decorative piece to seat into its matching recess in the base.
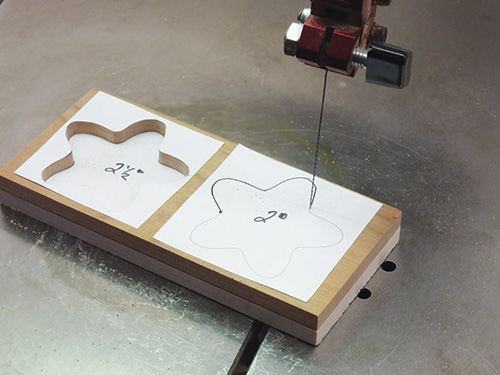
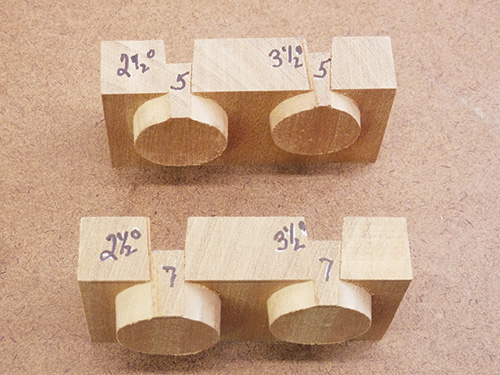
Entry holes are usually drilled at the same angle as the cut, leaving small holes that are usually invisible when filled with a mixture of glue and sawdust. Make your test cuts with simple shapes, and start with an angle typical for your wood thickness and blade size.
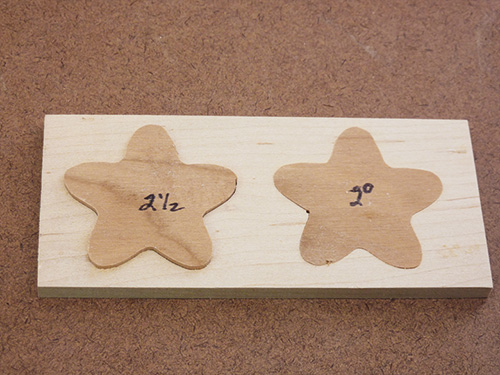
Wood that is 1/4″ thick, for example, is usually cut between 2° and 3°, depending on blade size. If the cutout drops too much, increase the cutting angle by 1/2°; if too little, decrease it by 1/2°. Continue testing until the cutout is level or protrudes only slightly from the base.
Collapsible Baskets
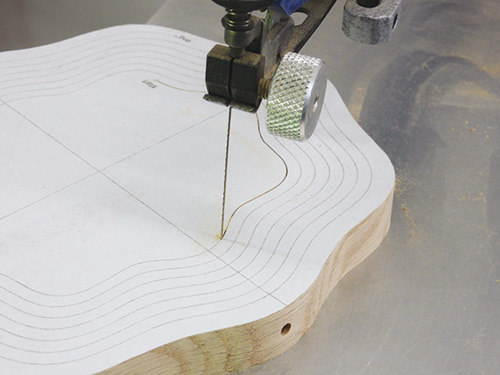
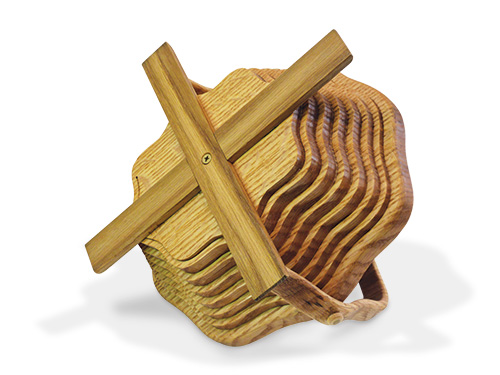
These intriguing baskets spring, like magic, from a flat piece of wood. The mechanism is a spiral, cut at an angle that allows the rings to drop, grab and create a recess, yet not slip through each other. Made from a single piece of stock, the straight-cut frame and support pieces are cut away first, then the spiral portion is cut clockwise from its center at an appropriate angle.
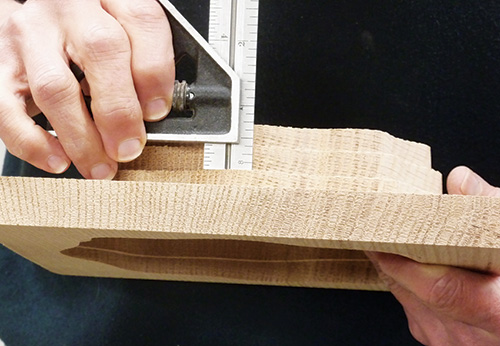
For 3/4″-thick stock and a #7 blade, this angle is about 2-1/2°, depending on the desired amount of drop. Test cuts are best done as small complete spirals, since several rotations are needed to establish the drop. When cutting is complete, the components are assembled.
As with any new skill, cutting at an angle requires practice. Once you’ve mastered this skill, you’ll increase both your project repertoire and your appreciation of the scroll saw’s versatility.


