If you’ve ever built a project with drawers, you know there’s a veritable maze of hardware selections available. Selecting the type and size of drawer slides, and picking the hardware pulls are important choices that affect the final results of the project. Now you need to decide if the drawers should be lockable.
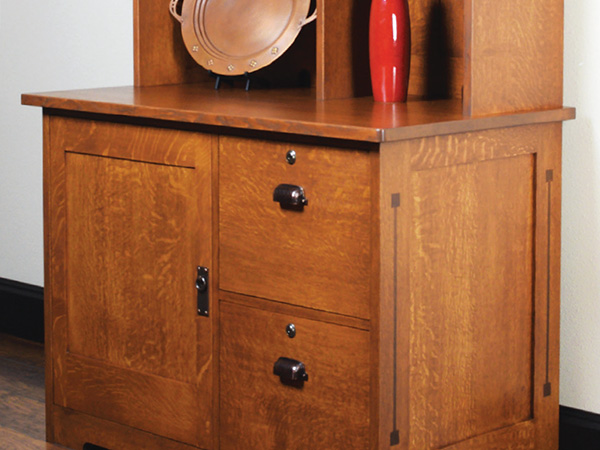
On a recent file cabinet project, I wanted to have two locking drawers. I selected cam locks to do the job, and even found them in an antique brass finish. Since I was installing the locks on drawers with false fronts, I needed the cam barrel to be long enough to reach through the entire drawer front … 1-1/4″ thick in my case. I purchased 1-3/4″ cylinder locks and set out to install them on my finished drawer boxes.
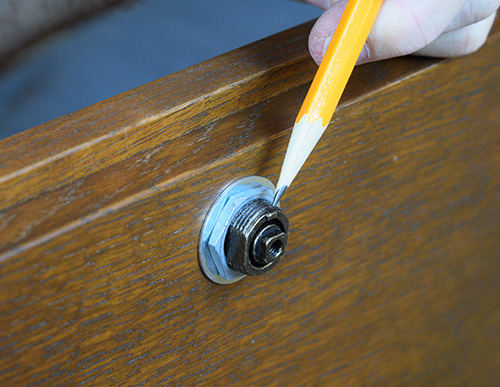
The first step is to mark the location of the hole in the false drawer front. To determine where the hole should be located, assemble the cam lock and choose which cam arm to use. The kit comes with a short, bent-arm cam and a long, straight cam. Based on the dimensions of my cabinet frame, I selected the long, straight cam.
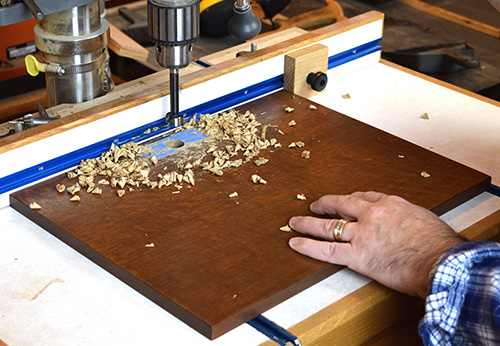
With the center of the hole location marked on a piece of painter’s tape, head to the drill press. Use a 3/4″ Forstner bit to drill a hole through the false drawer front. Make sure to back up the cut to prevent chipout on the back side.
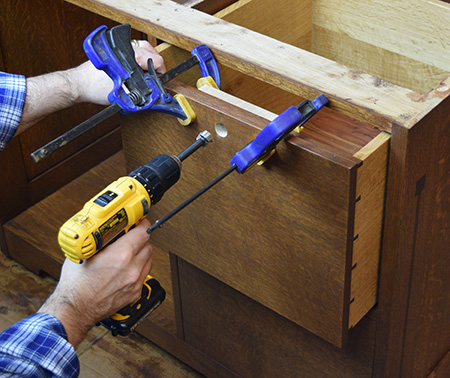
Next, mount the false drawer front onto the drawer box as you normally would. Set the false drawer front for an even reveal, and screw it to the drawer. Now chuck the 3/4″ Forstner bit into a handheld drill and finish drilling through the drawer box. Clamp a scrap of wood to the inside of the drawer to back up the cut.
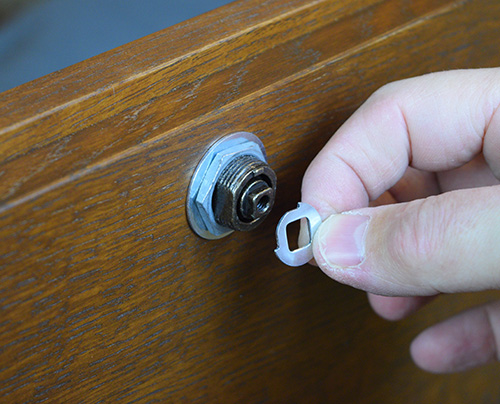
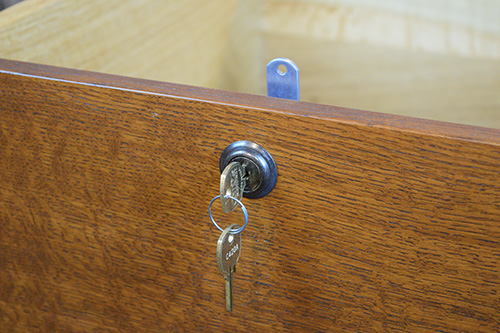
Install the cam lock into the drawer, and use the optional trim ring if desired. A two-pronged washer pierces the inside of the drawer to prevent the lock from turning. That is followed by the nut to hold everything firmly in place. Then select either the 90° stop or 180° stop. I use the 90° stop for a shorter locking action. That is followed by the cam and cam retaining screw.
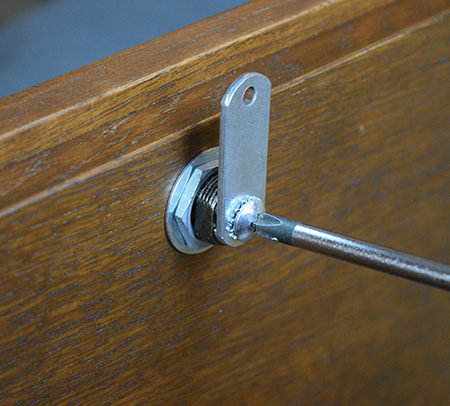
Great; now the cam lock is installed on your drawer and you’re just about finished. There’s just one problem … there’s nothing for the cam to engage in the cabinet. The usual solution is to mount a small metal tab inside the cabinet frame.
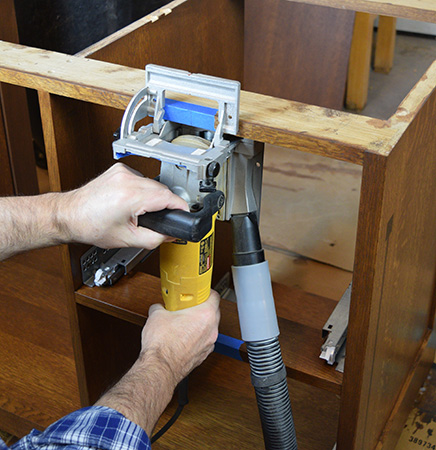
The problem with this method is the tab hangs down and can snare the file contents as you open the drawer. To get around this limitation, I used a biscuit joiner to cut a slot in the cabinet frame. Mark the location where the cam meets the cabinet when the drawer is fully closed. For the 1-3/4″ long cam lock, the slot was centered 1-3/4″ back from the front of the drawer. Then set your biscuit joiner for maximum depth of cut. Mine is marked “0,” “10,” “20” and “M.” I selected the M setting for maximum depth of cut. Adjust the fence on the tool until the blade aligns with your mark and plunge a single slot for each drawer. Reinstall the drawer and test the lock operation. If the cam tab hangs up on the edge of the slot, make a small fence adjustment on your biscuit joiner and widen the slot.


