Whether you’re new to the scroll saw or experienced, your first cuts at 30° or 40° will most certainly feel strange. You’ll either struggle to keep the workpiece from sliding off the tilted table, or you’ll wonder how to follow a line with your blade so askew.
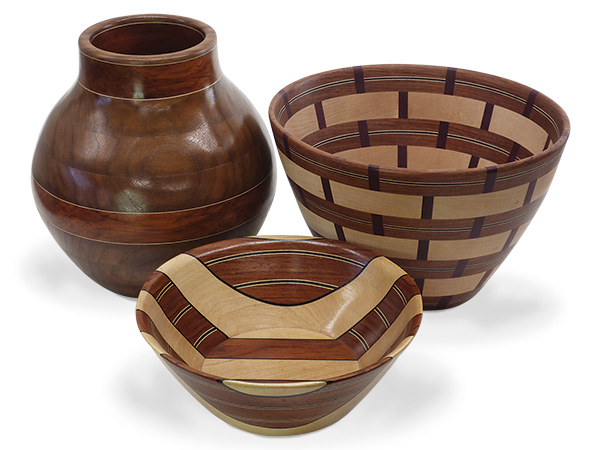
The learning curve, fortunately, is a quick one, and the reward for mastery is entry into the realm of the stacked ring bowl. Sometimes called a “bowl from a board,” it is constructed from concentric rings cut at a specific angle that allows them to stack with near-perfect alignment.
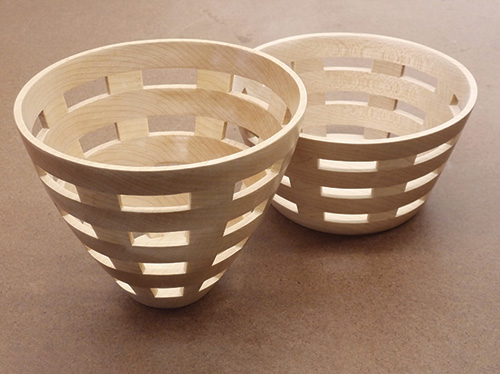
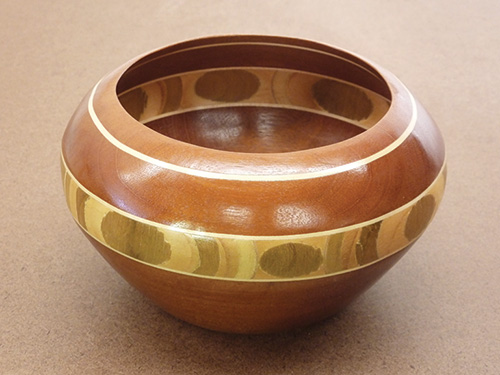
Straight Side Bowls
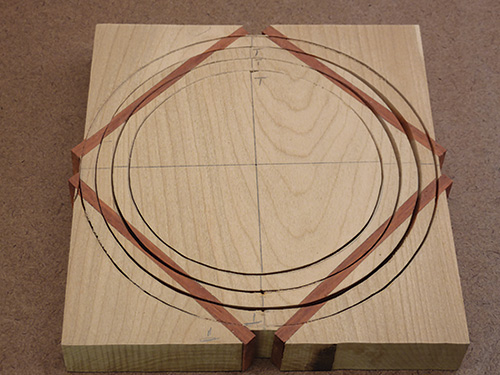
This angle is a function of wood thickness and ring width. It can be approximated, but for precision, it should be computed using a tangent table or an app, like the Angle Calculator at scrollmania.com.
When all cuts are made at this angle, the result is a bowl with straight sides of uniform thickness that can often be sanded with spindle and belt sanders.

Bowls of this type are usually cut from patterns that show all the rings, and their finished appearance runs the gamut from plain to dramatic.
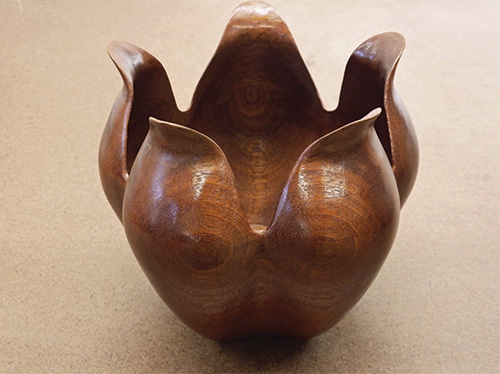
Curving Side Bowls
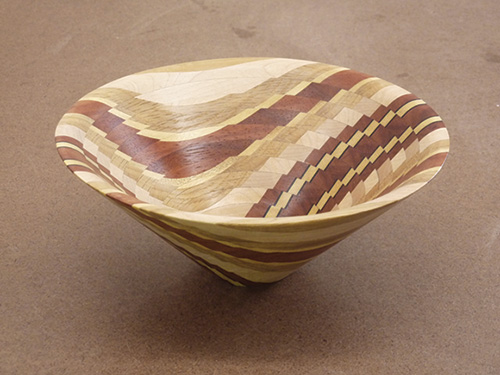
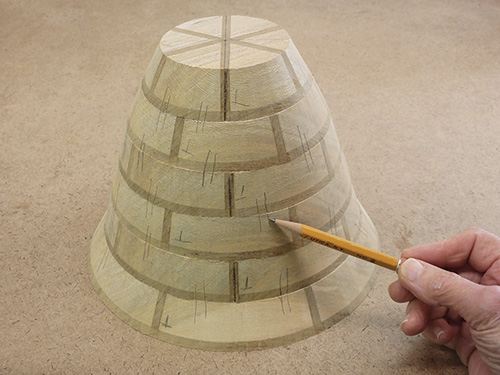
As attractive as straight-sided bowls can be, the potential of the stacked ring approach is shown most clearly by bowls whose sides form graceful curves. The first cut of this type of bowl is made at the same computed angle as its straight-sided counterpart. At that point, the formulaic aspect ends and artistry begins.
By making subsequent cuts at progressively steeper angles, curved sides are created; the amount of curvature is dependent upon angle choice. Two different methods can be used. One results in bowls with gradually thickening sides, and the other with sides that remain uniform.
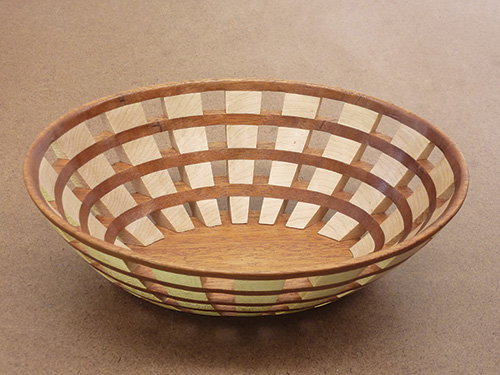
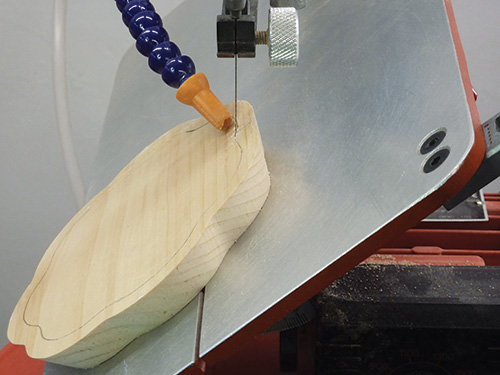
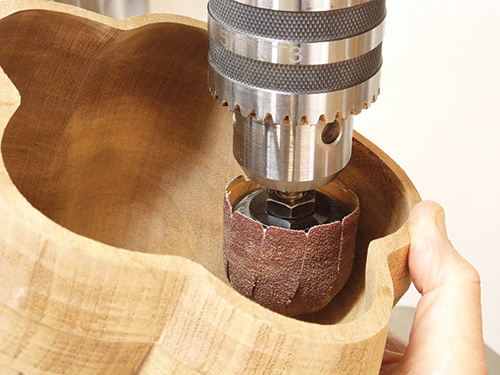
For greater flexibility in angle choice, curved-sided bowls are usually cut from patterns showing only the first ring. That ring becomes the template for the second; the second ring serves as a template for the third ring, and so on, until all the rings are cut. Because of their curvature, these bowls are best shaped and smoothed using small sanders chucked into a drill press.
Using Multiple Blanks
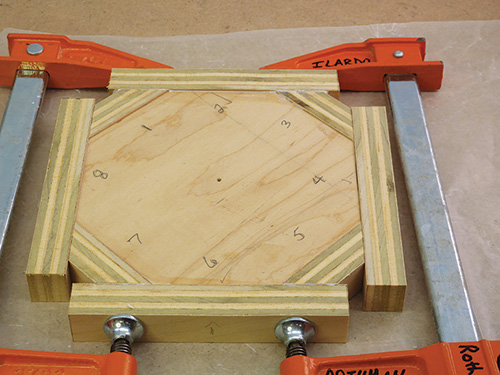
With a single blank, you can make a bowl that flares outward at the top and gradually tapers down to a smaller base. To construct more elaborate projects such as vases, or bowls whose upper rings curve inward, you’ll need to use one or more additional blanks. Rings cut from these blanks are added to the original set, and the project is finished as one unit.
Projects requiring more than two blanks are often assembled and sanded as subunits, then glued together for the final shaping.
Final Steps
While rings cut at a steep angle form the structure of a scrolled bowl, its ultimate appearance depends on the care taken with the procedures that follow the cuts. These steps (gluing, sanding and finishing) are often regarded as nuisances, to be dispensed with as quickly as possible. The result may be a bowl that disappoints rather than delights, with visible glue lines, irregular upper edges and a finish with drips and sags.
While many scroll saw projects are essentially complete once the cuts are made, scrolled bowls are not. They are most appropriately viewed as creative endeavors, in which careful cutting of the rings at a steep angle is only the first step in a process that can produce bowls comparable in beauty and artistry to those turned on a lathe.


