In discussion earlier this year, Woodworker’s Journal editor Joanna Takes and I thought that making some turned earrings would be a splendid holiday project. For me, relating the process brings back a flood of good memories of a friend.
Although I taught King Heiple (former head of orthopedics at University Hospitals in Cleveland, Ohio) to turn, it was he, a few years later, who taught me to turn earrings. One of his favorite demonstrations was to place a mini lathe onto a large lathe such as a ONEWAY 2436 or Powermatic 3520b and turn one earring on each lathe — a graphic demonstration that you did not need a big lathe for the project but, if you only had a big lathe, that was fine, too. Yes, moving the honking big banjo was a hassle, but the turning process was the turning process!”

King’s showmanship aside, while you can turn this project on any lathe, it’s easier to do it on a small one, especially for your first go-round. The smaller spindle, along with light toolrests and banjo, make the work go easier and faster.
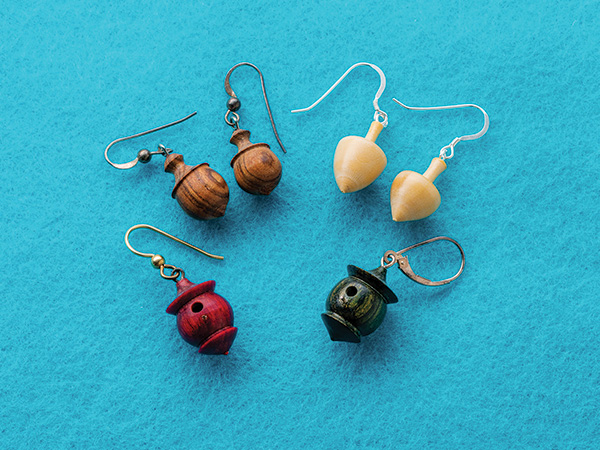
Earrings can be turned from a wide range of materials: wood, plastic, tagua (ivory nut), horn, bone and stone (soapstone and alabaster) are only the start of the list. Pen blanks are available in an astounding variety of materials, and their size makes a perfect starting blank.
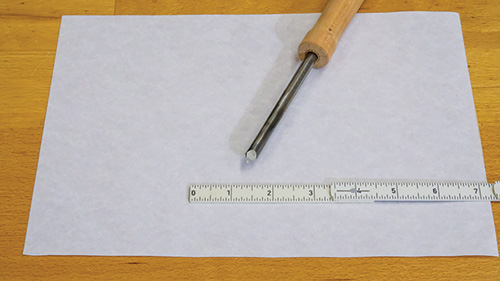
Because of the small diameter of the project, plenty of speed is the order of the day. It is one of the few times I advise speeding up the lathe: 3,000 to 3,600 rpm is a good turning speed for miniature work. A small four-jaw scroll chuck is a nice convenience, but many pairs of earrings are easily made with centers and a faceplate, which is the method I demonstrate in this article.
Tools for Tiny Turnings
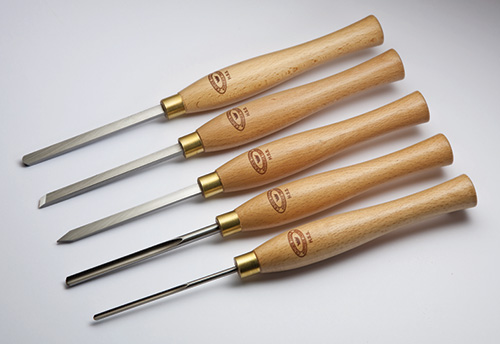
Many full-size tools work fine for initial sizing of the blank, but you will need some small ones designed for miniature work, too. Sets are readily available, a good example being the Crown 5-Piece Mini Turning Tool Set. If you like a do-it-yourself approach, however, you can make some useful miniature tools quite easily.
Because of the project’s small diameter and the lathe’s turbo speed, tools can be quite unsophisticated. I will show you three. The first is a small skew ground from a 1/4″-diameter round bar; the second is a pointed tool that is just three equally sized bevels on a 1/4″ round bar; and the last is a bevy of useful scrapers that do the bulk of the turning work.
Scrapers can be made from just about any halfway decent piece of metal: old high-speed drill bits, small screwdrivers and cement nails are readily obtainable and cheap, even if purchased new. At a moderately higher price, mscdirect.com sells ground and hardened 8″ long by 1/4″ round HSS bars (M2 High Speed Steel Round Tool Bit Blank) for less than $7 each. You could grind them in half and make two miniature tools. You can also use those bars, or a 1/4″ HSS twist drill bit, to make the pointed tool.
Making the Tools
Round Skew
For this tool, simply take a 1/4″ high-speed steel bar or a drill bit and grind two bevels to make a skewed edge. It is like an oval skew, only better, and it’s great for cutting very small beads or for planing surfaces.
Pointed Tool
The pointed tool is made from a 1/4″-diameter bar. Turn a small handle and drill a 1/4″ hole into its end. If using a twist drill bit as your starting point, epoxy the twist drill end into the handle and use the shank for the tool point. Grind three equally spaced flats on it to create three edges. Some turners grind the point to a slight radius, while others bring it to a sharp point. In use, it can be made to work like a skew or a scraper.
Scrapers
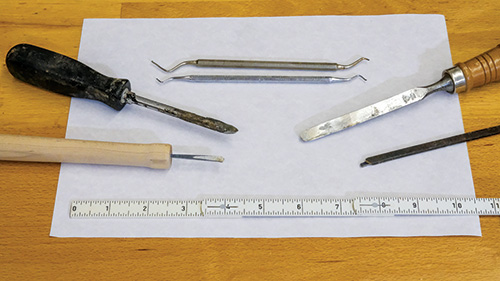
Scrapers can be made from any piece of metal; it doesn’t even have to be very hard for the diameters and speeds of miniature turning. Some grinding will make scrapers for small coves, holes and internal hollowing. I’ve shown (clockwise from left) a curved scraper made from a cement nail, an old screwdriver ground to a half-circle, two dental picks (great tools for internal hollowing), a chisel ground to a dome scraper and an old plow plane iron ground to cut a small groove.
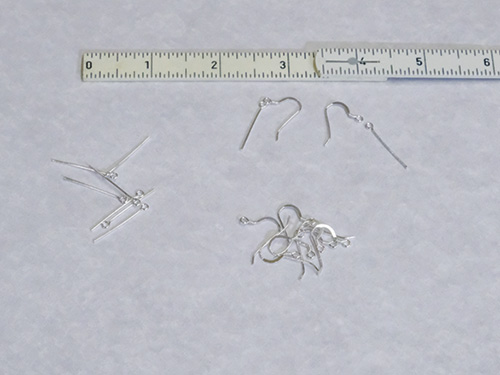
Findings, Pliers
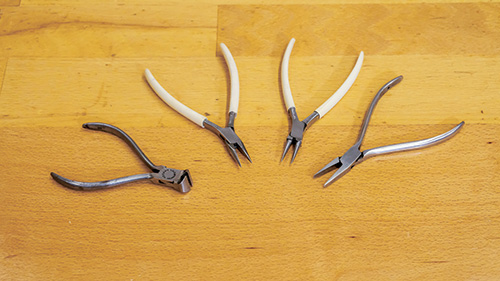
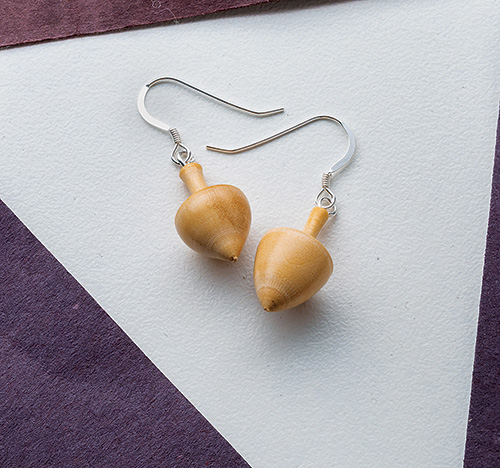
Findings are the metal hardware that attach turned earrings to the wearer’s ears. They take many forms. Some mechanically clip to the earlobe, while findings for pierced ears can be a simple hook or a hasp that locks like a safety pin. They come in solid gold and silver or plated with these metals. There are also stainless steel and various hypoallergenic alloys. Suffice it to say that you get what you pay for, but you can obtain very nice examples inexpensively. I chose sterling silver. Whatever metal you choose, you will need some end eye pins of the same material to connect the turning to whatever ear attachment device you choose.
Some small jewelers’ pliers are nice to have. While any cutting pliers can be used to cut end eye pins to length, some bending pliers for opening and closing the end eye for attachment to the hook will make things go quicker with a better result.
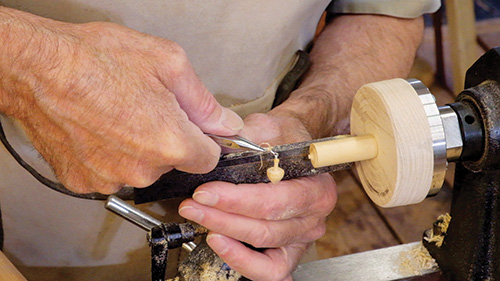
Turning the Earrings
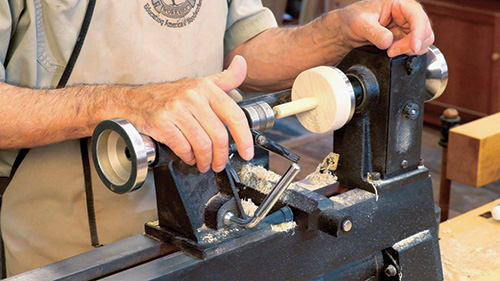
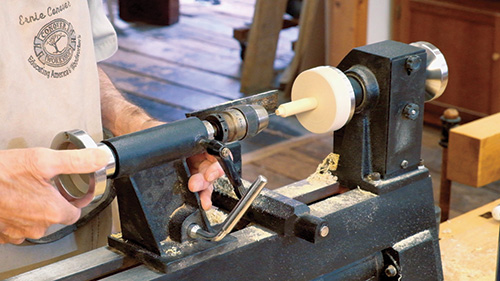
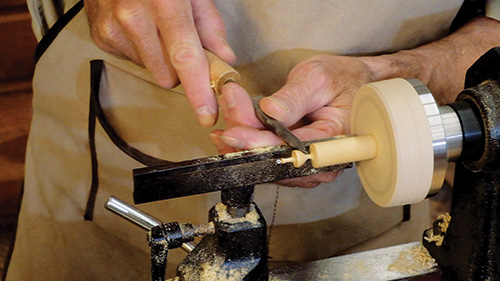
To get started with your first pair, turn a short blank of your material to a diameter a bit larger than 1/2″, turn a short 3/8″ tenon on one end, and attach to a piece of wood on your faceplate as seen in the photos.
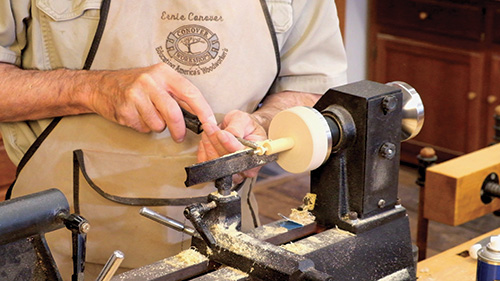

Some earring shapes that work well are pendants of any shape, one to three small tubes of varying length, and one or more small beads strung on an eye pin. You want to be very conscious of diameter and weight, the beginner’s mistake being too big and too heavy.
Give earrings or any other type of miniature turning a go. The tools are not expensive, the space needed is minimal, and the paybacks from the recipient are huge.


