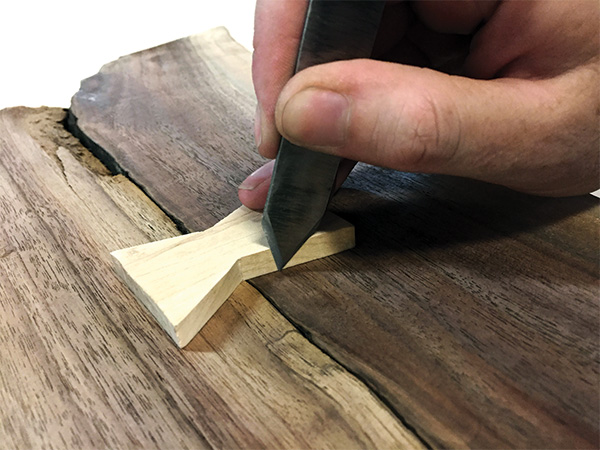
A marking knife is a simple tool that every woodworker needs for accurate scribing and cutting of joinery. There is a wide variety of marking knives available, ranging from a $250 kiridashi handmade by Japanese artisans to a $10 tool bought on the Internet. Although a high-end blade can be well worth the money, there is a sense of pride that comes from making and using your own tools. The marking knife outlined in my process is, of course, no comparison to blades made by master craftsmen, but for $3.50 and a few hours of time, it is a trusted tool that performs well for me.
I was first introduced to handmade marking knives while studying under Tak Yoshino at the Mount Fuji School of Fine Woodworking in Yamanashi, Japan. He had made marking knives for his students out of some dull jigsaw blades he had lying around. When it came time for me to teach a class of my own, I decided to make a set of marking knives for my students just as Yoshino-San had done for me.
As blacksmiths are well aware, standard knife making involves a technical process of heat-treating and tempering to very specific degree to ensure strength and Rockwell hardness. For this reason, we will start with a prefabricated steel blade that has already gone through those technical processes in a factory. Blades for a reciprocating saw (Sawzall®), a jigsaw or a band saw work perfectly. To keep its temper, it is important not to overheat the blade as we are shaping it, just as when sharpening a chisel or any other tool.
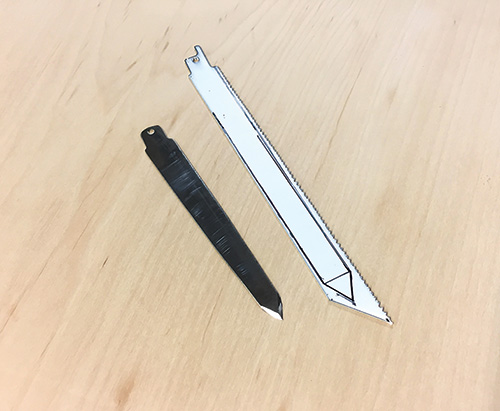
For a standard sized marking knife, I start with a 6″- or 8″-long reciprocating saw blade that is around 3/4″ wide. Use one with smaller teeth, as they are easier to remove and leave you with more material in the end. A great option is an all-purpose bimetal blade that has 10 or 14 teeth per inch. You can also use an old dull blade of any size; use a jigsaw blade for a tiny tool or cut out a blank from a table saw blade for a heavy-duty knife. Stay away from anything carbide-tipped, as it will make the teeth much harder to remove.
Safety First
Ensure proper safety by working in a well-ventilated area clear of any flammable items. Wear safety goggles and a respirator. Wear gloves and use pliers when handling hot blades. Wear nonflammable clothing, such as cotton, and tie back long hair.
Preparing the Blade
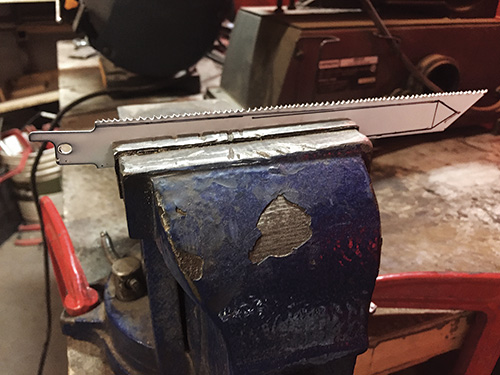
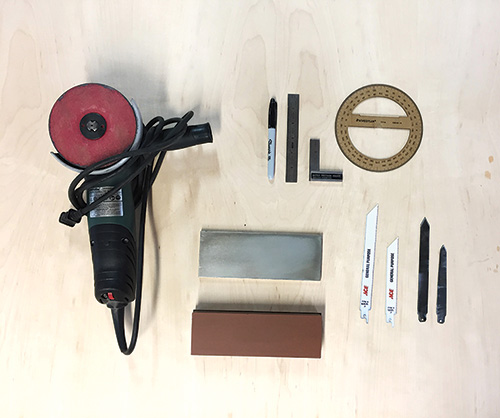
The first tool we will use in this process is an angle grinder fitted with a 100-grit sanding disc or a flap wheel. Use extreme caution when working with this tool and always wear proper safety gear. Clamp the workpiece securely in a metal vise when working. When grinding material, move the tool in slow, steady motions from one end to the other; a rapid back-and-forth grinding motion will create an uneven edge.
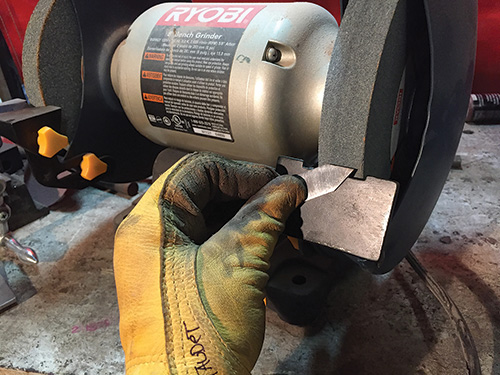
The first step is removing the teeth and any paint or finish from the blade. Be sure to work in a well-ventilated area when removing paint. Clamp the blade in a heavy vise and remove the teeth with an angle grinder. Depending on the length of your blade and the size of your vise, you may need to reposition the blade several times to ensure strong pressure. Once the teeth are removed and the blade is safe to handle, strip the paint or finish from the blade. This can be done with an angle grinder while the blade is clamped in a vise or onto a table, or with the use of chemical strippers or other means of paint removal. Once the blade is free from paint and teeth, we can start to shape the blank into what will become the marking knife.
Shaping the Blade
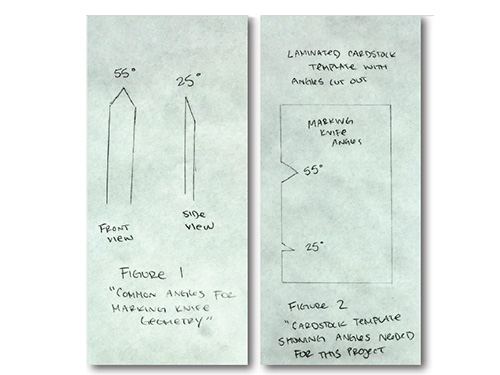
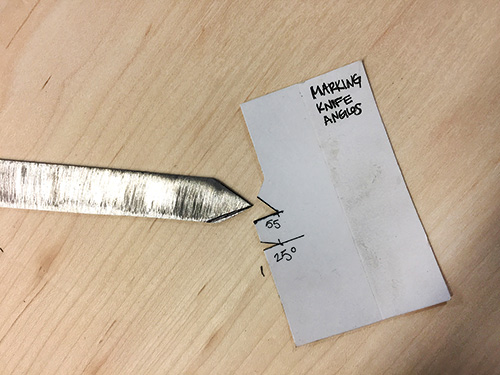
Start by using a permanent marker to outline the general shape of the blade. If you have an existing knife that you are duplicating, you can trace the angle and shape of the blade directly onto your blank or onto a template. I like to start by making a template out of cardstock with the proper angles cut into it so that I can easily create multiple matching tools.
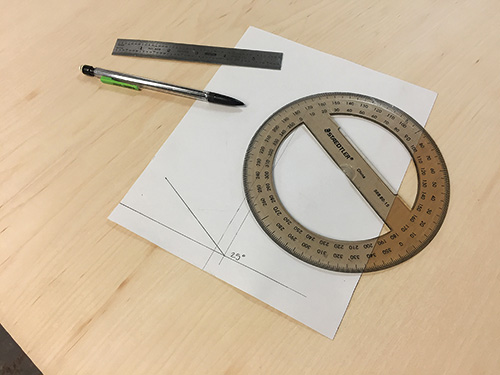
During the process of forming and sharpening the blade, it is helpful to refer to a template or guide to ensure the accuracy of the blade and grind angle. Marking knife angles generally range from 55° to 75°, with the angle of the ground edge ranging from 25° to 35°. I’ve found a 55° angle with a 25° grind makes a great all-purpose tool.
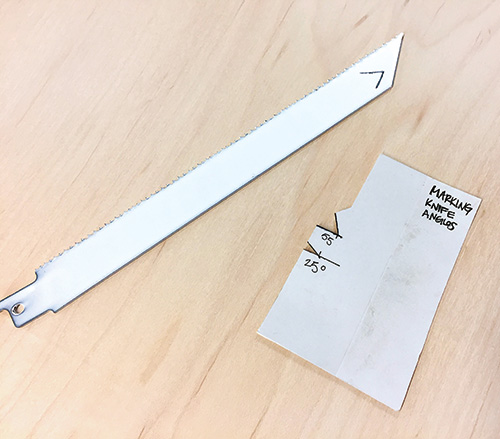
Using a protractor, mark the angle on a piece of cardstock and cut it out with a utility knife. Laminate the cardstock with clear packing tape to strengthen and keep the template clean. You will now be able to trace your angles directly onto your knife blank material.
Once you’ve drawn your outline, clamp the blank back in the vise. Using your angle grinder, grind away the blade material down to your lines, leaving a generous border on the pointed tip. Smooth the edges and round over the handle side of the blade using an angle grinder, a belt sander or a file.
Your blade should now mostly resemble your desired shape. Hold the tool in your hand to ensure its comfort and smoothness, and take down any rough spots with a file. From this point forward, we will focus on the cutting edge of the blade.
Sharpening Your Knife
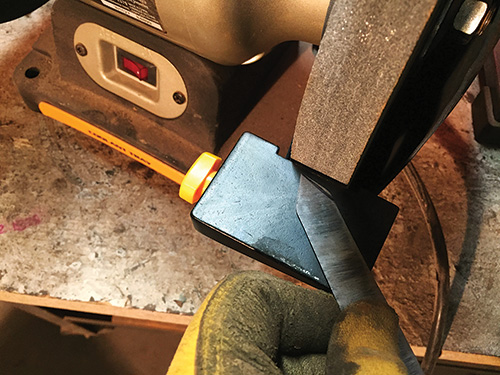
The next tool in this process is a bench grinder, just like one that you may use to sharpen your other shop tools with. Wear safety goggles and a facemask as well as gloves while working on a bench grinder. Ensure the flatness of the wheel using a grinding wheel dressing stick before beginning. It is very important to keep the blade cool while working to avoid overheating and weakening the steel. Any change in color of the steel is a sign that the metal has been compromised and will not hold a sharp edge. Some bench grinders have builtin coolant systems. If yours does not, keep a jar of water near your grinding station and quench the blade tip every few seconds.
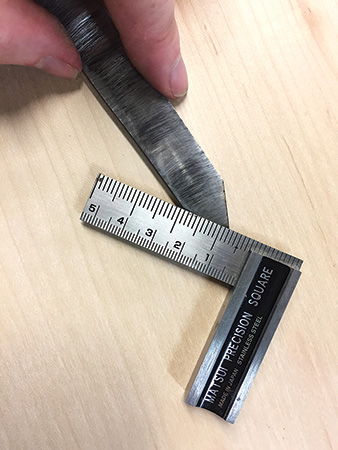
Check the angle of the blade using the cardstock template and re-mark if necessary. Grind the tip down to the marked line, checking the angle accuracy often. Once the proper angle has been achieved, check the flatness of each side with a straightedge. Depending on the quality of your grinding wheel, you may have to use a diamond-coated sharpening stone to flatten each side, ensuring the correct angle in the process. Once the sides are flat and true, the next step is to remove material and shape the blade angle.
On the bench grinder, set the guide to the grind angle (25°) with the help of a sliding protractor. Grind away the material in small passes, taking care not to overheat the blade. Use the template you made earlier to check the angle of the blade. Do not remove the blade material down to the very edge at this time, but instead leave a hair’s width so that a burr does not begin to develop on the back side. The rest of the process will be done with sharpening stones, so try not to leave so much excess that it will take a long time to remove with a stone.
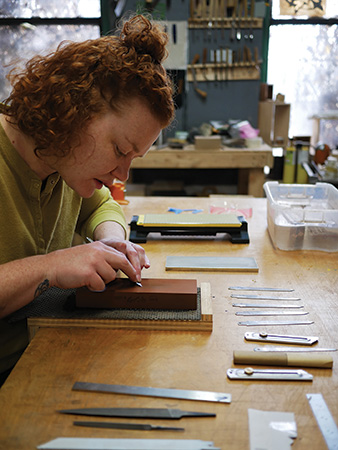
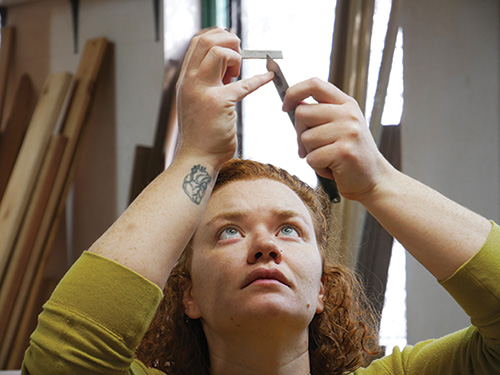
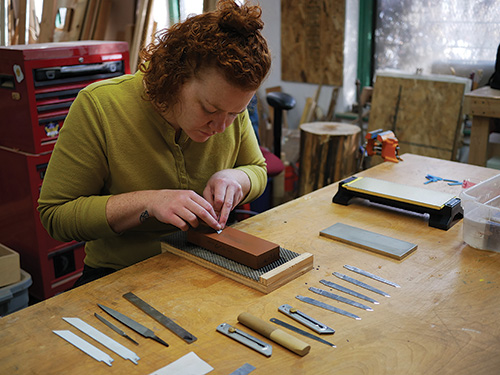
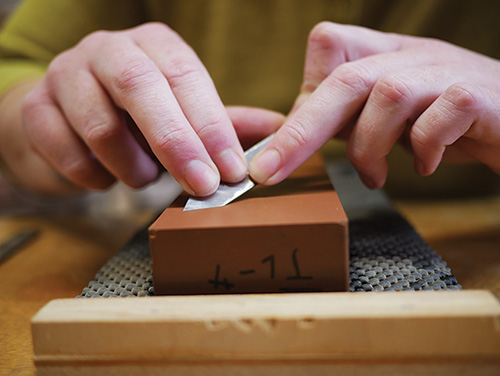
Sharpening with stones by hand requires intense focus as well as a sensitive touch, so take a few deep breaths before this next process. Find a comfortable body stance and be sure that the height of the work surface does not lead to pain in the neck or shoulders. Find a smooth, rhythmic process, gliding the tool back and forth along the stone. My teacher, Yoshino-San, used to tell us to “put your eyes and ears on the tips of your fingers” when sharpening. This process gets easier with practice, so if you are feeling frustrated at this point, stretch your arms and take several deep breaths before starting again.
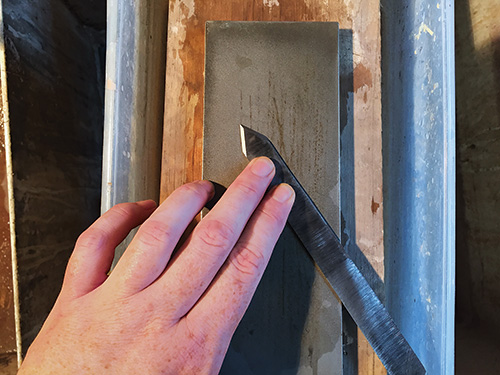
Choose a coarse diamond-coated sharpening stone to use first. Applying even and gentle pressure, flatten the back side of the tool until the back of the blade area shows consistent markings. Turn the blade over and focus on the tip edges, next. Sharpen each edge, aiming for one flat surface. Do not yet go all the way to the edge of the blade, as the diamond stone is too coarse and will break the tip on a microscopic level. Check the angle of the edge against the cardstock guide often and, once the tool is flat and true, move to using a series of waterstones.
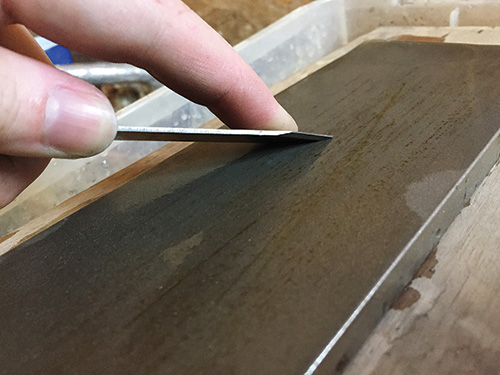
Starting with a 1,000-grit waterstone, sharpen each blade edge until a burr forms on the back. Move in steady motions, focusing on keeping the blade edge flat against the stone. Once a small burr has formed along the back edge of the blade, move to a finer 6,000- grit stone. Begin on the fine stone by removing the burr on the back side. Use gentle pressure to slide the blade back-and-forth several times along the stone, keeping the length of the blade flat against the stone. Just as before, sharpen each edge of the blade on the fine stone until a small burr forms.
Repeat this process of sharpening the edge, then removing the burr, a total of three times on the finest stone or until the knife’s edge holds a mirror polish. You’ll know you’re done when there’s no burr left on the final finish.
Finishing Steps
The marking knife is complete! Coat the blade with a tool oil such as camellia or jojoba oil to prevent rusting. (Camellia oil, also known as tea seed oil, comes from the seeds of Camellia sinensis, the plant that produces the tea we drink. It can prevent rust and lubricate machine parts — and it is also used frequently for cooking in southern China.)
Routinely hone the edge using the waterstones. If used properly and the tip remains unbroken, it will not have to be taken to a diamond stone or grinder again.
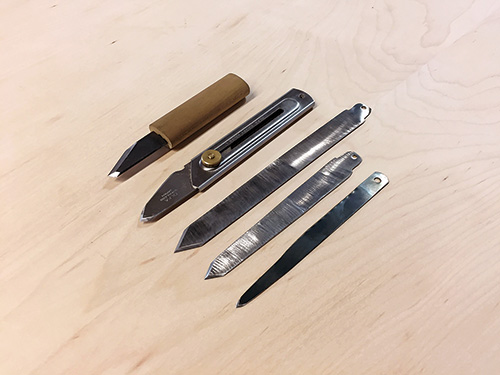
You can make a handle for your blade by epoxying wooden scales to the sides of your knife or by wrapping the handle area with leather cord. Make a small sheath out of cardstock, canvas or leather scraps to cover the tip of the blade.
Teresa Audet is a Minneapolis artist and educator working in wood, metal and fibers. She has taught at the Minneapolis Women’s Woodshop and was recently a Studio Fellow at the Center for Furniture Craftsmanship in Maine. Her website is teresaaudet.com.


