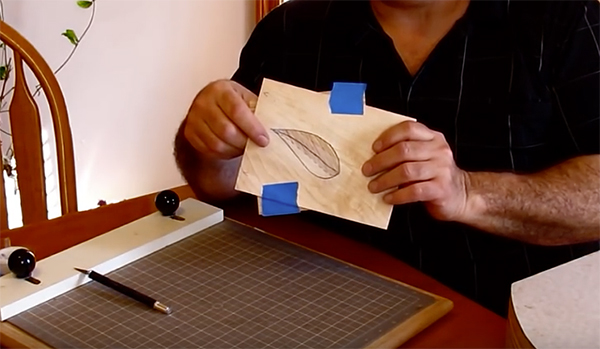
Learn how to make beautiful marquetry projects. Marquetry is the practice of creating pictures and designs using different colors and species of wood veneers. Peter Marcucci shows you the basic tools and techniques you need to make your first marquetry project. Peter uses the double bevel technique of cutting pieces.
Devices to hand cut marquetry can be as simple as a board with a V-notch to a more elaborate and traditional marquetry chevalet (or donkey). The marquetry cutting table I used was made from a leftover piece of laminate countertop; 12” wide and 18” long.
Midway on the tabletop, cut a slot about 6” long. Drill a ½” hole, then countersink to accommodate a 1” outside diameter washer. Cut a slot in a 1” OD and epoxy the washer in place so that it is flush with the tabletop. A second 1” diameter hole can be used to hold the fret saw. A V-notch at the front makes it easier the slide the fret saw into to table.
The cutting table clamps to any tabletop surface using an F-Clamp. The base for the table was built up from three layers of ¾” plywood with an opening in the middle to accommodate the F-Clamp.
Download the drawing of Peter’s Fret Saw Cutting Table here.

