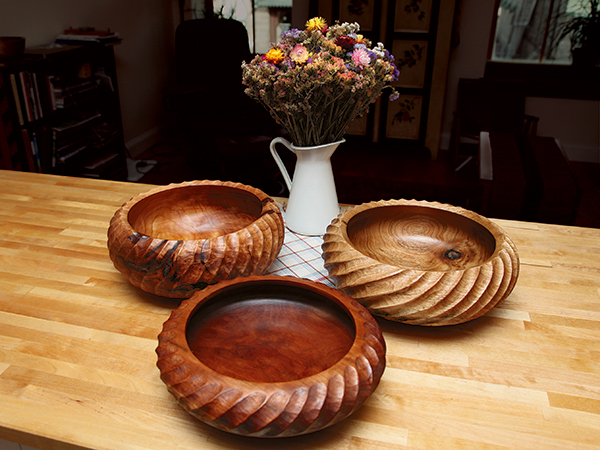
In their drive for the perfect art form, bowl turners are constantly experimenting with shape. This can range from entirely functional to pure art that is not very usable at all. An artistic technique that I really like is carving designs into the outside or rim of a bowl. You do not have to be an “artist” to do this sort of carving, you just need to be able to lay out a pencil grid and to tap a gouge with a mallet.
Carving breaks the absolutely circular nature of a turning, lending pattern, texture and beauty to the finished vessel. It does not require many fancy tools, carving patterns or textures; all you need is a gouge or two, a veining tool and a mallet. (The mallet you can spindle turn yourself from a piece of firewood!)
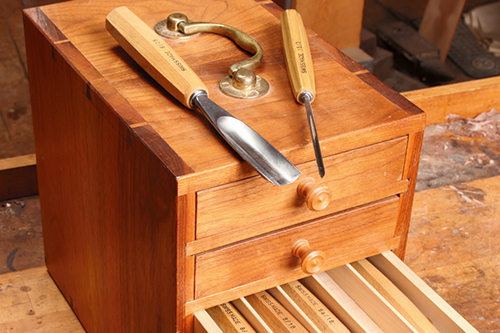
In general, I get by mostly with a #8 x 25mm (1″) gouge and a veining tool. I learned the techniques I outline in this article from Al Stirt of Enosburg, Vermont. Al pioneered the use of carving and texture to accent bowls. If you ever have the chance to take a workshop class with him — do so! His website is: http://alstirt.com
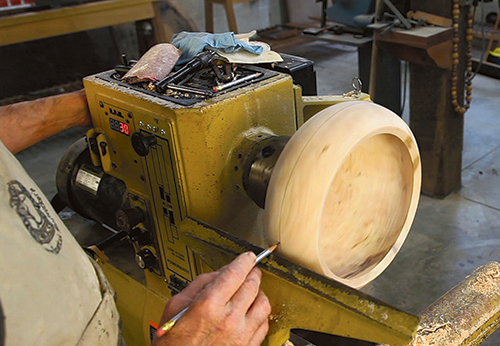
For successful carving, you have to think about shape. Traditional half-round bowls do not lend themselves as well to carving, for you have to have a low viewing angle to see the outside wall. Bowls that form a cone have steep, nearly vertical walls or are closed forms (the rim is smaller than the interior), which will display carving much better. Here, I will demonstrate on a closed form, which has a raised doughnut look. The interior under the rim must be scraped, for you cannot get in this area with a bowl gouge. Scraping the area found just under the rim (down to the largest diameter) to a constant wall thickness is challenging. Most beginners leave the wall too thick in this area, giving the bowl a clunky feeling. The wall should be at least 3/8″ thick, with 1/2″ being better for deep carved flutes. Sand the bowl to about 120-grit.
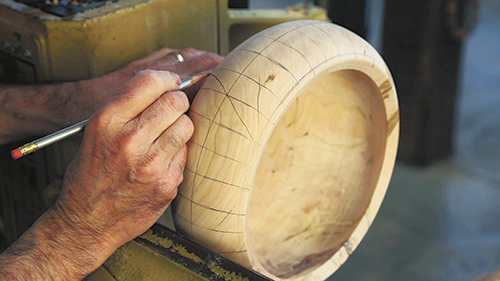
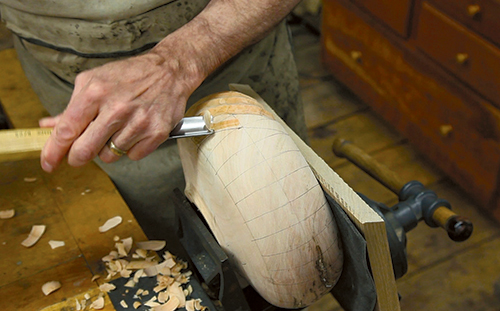
Although you can carve dry wood, it is much easier to tap a gouge through green wood. Luckily, many bowl tuners start with green wood. Carving green wood means that you can even carve rock-hard maple with ease. Do not complete the bottom of the bowl; rather, leave the chucking recess or glue block and faceplate you turned it on in place. If your lathe has indexing, draw as many pencil lines vertically up the wall of the bowl as you can. I do this by using the tool-rest as a straightedge at each index point. If your lathe only has 12 index positions, you can lay out more lines by raising or lowering the tool-rest. Next, draw a band by spinning the bowl against a pencil to delineate the point above the base where the carving will start. I also draw a band at the largest diameter and just under the rim. Then use the grid marks to draw an “S” curve. Draw them freehand, and do not worry if things are not perfect. Carving will fix everything.
Shop-made Bowl Vise
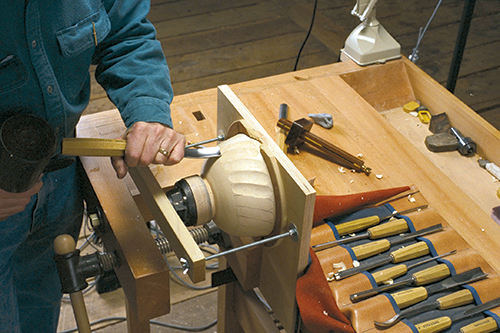
Holding a bowl during carving is always a challenge. These days I have a patternmaker’s vise at the end of my bench that is well-suited to the task. I cut a board to go against the rim of the bowl and interpose a piece of leather between them before tightening the vise. Previously, I used a right-angle plate built out of veneer-core plywood and held the bowl against it with a wood strip secured by threaded rod and wing nuts. You can see that setup in the top photo on the next page. Note that I have left the faceplate and glue block on the bowl until after carving.
Carving gouges are sold by sweep and width with #1 being straight and a number 10 being a highly dished gouge. As I said earlier, a #8 by 25mm does about 90% of my carving. I make most of my flutes about 3/4″ wide (“about” is the key word here), but don’t be afraid to experiment with other flute widths and gouge sweeps. There is as much room for artistic expression in carving as in the turning process itself!
Carving is pretty straightforward, as long as the tools are razor-sharp. Do not try to take too much material with any pass. Cut a shallow trough up the center of your layout, then deepen and widen it gradually. Final passes may have to be on opposite sides and in opposite directions to get crisp, smooth carving. You must pay careful attention to grain direction, for as you carve around a bowl, you alternate from pure end grain to pure face grain and every combination in between. Carving direction is usually the same as outside faceplate turning: from lesser diameters to greater diameters (uphill).
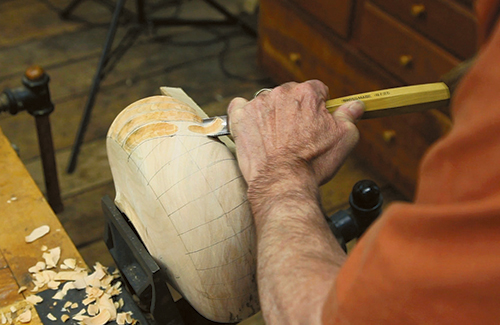
That being said, once a flute is to almost final size, you often have to make a final pass on one side of the flute in one direction and a final pass on the other side of the flute in the opposite direction to get clean cuts. Think of it as shaping the opposite sides of a U shaped trough. To get the best results, you carve one direction on one side of the trough and the other direction on its mate. Stopping the carving just shy of the rim looks really nice and is a good scheme for your first bowl.
Veining Alternative
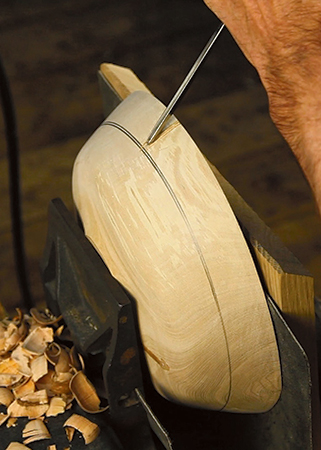
If this sort of carving daunts you, try creating simple texture with a veining tool. Simply take parallel straight cuts to create texture. Start it close to the edge and then continue down for any distance below the rim to create an interesting look. You can even cut across the rim if you wish.
Carving pleasing shapes onto a bowl is a great way to take your pieces to the next level. As with almost all aspects of woodworking, practice will improve your results. Take your time and start with simple forms and experiment. Who knows where you might end up?


