With the exception of perhaps Baltic birch plywood, no other mass-produced plywood (or other composite sheet material for that matter) looks good with exposed edges. Those mismatched plys, little voids and blemishes are distracting. So, we typically try to hide the edges of plywood as elegantly and seamlessly as possible.
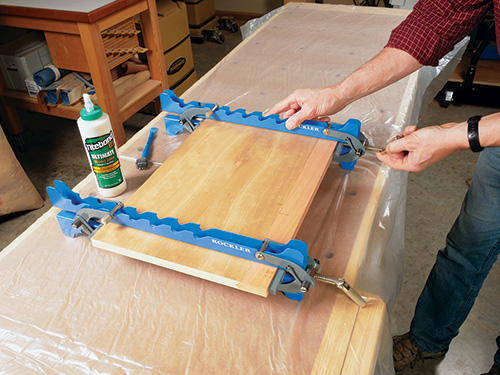
The usual choice for that task is wood veneer edge tape with a pre-applied adhesive backing. When the veneer species of the tape matches the face veneer of the plywood well, it’s thin enough to hide the edge plys without also looking “applied,” and it makes for a convincing bluff . But the thinness of the veneer and the limited strength of the adhesive often causes the veneer to eventually peel off on its own or become easily damaged through normal wear and tear of the exposed edge. The other option is to glue thicker 1/8″ or 1/4″ strips of solid wood, often called banding, to the plywood edge instead. This adds more abrasion resistance and durability, but the wood must be glued and clamped carefully so it aligns with the faces of the plywood. Or it can be applied overly wide, then trimmed flush afterward. The success of edge banding depends on careful clamping. Any gaps between the plywood and the banding looks amateurish and slapdash.

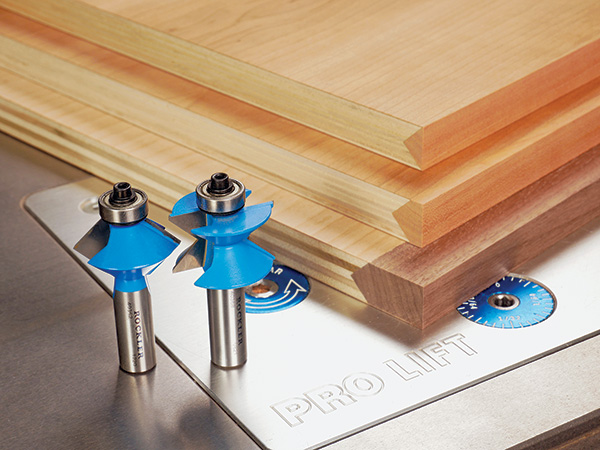
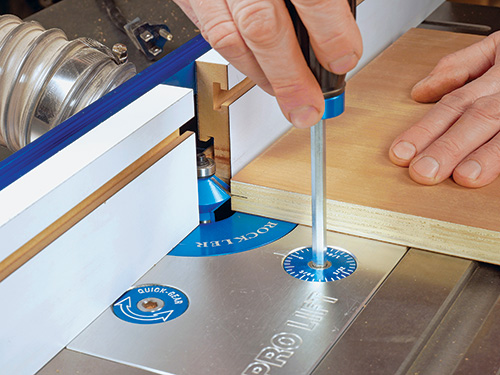
Edge V-groove bits, such as those shown here from Rockler, can give you a leg up on both of the other edge-covering options. The “convex” bit cuts a V-shaped recess into the edge of the plywood that intersects with the top and bottom face veneers of the sheet.
A mating “concave” bit reshapes the edge of solid lumber into a protruding beveled point that fits into the plywood recess.
Alternately, you could use the convex bit to mill a recess into the solid lumber and the concave bit to reshape the plywood into the beveled point, as shown in the inset photo example, above. This is a less common approach.
V-Groove Advantages
This routed intersection of plywood and solid wood has a number of advantages. For one, the recess and beveled point are self-aligning. Unlike conventional shop-made edge banding, which must be clamped at close intervals along the joint to ensure that the banding stays on track, solid-wood connections made with these bits require far fewer clamps. The banding has no way to slip out of registration with the plywood — it needs only to be pressed into place.
Another benefit to the “V” configuration is that it contributes more surface area for glue. Plywood typically consists of built-up layers of thick veneer laid crossways. So, on any given edge of a sheet, the pattern will be long/edge grain for one layer, short/end grain the next. The end grain layers can soak up a lot of glue. So, the more surface area the edge joint provides, the stronger the connection of the banding to the core material will be. A V-shaped edge offers a larger gluing area than a flat edge will.
A third asset of this router bit solution is that you have a number of options for how the final edge treatment looks. If you study the three banding options shown in the opening photo, the top example illustrates the solid-wood edge trimmed flush to the face veneers. If you were unable to see the joint from the side, it would be hard to tell that the plywood isn’t actually solid lumber; the banding need not add any protrusion past the plywood’s top and bottom faces if you don’t want it to.
The center example in the opening photo shows the solid-wood edging trimmed to within 1/4″ of the plywood. This way, it looks similar to the effect of applying 1/4″ edge banding to the plywood but with the added benefit of a much thicker core and the self-aligning V-groove.
Or, perhaps you want to have the edging of a plywood shelf make a bolder statement. Easily done: just choose a wood species that contrasts with the plywood veneer for a more dramatic effect, and make the edge banding from that instead. The wider and stronger the color or pattern, the more the custom edging will call attention to itself.
Router Table Use
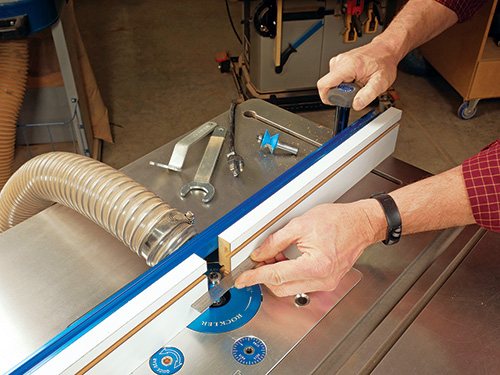
Many router bits can be used safely either in a handheld router or in a router table. However, these edge V-groove bits require their pilot bearings registered in line with a fence or allowed to follow the edge of a template.
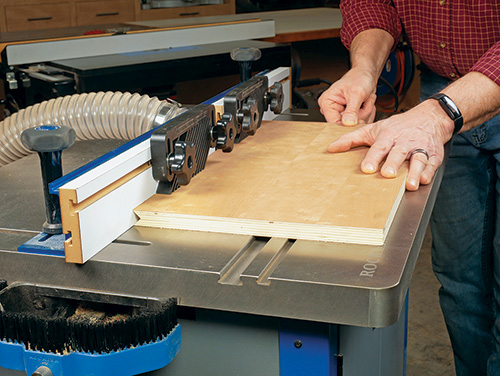
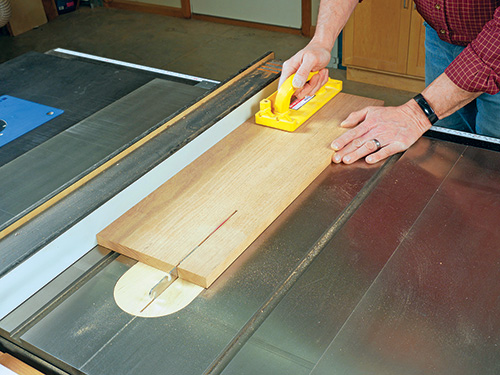
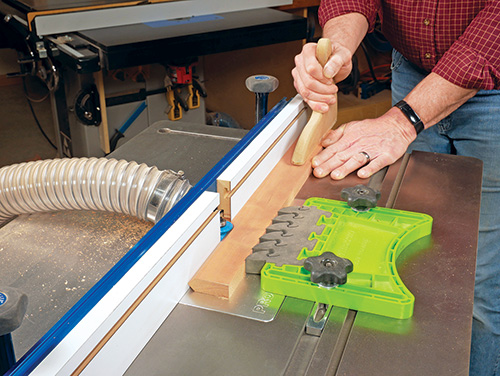
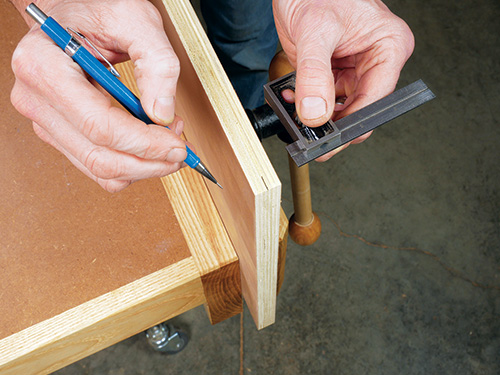
If you’re using the bit set to create banding for flat shelving, install them in a router table equipped with a fence and a mid- to full-size router. The edges/ends of a plywood shelf will have plenty of bearing surface on either side of the bit during routing. Align the rim of the pilot bearings carefully so they’re flush with the fence facings. That way, when the bits remove all but a pair of thin corners or a centered knife edge of the plywood or solid wood, the fence will still adequately support the material on the outfeed side of the cut.
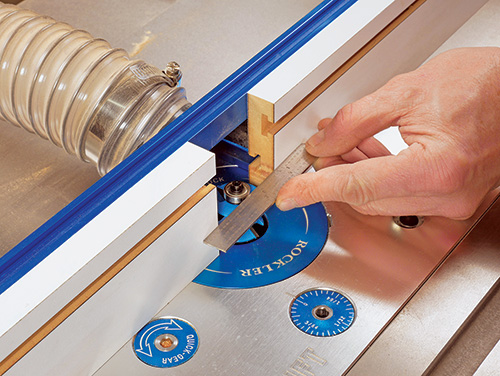
The only other finesse these bits require during setup is that the center points of their cutting profiles be centered on the material being routed. But it’s not difficult if you use the photos as guides.
Once you experience the benefits of edge V-groove bits, rolls of flimsy edge tape will likely be a thing of the past.


