One of woodturning’s attractions is that a beautiful object can be turned in a relatively short period of time. So turners tend to like finishes that beautify and protect their handiwork, pronto. In that spirit, here are some of my choices for quick, simple finishes to try.
Shellac
it’s still on the lathe and stationary.
Shellac is a splendid traditional finish for spindle turnings, bowls and boxes. Any finish will stick to shellac and vice versa. It also dries incredibly quickly and is food safe.
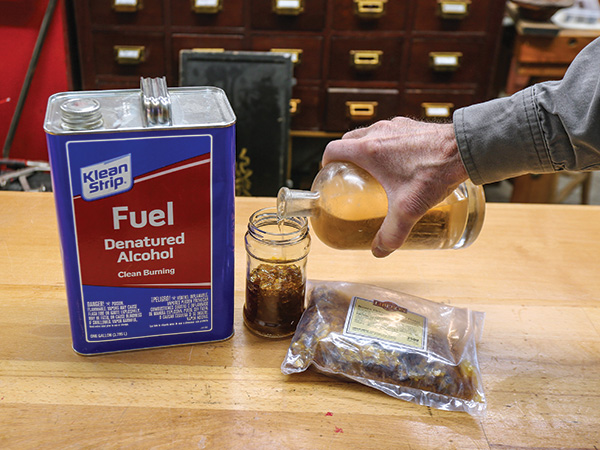
While you can buy premixed liquid shellac at a hardware store, I prefer to use dry shellac flakes that have to be dissolved in denatured alcohol. This “old school” shellac will give much better results at the lathe. I mix a small amount of dewaxed shellac flakes with enough denatured alcohol to cover them. I cap the container and let the flakes dissolve over a period of 12 to 24 hours. You can accelerate the process slightly by placing the bottle in a sunny window or outside on warm summer days. This will yield a super-saturated solution — what finishers call an “8-lb. cut,” which equates to 8 pounds of shellac dissolved in one gallon of alcohol.
A full-strength solution like this is far too viscous for our needs and must be diluted by mixing one part full-strength shellac to three parts alcohol. This reduces it to a 2-lb. cut, which is about right for a simple padding application on the lathe.
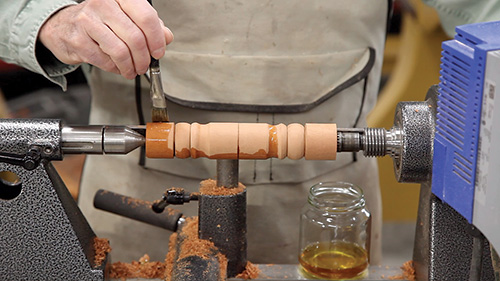
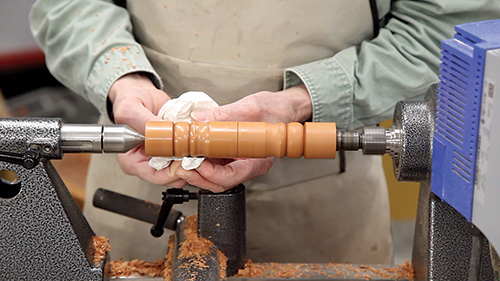
With the turning mounted in the lathe and stationary, I brush on the shellac. When the wood is completely saturated, start the lathe and burnish the finish with either shavings from the floor or a small piece of paper towel. You need quite a bit of speed for this process to work. I use 1,800 rpm for any spindle between 1/2″ and 2″ in diameter. I increase the speed for parts thinner than 1/2″, and I decrease the speed for turnings over 2″. Let common sense be your guide here.
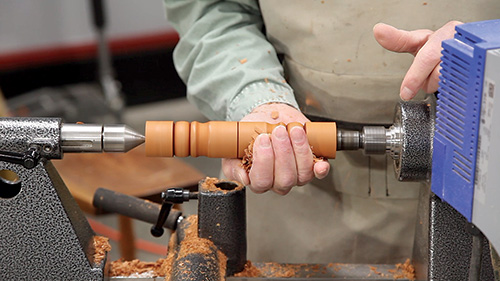
The friction of the shavings or paper causes the alcohol to evaporate, and the shellac melts into a smooth finish. A second coat followed by burnishing and even a third is good measure. Much depends on the strength of the shellac and the wood you are finishing. Open-grain woods will take more coats than close-grained varieties.
Be sure to insulate your hands with sufficient shavings or paper towel to prevent burns, and remove the toolrest to avoid pinches.
If the finish doesn’t seem to build well, your shellac mixture is too thin; add some full-strength liquid shellac to it. If you are getting streaks with chips sticking to the work, the solution is too thick. Add more alcohol.
Carnauba Wax
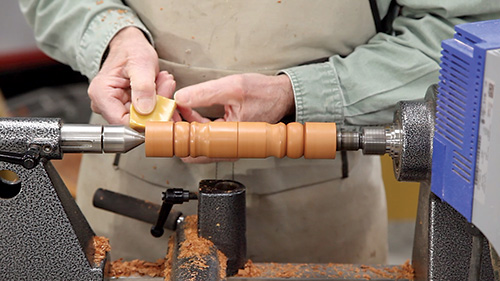
Pure carnauba wax is a fine finish in its own right. It’s a quick finish I use by itself for handles, boxes and turnings. Carnauba is the hardest of waxes and comes from the leaves of a Brazilian palm tree. It is so hard that it cannot be applied in its natural form. It’s an ingredient in many automotive waxes, furniture waxes and friction polishes for turning. These all have various forms of mineral spirits as a vehicle to apply the polish. Once the spirits evaporate, the wax can be buffed out.
At the lathe, pure carnauba in solid form is a friction polish par excellence, but you must use sufficient speed (per the speeds for shellac, above) to apply it. Hold the wax against the turning to coat the wood, then use chips or paper towel to melt it into a smooth, glossy coating.
Blended Oil Finishes
Like shellac, traditional oil finishes have been around for a long time. You can make your own by mixing equal parts of an oil-based varnish, a drying oil such as tung or boiled linseed and mineral spirits. While I’ve tried this homemade brew, I feel premixed commercial examples work just as well and save you the labor.
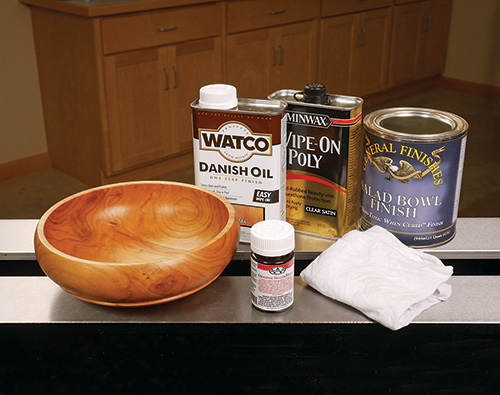
My favorite commercial oil finish these days is Waterlox Original Sealer Finish — a tung oil-based coating made in Cleveland. Other oil finishes that work well are Minwax Antique Oil (a linseed-based oil finish) and the widely available Watco Danish Oil.
Oil/varnish blends like this polymerize into a hard, durable coating within 24 hours. They have a healthy appetite for oxygen, which is what is needed for them to polymerize. Therefore, a can of oil finish either has to be decanted into smaller containers or used within a day or two to prevent the mixture from beginning to cure. Heat is released in the polymerization process, making this finish potentially flammable if rags are wadded up tightly after use. So, take great care to spread them out flat until the finish dries, and be just as cautious about throwing away brushes and wood shavings saturated with the wet finish. A fireproof metal trash can is a sensible safety measure to add to your shop if you plan to work with a lot of blended oil finishes.
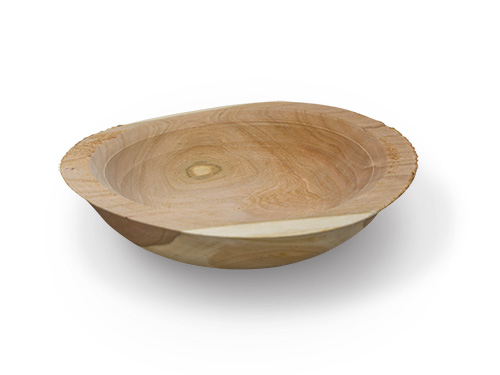
Oil/varnish finish is a great coating for bowls. It can be applied to a bowl that has been turned from unseasoned (green) or dry wood. Since it will inhibit water loss from the end grain, a rough-turned green bowl will dry more evenly, and less checking will occur.
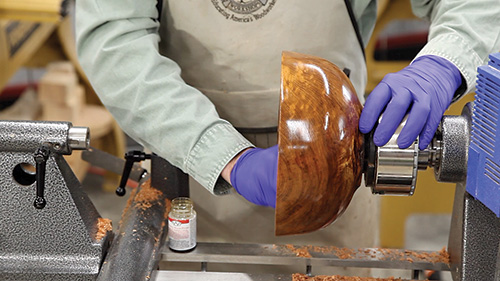
I use blended oil finish for most of my bowls. Once I have sanded a green or dry bowl up to 180-grit, I wipe on the first coat of finish. Then I sand the bowl with 180-grit again. Wet finish actually makes the sanding process more efficient, because the mixture of wood dust and oil fills the wood pores and then hardens into an ideal wood filler that perfectly matches the wood. Burnishing the applied and sanded finish with wood shavings enhances the pore-filling process.
I sand subsequent coats of finish into the wood at 24-hour intervals with progressively finer sandpaper. I use 220-grit for the second coat and 320 for all subsequent coats. Depending on the intended use and the wood the bowl is turned from, I apply anywhere from three to five coats of finish.
It’s handy to keep the bowl on the faceplate for the entire finishing process, which works better for dry wood bowls that aren’t inclined to warp. This doesn’t work as well with green bowls that will continue to distort in the hours following turning.
In terms of food safety issues, be sure to check the safety data sheets for whichever finish you choose. Waterlox’s data sheet, for instance, says that the finish is food safe after 30 days of drying subsequent to the last coat applied.
Walnut Oil
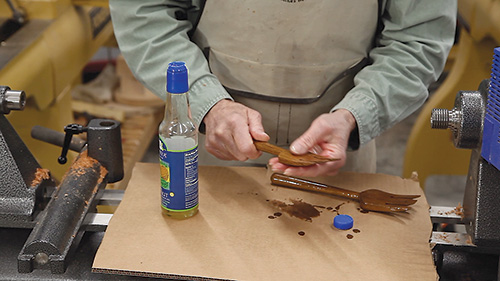
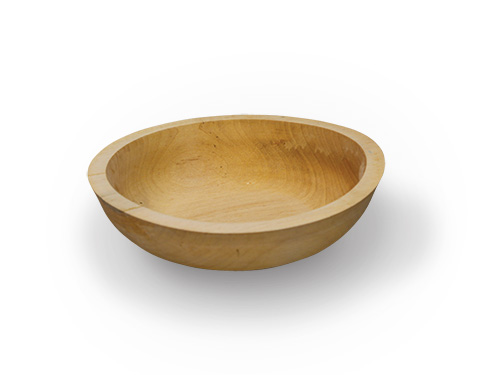
If you want an absolutely food-safe finish, it’s hard to beat walnut oil. You can find it at most grocery stores. In fact, I use my leftover walnut oil as a salad dressing — that’s how safe it is.
Walnut oil is my go-to finish for treenware and bowls that are intended to be used. Application is child’s play too: just pour some on the object to be finished and rub it in with your hands, then wipe off the excess. Although the object can be used immediately, it’s better to wait three or more days for the oil to soak in and begin to dry. Walnut oil will dry eventually, but it is slow to polymerize and does not form a very durable coating. However, you can recoat any time you wish to good effect, whenever the wood begins to look dry.
No Finish at All
That’s right, no finish at all is often a great option for turned objects. Bowls and treenware were seldom finished in antiquity.
Cooking oil and washing by hand will soon build an attractive patina that will enhance the character of your turned projects permanently.


