In the March/April 2019 issue of Woodworker’s Journal, I talked about the building process for the Wooden Hand Plane I made through a class at North House Folk School taught by guest instructor Paul Linden. (Find out a lot more about this school, located on the shores of Lake Superior in Grand Marais, Minnesota, at www.northhouse.org.) We didn’t just make the wooden body of the plane in that class, though: we also did some metalworking to create the plane blade, also referred to as an “iron.” Here’s how I made the blade for my scrub plane.
Making the Blade
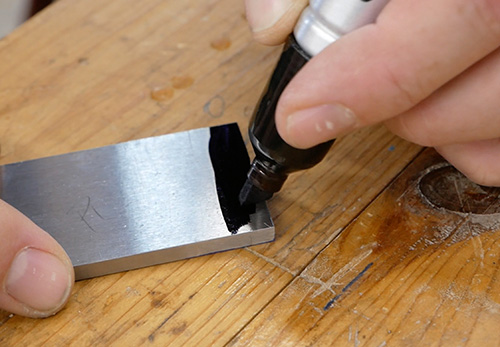
The class used O1 steel bar stock for making the blades. The first step is to color the end of the piece of steel which will become your blade with either a Sharpie® marker or some steel blue layout fluid. You will also need to mark the center line of the steel.
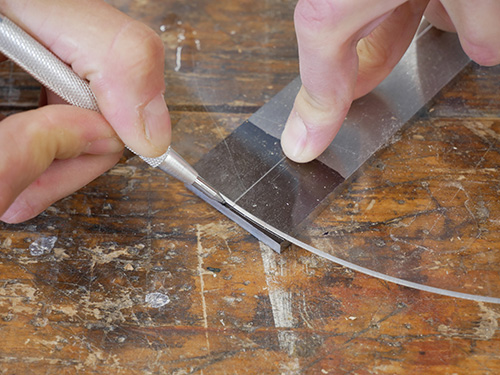
Next, you will need to scribe a curve on the blade end with a marking knife and then grind the metal at 90° to the line. I chose to make the radius on my blade 6″.
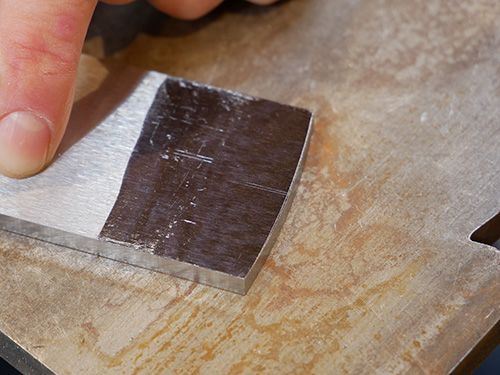
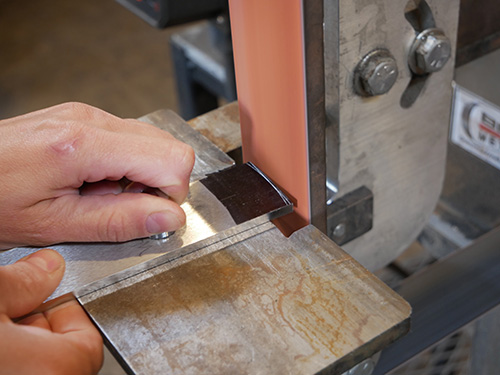
At North House, we used a belt sander to grind the curve onto the blade (photo 2). You will also want to camber the corners on the top of the blade so that they aren’t sharp.
Our North House class instructor had set up a jig at 45° for us to grind the bevel along the entire radius of the plane blade.
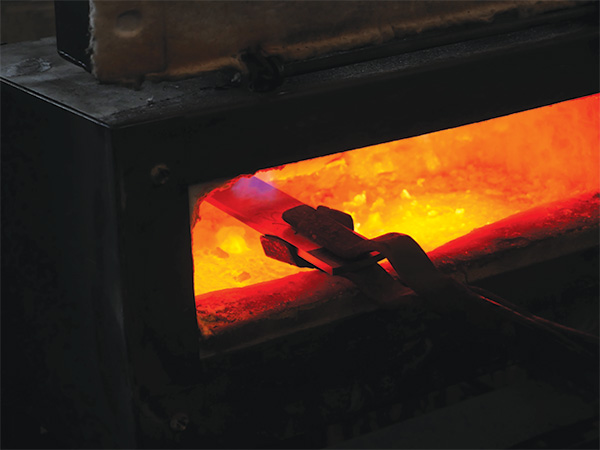
As participants in the class, we hardened the steel by heating it in a forge and then quenching it in oil at the beautiful blacksmith shop at North House — but there are many ways to create a small forge for home use, too.
You want to heat the steel a couple of inches up from the blade end to its critical temperature, where the chemical compounds change.
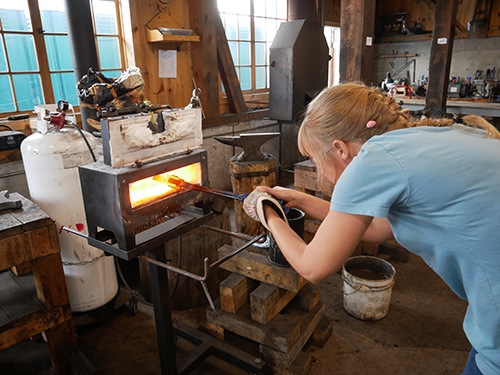
That means you will first look for the red glow to begin as the steel heats up. You will also want to use a magnet to check its magnetism.
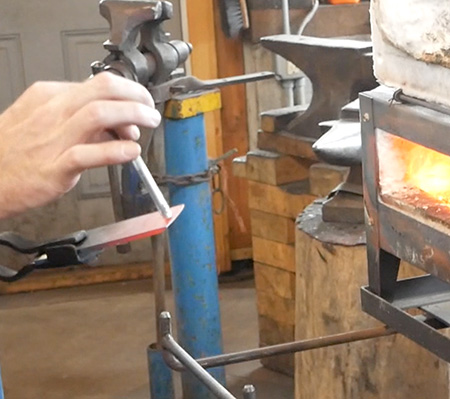
When the steel reaches a bright orange color, and no longer has magnetism, it has reached its critical temperature.

After our steel reached this point, we quenched it in oil. The “O” of O1 steel indicates that it is oil hardening: immersing the steel in the oil causes the steel to become hard.
Next, you will need to temper the steel by bringing it to a consistency that will maintain hardness, but still be workable (less brittle) for sharpening. You can achieve this by placing the metal in an oven (a toaster oven works just fine) at 350° for at least half an hour.
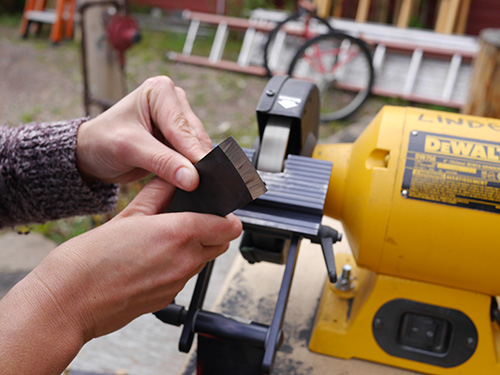
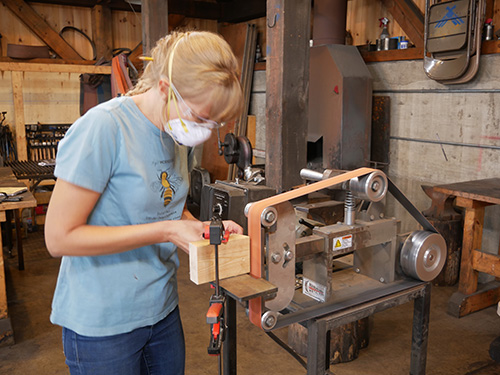
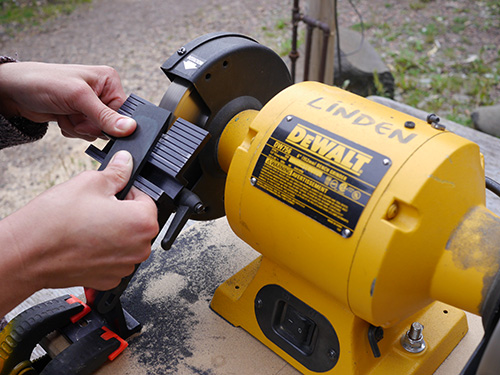
We used a bench grinder with 6″ diameter wheels to put a 25° hollow grind bevel along the radius of the blade (photo 7).
Creating this hollow grind along the radius will make it easier to sharpen and resharpen the edge. Next, we moved on to a Tormek sharpening system to refine the edge.

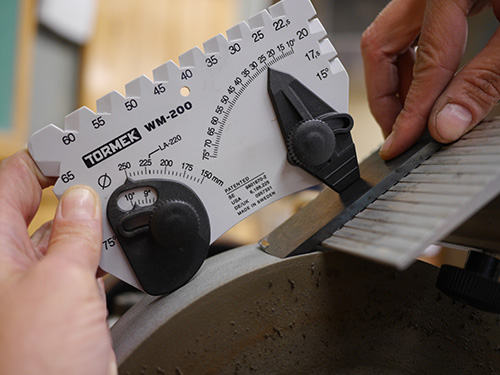
The Tormek features a 10″ diameter wheel which is larger than the 6″ bench grinder wheel used to create the hollow grind. This means the Tormek will not have to remove much material because it only makes contact along the front and back edges of the bevel. Set the Tormek tool-rest to 25°. Starting at one corner, pivot the bevel across the wheel to get a nice, even grind across the blade.
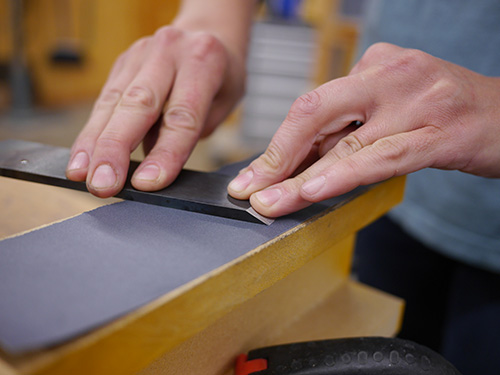
Finish sharpening the edge on sharpening stones or sandpaper. In this case, we used wet/dry sandpaper, 220 grit through 2,500-grit. Start by flattening the back of the blade with the sandpaper on a flat surface, like your jointer bed, or a flat piece of stone or glass.
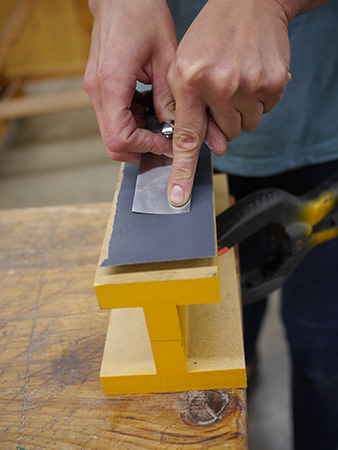
You only need to flatten the first couple of inches of the blade. As you move through the grits, getting finer and finer, the back of the blade will get shinier and shinier, like a mirror. You want to hold the blade so that it is completely flat; don’t rock it back and forth.
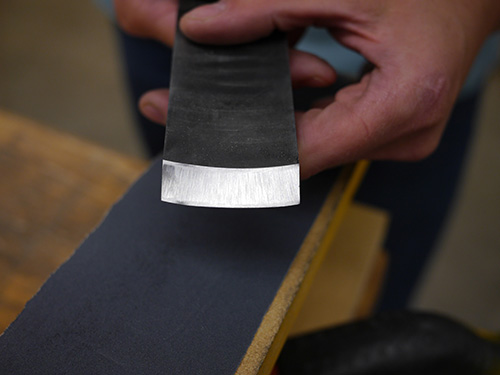
Next, hold the ground edge on the sandpaper and find the spot where you are resting on the front and back edges of the blade. Using sweeping motions, create a flat on the front and back edges of the bevel. This should develop a mirror-like shine across those edges.
Finishing Up
To help prevent rust when your plane is not in use, apply a thin coating of a protective oil, such as camellia oil, on the blade.
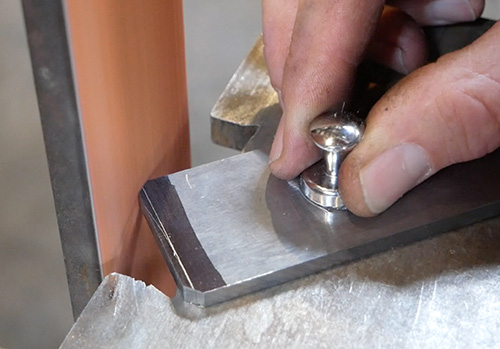
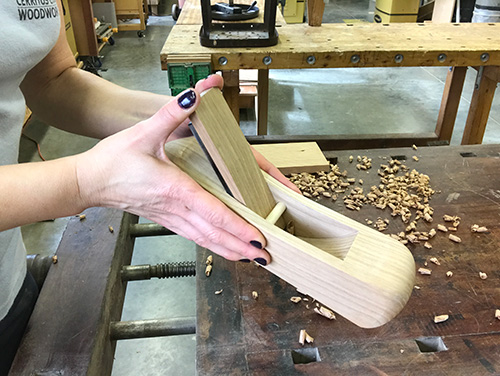
And, at last, you are ready to install the iron into your wooden plane body. Place the blade, with the bevel down, along with the wedge into the plane body so that the tip of the iron is about to come out the bottom. Using only thumb pressure, press the wedge in tight, making the blade protrude no more than 1/16″.
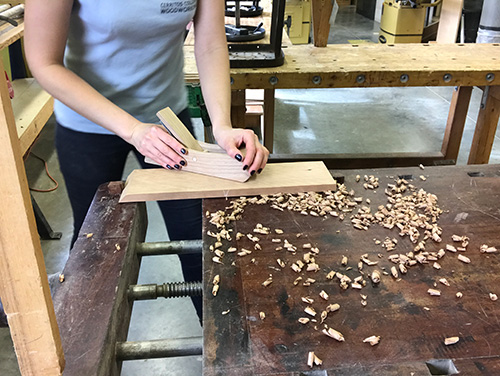
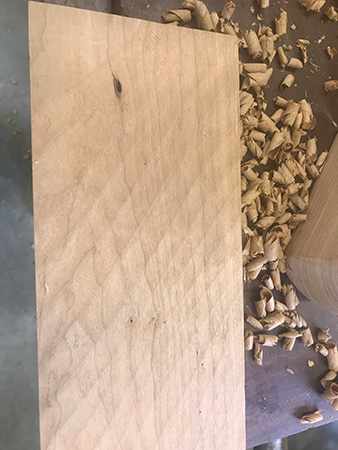
It was so exciting trying my hand plane and having it cut beautifully the first time! I am using my scrub plane to add texture to projects: starting with freshly milled wood and leaving little rounded grooves. My plane can also be used to make 45° passes across a board in one direction and then the other to take out any high spots to begin the process of flattening a board.
I’ve made other tools, but this was the most in-depth start to finish process I’ve experienced. I find learning old-school ways of working to be invaluable. That knowledge provides a base for innovation.
I had a blast with my class, and I really appreciate the attention to detail and wealth of knowledge our instructor, Paul Linden, shared. North House Folk School is a very special place for me, and I believe many of the other students feel the same way. It has become place where I cross paths with new and old friends. There is always something to learn. With the diversity of craft-based classes that are offered, there is something for everyone. The mission of NHFS, “to enrich lives and build community by teaching traditional Northern crafts,” is being accomplished with flying colors.


