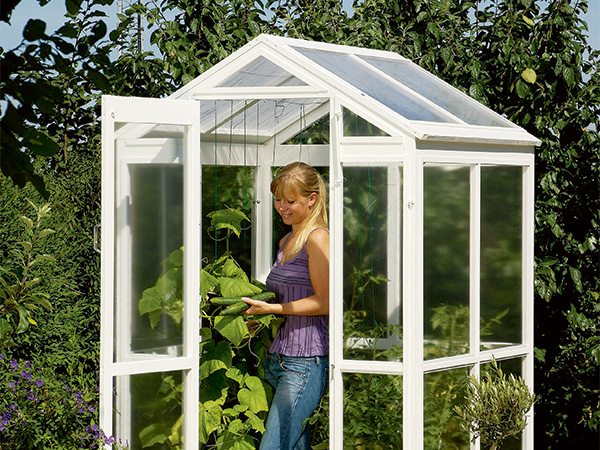
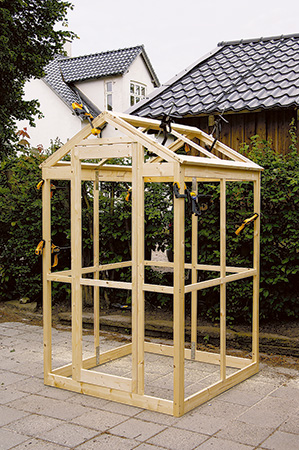
Greenhouses are great for starting plants earlier in spring and extending your growing season in fall. Unfortunately, they normally take up lots of precious yard space, can’t be disassembled or moved easily and are often difficult and expensive to build.
Not so with this design. It measures only 4 x 4 feet, disassembles in minutes with wingnuts and can be built in a weekend for less than $300.
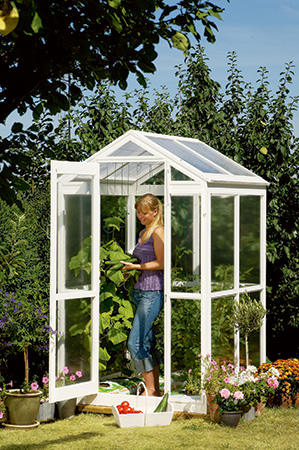
Although this greenhouse is small, it can be used to start an entire garden’s worth of seedlings or grow a year’s supply of herbs. I use mine for tomatoes and cucumbers — plants that are tough to grow outside in our short, cool Denmark summers.
Stick-build the Gables Using a Template
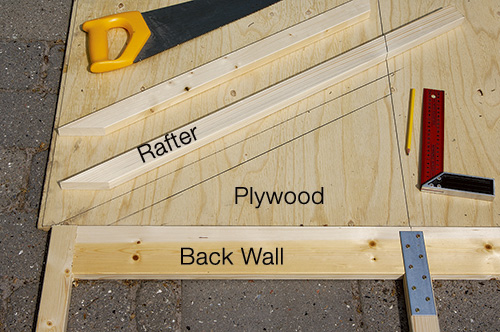
– Place the back wall adjacent to a piece of plywood and draw the gable shape. Mark the angles (approximately 60°) on the rafters (pieces 12) and make your cuts.
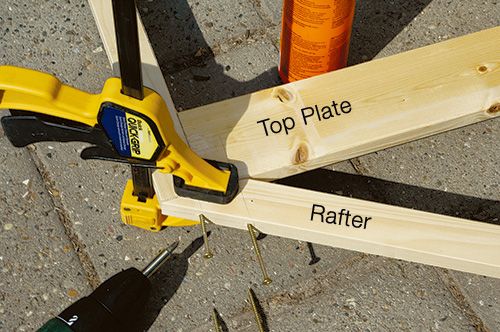
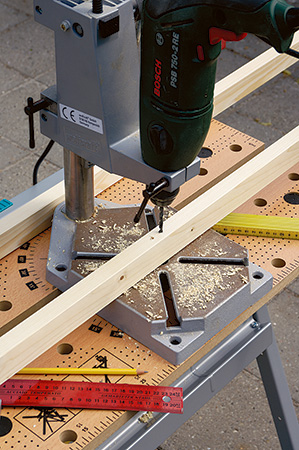
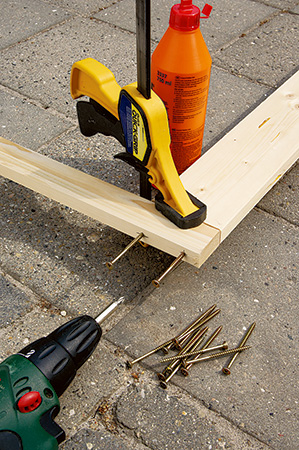
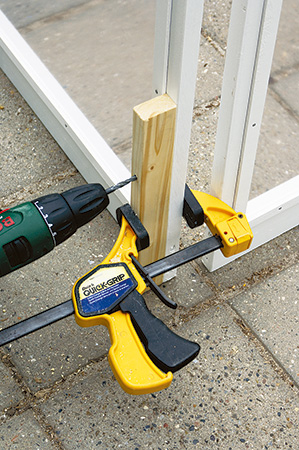
– Join the rafters at the peak and to the top plate. Use exterior glue and galvanized screws. Make the job easier by pre-boring all screw holes and by clamping the workpieces together prior to driving the screws.
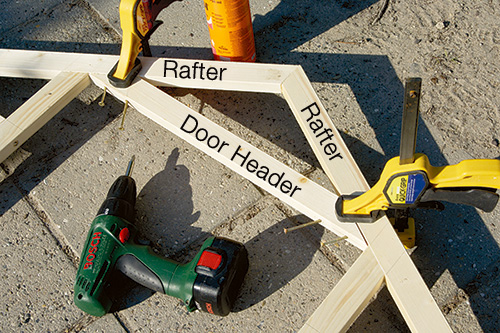
– Mark for the two angled cuts on the door header and make the cuts. Then glue and screw the header to the rafters.
Building the Roof and Wall Panels
I used 1″ x 4″ pine for building the wall panels. Rip 6-ft. lengths to obtain all the long verticals (pieces 5 and 6), cross braces (pieces 7), door and door frame (pieces 8 and 9) and roof framing (pieces 14 and 15).
Break all sharp edges with 120-grit sandpaper, removing any splinters. Then cut to the lengths specified in the Material List. Next, cut all the horizontal framing members, including pieces 1 and 2.
Rough-cut pieces 3, 4, 10, 11, 12 and 13, making them all an inch or two long. It’s easiest to take exact measurements for these parts, and make final cuts, during assembly.
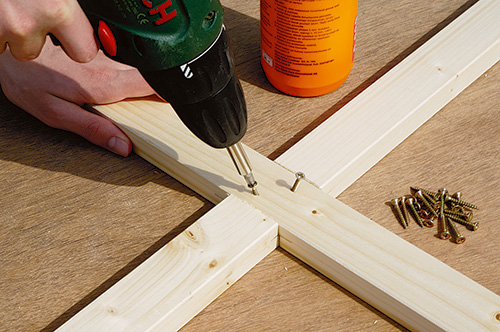
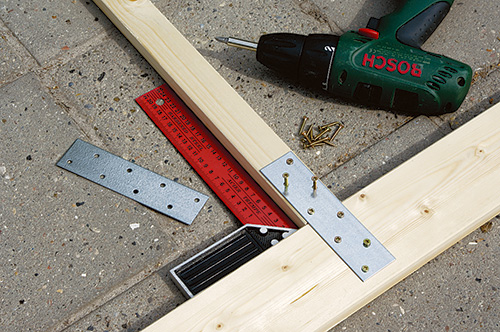
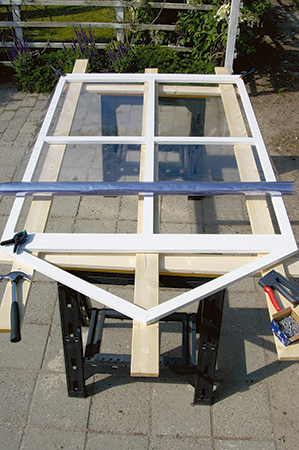
Assemble the two sidewalls and back wall (all three are identical) using galvanized screws and mending plates. For the front wall, lay out pieces 1 and 5 in position on a flat surface. Lay a piece of plywood adjacent to the wall top.
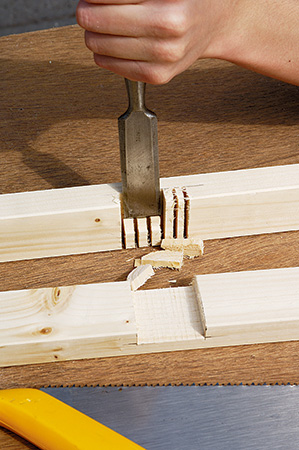
Mark a centerline on the plywood. Then lay the boards for the rafters (pieces 12) in position and carefully mark them for the angled cuts. You’ll know the parts are placed correctly when the rafter boards and centerline intersect.
The angle at the top plate should be approximately 30° and the angle at the peak should be approximately 60°. Make your rafter cuts and position them on the plywood once again. Now lay the door header (piece 13) in position and mark for the angled cuts.
Follow by measuring for pieces 8 and 4, making final cuts only when you’re sure they’ll fit snugly. You can then assemble the front wall using screws and mending plates.
Take exact measurements for the door only after you have assembled the front wall. Cut door pieces 3, 9 and 10 to length, allowing for a 3/16″ gap around the door perimeter. Assemble the door using screws, and attach the door hinges. Cut duplicate rafters (pieces 12) for the back wall and assemble it in the same way you did for the front wall.
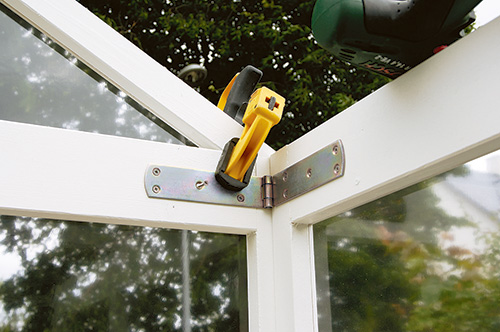
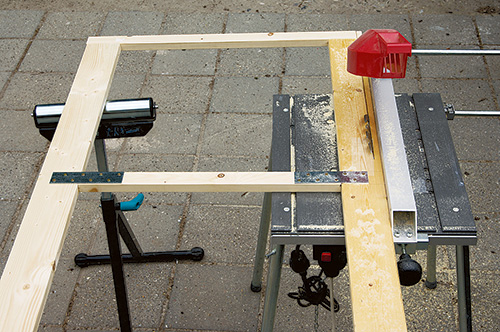
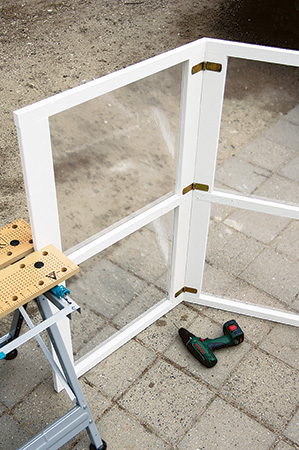
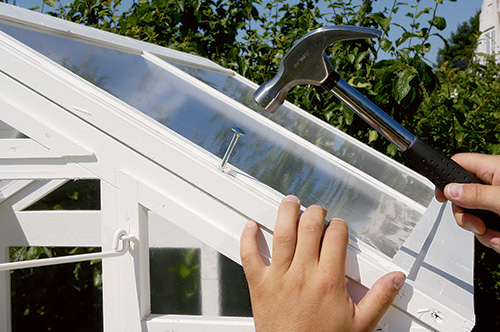
Now assemble the roof panels using galvanized mending plates and screws. Bevel the top edges of the roof panels so they meet smoothly at the ridge. Make test cuts in scrap wood to find the proper angle.
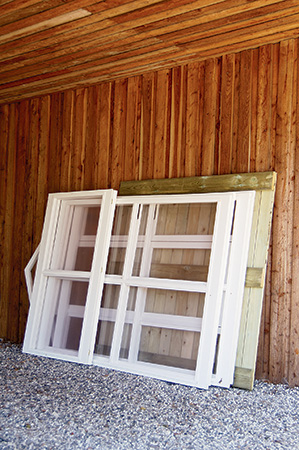
Finish the door, wall and roof panels with a good primer and two coats of exterior enamel. When it’s dry, install the door stop (piece 17) and a latch in the front wall.
Adding the Glazing
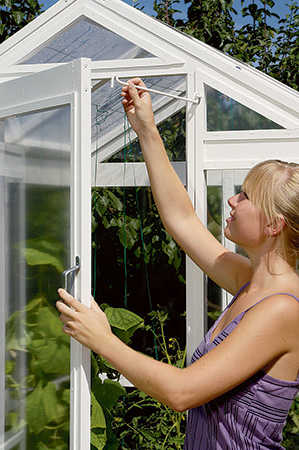
The panes for the greenhouse are not made of glass — it would be too heavy and dangerous to move around. Instead, the frames are covered with plastic film, which is a less expensive but very efficient solution. The least expensive solution is to use the heaviest mil polyethylene you can find. Although it will eventually become brittle and cloudy due to the sun’s UV rays, it should get you through two or three seasons.
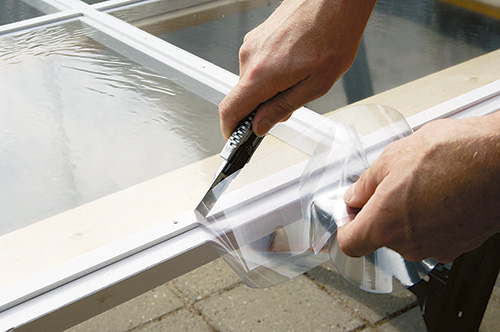
If you want something longer lasting, use greenhouse film. It is clear, strong and guaranteed to withstand the sun’s rays for up to four years. Greenhouse film is more expensive than the polyethylene you can buy at a home center, but it’s still less expensive than glass or acrylic. The cost of glazing for my greenhouse was approximately $100. Attach the film with staples, and then cover the staples and edges with trim.
Making the Platform
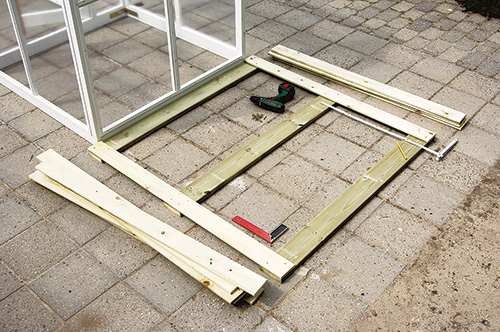
Cut decking boards and sleepers (pieces 18 and 19) to 55″ lengths and assemble them using galvanized screws. Evenly space the boards, allowing gaps for water to drain through to the ground.
Use pressure-treated wood for all decking boards as they will be subject to moist conditions and would otherwise rot.
Erecting the Greenhouse
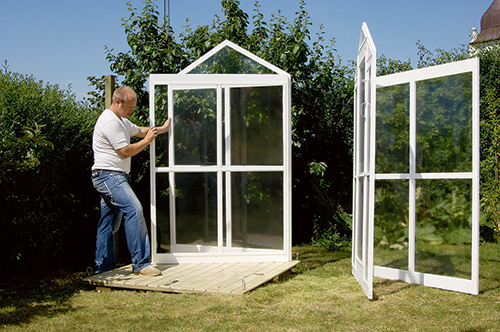
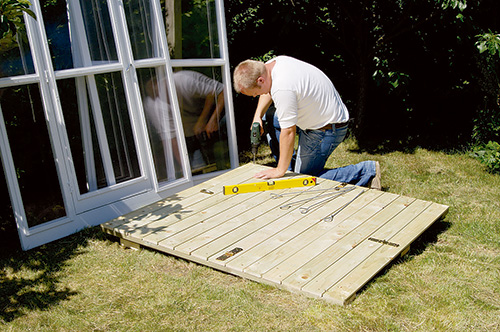
You are now ready to erect the greenhouse. With the assistance of a helper or the use of clamps, join the front wall to a sidewall with three hinges and secure it to the platform with a fourth hinge. Use bolts and wingnuts with all platform connections to make disassembly quick and easy.
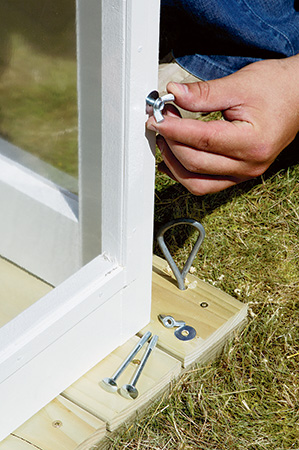
Assemble the back wall and the remaining sidewall in the same manner and attach it to the platform. Then bore holes for joining the walls at the non-hinged corners and fasten these with bolts and wing nuts. Carefully attach the roof panels with bolts and wing nuts as well. Although the structure is quite stable at this point, I recommend the added precaution of staking the platform to the ground. Simply bore holes in the platform corners and drive landscape spikes through them.
Add the plant containers next. Square plant containers will make the best use of the space and can be built from leftover scrap wood. Make them as large as possible so the soil does not dry out too quickly and so plant roots have plenty of growing room. Don’t forget to bore holes in the container bottoms to promote adequate soil drainage.
Where to Place Your Greenhouse
Locate your greenhouse in a sunny spot where you don’t mind losing a small patch of lawn. You can place it near a fence or building as long as the exposure is southern. A sheltered location will protect your greenhouse from winds and help it maintain warmer temperatures.
Click Here to Download the Drawings and Materials List.
Lars Dalsgaard is a woodworker from Denmark.


