This article, “Making an Executive Spin-Top,” by Sam Angelo, is from the pages of American Woodturner and is brought to you by the America Association of Woodturners (AAW) in partnership with Woodworker’s Journal.
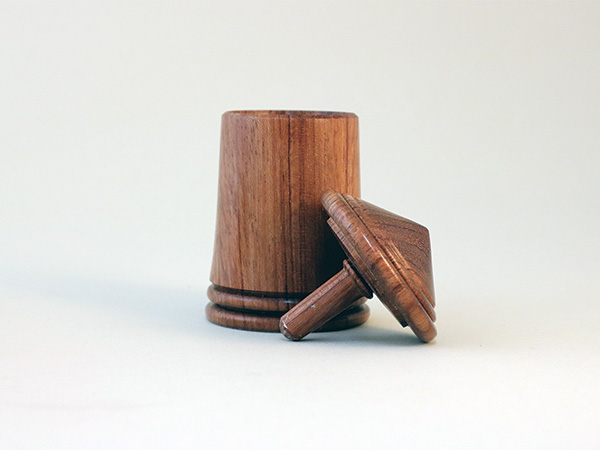
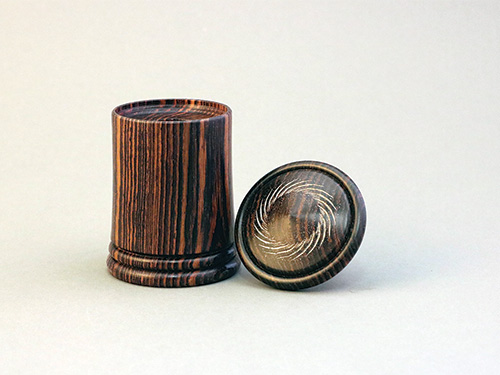
An executive spin-top is an elegant and functional bit of art that can sit upon the desk of that very special person in your life. There are two elements to this project: a base, or stand, and a spin-top that sits in the base when not in use. Both parts are turned from one blank of wood. I used Mexican kingwood in the example shown in this article, but any wood with prominent grain would be good, as the grain running from base to top will line up.
A hole drilled into the top of the base allows the spin-top to rest with its handle pointing either up or down. My aim is for the base to cradle the top securely either way. This is a good project for beginning turners who want to practice spindle-turning skills, including drilling at the lathe.
Wood Selection
You can turn this project from any piece of well-seasoned or kiln-dried wood. The blank used in this article measured 2″ (5cm) square by 4″ (10cm) long. The base will be left solid with only a 3/8″ (10mm) hole drilled for the handle, or stem, of the spin-top. If you are using air-dried lumber, be cautious about selecting wood that has not reached equilibrium with the moisture content in your area. The best guide is your own experience selecting wood that you can trust will not crack after you have completed the project.
Turn the Spin-top
Start by mounting the blank between centers and rough-turning it round. The diameter of the turned blank is about 2″. The section that will become the spin-top is 1-5/8″ (41mm) long, and the base blank is 2-3/8″ (6cm) long. Turn a shallow groove with a narrow parting tool to indicate where the base will be parted from the spin-top.
While the workpiece is still mounted between centers, form a spigot, or tenon, at the spin-top end of the blank, then mount the workpiece in a four-jaw chuck. The shorter section, nearest the headstock, will become the spin-top.
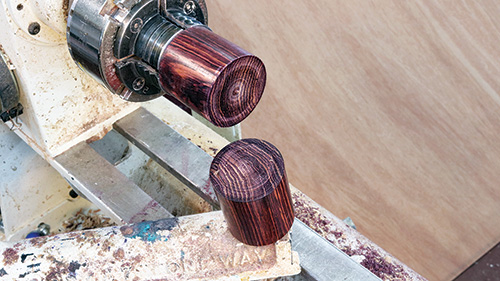
Form a tenon on the opposite end for mounting the base later; I use a point tool for this job, but you could also use a spindle gouge or parting tool. Using a thin parting tool, part off the base blank section.
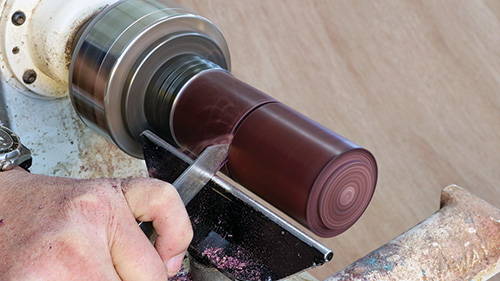
Starting at the point end of the spintop, use a spindle gouge to remove wood and shape the top’s angle. The shaving coming off the spindle gouge shows which part of the edge is doing the cutting. To start this cut safely, begin with the flute closed (rolled toward the 3 o’clock position), the bevel lined up in the direction of the cut, and the tool held horizontally. Once the cut has been initiated, the flute can be opened to 45°, a more efficient cutting angle.
I make a final pass with a skew chisel. You may prefer to use just a spindle or detail gouge or some other tool that works best for you. Whatever tool you select at any point in this project is certainly a personal preference.
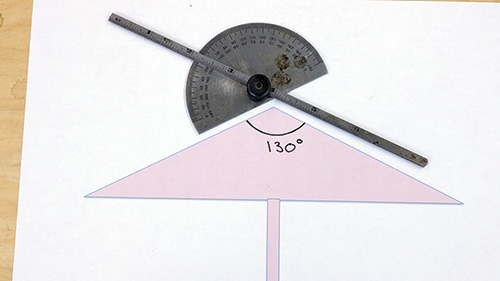
During the process of writing this article, I turned several other executive tops to completion. I used different woods and experimented with the shape of the spin-top. The point angle on my first top measured 140°; this proved a bit too shallow. It did spin, just not very well. In subsequent attempts, I made the point steeper, around 130°, and it was much easier to make the top spin.
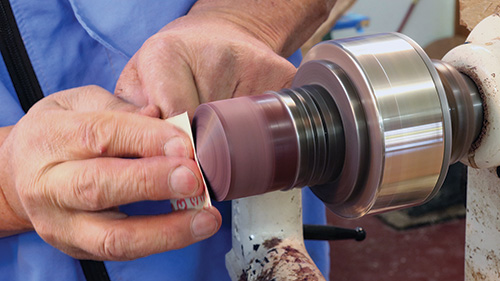
I sand and apply finish to the spintop at three stages in the process: one, after I form the top’s angle; two, after I form the flat top of the top; and three, after I form the spin-top’s handle, or stem. I sand each section to 1000-grit abrasive. Using a small piece of shop towel, apply friction polish with the lathe off.
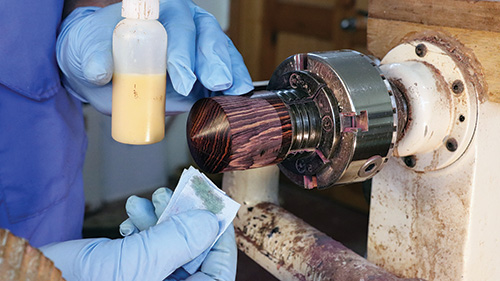
Then buff with a dry section of paper towel with the lathe spinning at 500 rpm. Another option is to buff the piece using a buffing wheel off the lathe. An important rule is never to use cloth around a spinning lathe, as a cloth wrapped around a finger could result in a severe injury if the cloth gets caught on the spinning wood.

My favorite tool for removing wood in a tight spot is a 1/4″ (6mm) bowl gouge with a short bevel and a 50° nose angle. I find that using a small bowl gouge helps dampen vibration. Turn, sand, and finish the flat top of the top section.
Richard Raffan, in his DVD, Turning Toys with Richard Raffan (Taunton Press, 2014), says, “It’s not a project for scrapers or scraping techniques; spinning tops demand slicing cuts.” I agree. A small skew chisel works well to reach and make proper bevelrubbing cuts on the top’s handle. Turn the handle to a diameter just under 3/8″, so it will fit into the hole you will drill in the base section. Sand and apply finish to the handle.

Part off the spin-top at the handle end. I use a skew chisel, making a “V” cut with the long point down. Increase the size of the cut until the spin-top drops away. The point on the top handle’s end where it was attached can be sanded and finished off the lathe. Turn the base
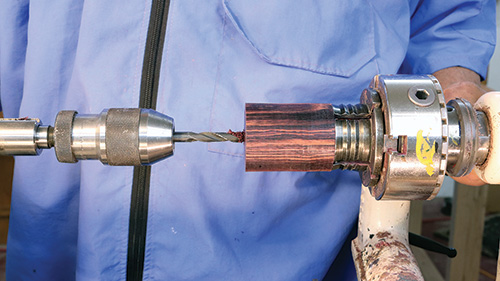
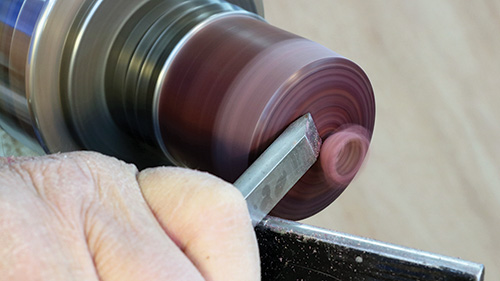
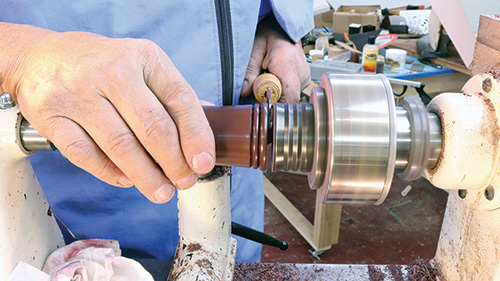
With the base section securely mounted in the chuck, begin by drilling a 3/8″ hole into the top of the base. Prior to the drilling operation, I create a small recess on the end of the blank at center. This helps prevent the drill bit from wandering. I use a skew chisel in scraping orientation (flat on its side), but you could use any tool with a square corner: a beading or parting tool, a bedan, or a square-end scraper.
Drilling the hole early in this process allows me to periodically check the fit of the spin-top into the opening of the base. The final fit between the top and base must be secure with no side-to-side movement.

On the flat top of the top area, I’ve turned a few steps, or elevations, including a small bead at the base of the top’s stem. The top of the base is outlined in white pencil to correspond to the profile of this part of the top. The goal is to turn away the appropriate levels in the base so the top will sit nicely in it.
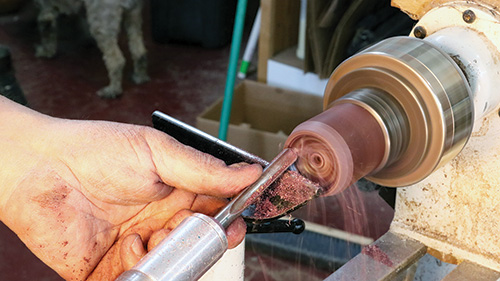
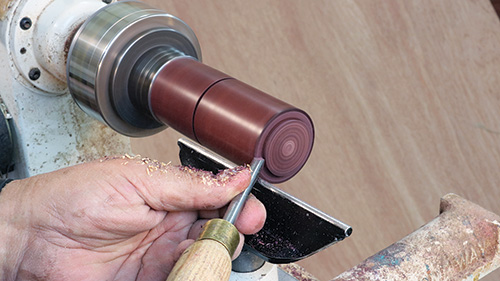
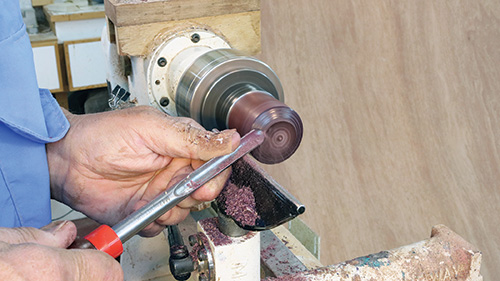
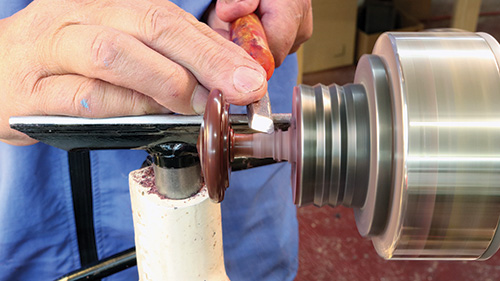
I remove the bulk of the wood from the recess at the top of the base with a bowl gouge. Notice in the photo that I am cutting toward the center of the recess—into unsupported wood because it is endgrain. Although the quality of the finish is adequate, I will improve it and refine the profile “steps” using my skew chisel (Photo 15). It is critical to present the skew horizontally in a scraping orientation. There is a sweet spot between removing wood safely and an unpleasant catch. Take light passes to get the feel of it. It also helps to remove the burr from the skew with a diamond hone, as this results in a better surface and a less aggressive scrape in dense wood.
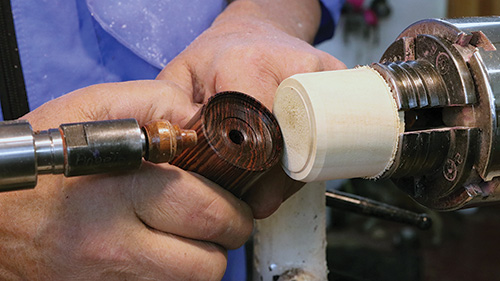
As I progress, I measure each stepped element on the top periodically with calipers. These dimensions are carefully transferred to the recess in the top of the base. Marking with calipers will only approximate the final fit; it is important to stop the lathe and insert the top into the recess to check your progress. Do this until the top and base match up seamlessly.
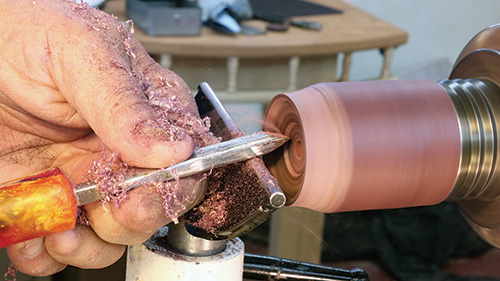
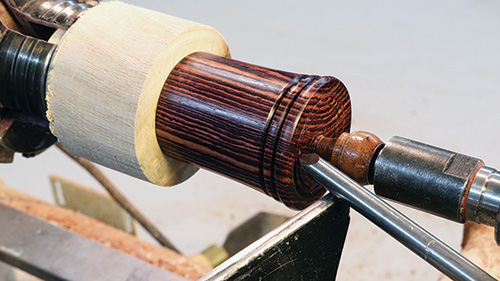
With the top held in the base, you can see how the spin-top becomes part of the overall design. It sits slightly proud of the top of the base. This feature allows the top to be removed easily. Using a beading tool, I form two beads at the bottom of the base. The outer diameter of the spin-top forms another bead that plays off the two beads on the base.
Part off and Finish Bottom
The next step is to part off the completed base. Using a newly sharpened thin parting tool, I slightly undercut the base. With a sharp tool and a slow traverse, my goal is to create as clean a surface as possible. This will help minimize any cleanup when the base is reverse-chucked in the next step.
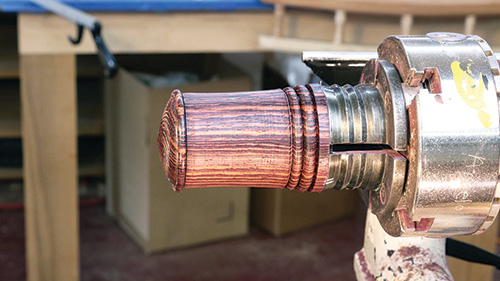
Here is the setup for jamchucking the base to finish turning its bottom. Reverse-chucking involves using a small scrap of wood for a friction drive. A short tenon is formed on the friction drive that mates snugly with the recess in the top of the base. Secure the base on the jam chuck using the tailstock, then turn away any tool marks on the bottom with a detail gouge.
Sand and apply a finish to the exposed area at the bottom of the base. A point tool makes simple work of adding decorative grooves. The small area covered by the live center can be completed off the lathe. I sand this area using a 1″ (25mm) sanding pad chucked into a drill press or die grinder. With this last step, the project is completed.
Alternatives
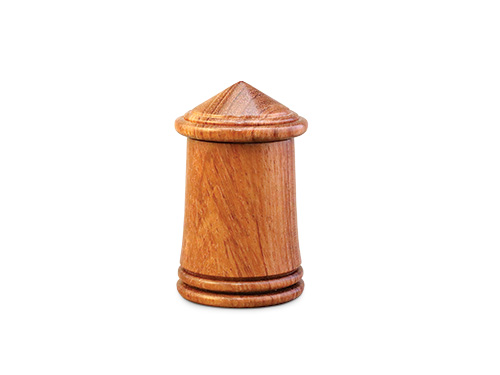
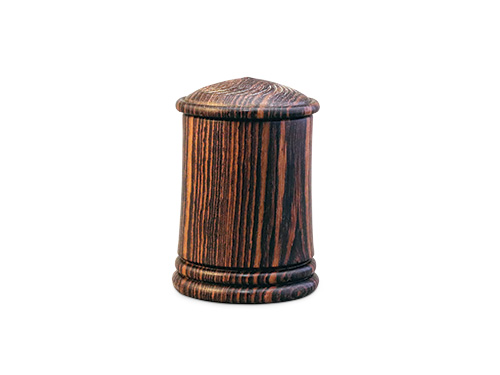
This executive top and other small projects not requiring a great investment in wood or time can be a good way to explore design options. Turning a second executive top with an identical shape but in another species of wood can look entirely different. Another option is to create a lidded box with the spin-top serving as a lid. Have fun turning your own executive top.
Sam Angelo began woodturning in 1988 using a borrowed lathe. He initially repaired furniture parts for his restoration business; then his interests expanded to lidded vessels, hollow forms, and decorative pieces. Sam’s favorite projects incorporate hand-chased threads. He continues to turn daily in his Wyoming shop and to produce educational videos for his YouTube channel: wyomingwoodturner. View examples of Sam’s work and contact information at wyomingwoodturner.com and samangelo.com.


