This article, “Turn a Trivet and Wine Caddy,” by Walter Wager, is from the pages of American Woodturner and is brought to you by the America Association of Woodturners (AAW) in partnership with Woodworker’s Journal.
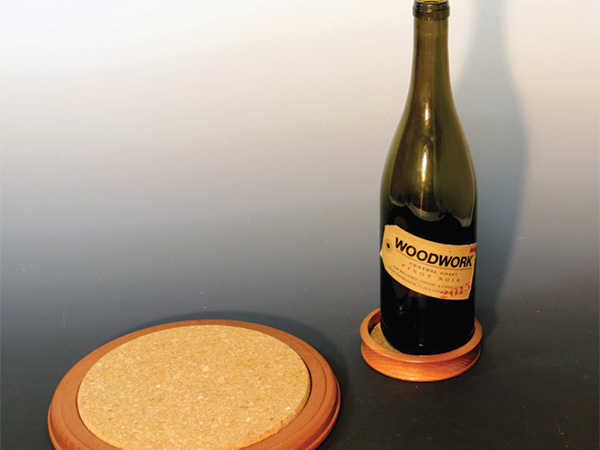
A trivet, or hotplate with a cork insert, is a good beginner’s project that can easily be turned on a lathe with a modest 10″ (25cm) swing. The techniques are easily adapted to other projects for the kitchen or dining table, and I chose to pair a wine caddy with the trivet. The tools I used on this project include a bandsaw, midi-lathe, 2″ (5cm) scroll chuck, a 3/8″ (9.5mm) bedan, a 3/8″ bowl gouge, and a 3/8″ spindle gouge. The project consists of turning a shallow platter with a recess for a cork insert.
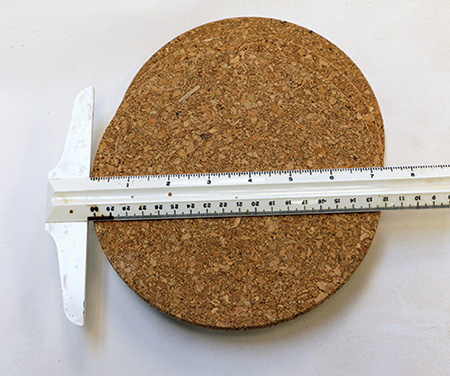
Cork hot plates are available from a number of sources on the Internet for about $2 each. I ordered a package of three 7″ (18cm) cork hot plates from IKEA. They were actually 7-1/4″ (18cm) in diameter and about 3/8″ thick.
What’s a Bedan?
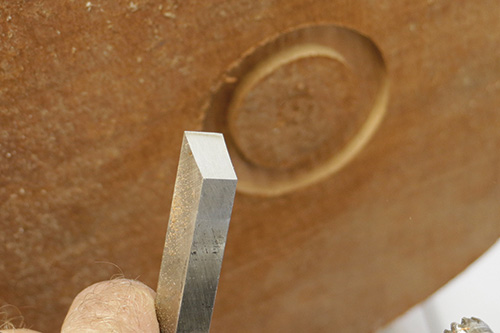
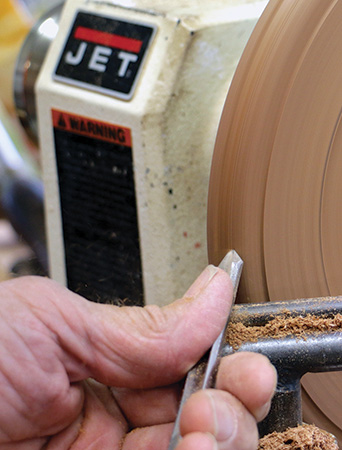
At first glance, the bedan looks like a square scraper, but the profile of the tool is trapezoidal, with the tip beveled at an angle sloping away from the wider top. The bevel is ground to approximately 40 degrees. This is a versatile tool, especially in the hands of French turners who tend to use the tool bevel-up, much like a skew.
I use the bedan with the bevel down, like a scraper, and because of the trapezoidal shape, the bottom of the tool does not bind in the kerf. This is useful for cutting straight into sidegrain, such as forming the chucking recess in this trivet project. I get the best results when the cutting edge is on center and the handle is parallel to the lathe bed or slightly up.
Prepare the Blank
The wood for this project should be well seasoned, or it is almost guaranteed to warp after turning. I chose a piece of sapele from my lumber stash. To accommodate a 7″ cork insert, cut a 9″ (23cm) disk from 1″- (25mm-) thick stock. The first recess for chucking will be cut into the top of the blank—where the cork will eventually be inset—so evaluate the grain pattern and location of any defects to select the top. As most of the top is dominated by the cork insert, save your museum-grade burl for other projects.
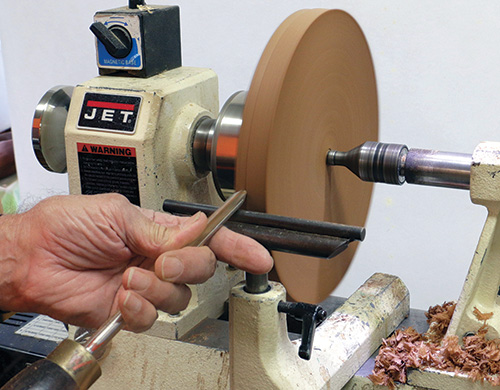
Create a Recess for Chucking
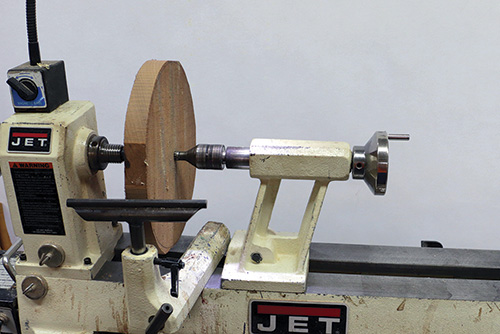
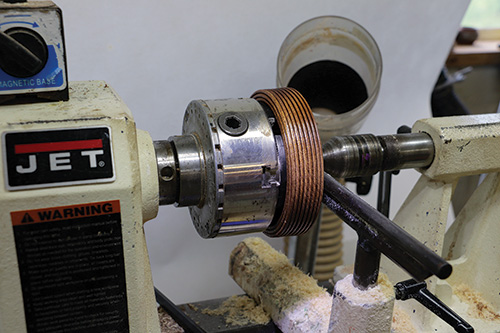
To mount the blank on a scroll chuck, you’ll need either a tenon or a recess to accommodate the chuck jaws. I chose a recess to preserve the thickness of the blank. I mounted the disk between centers with the top oriented toward the tailstock and used a bedan to cut the recess for the chuck jaws. Viewed from the end, the bedan has a trapezoidal shape and is wider at the top and narrower at the bottom.
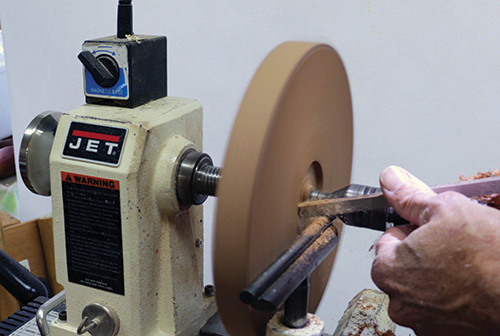
I used the tool like a scraper to produce a recess 3/8″ wide, 2-1/8″ (54mm) in diameter, and 1/4″ (6mm) deep.
If a bedan is not in your tool kit, you can use a parting tool to form the recess. Another alternative is a 2-1/8″ Forstner bit in a drill press.
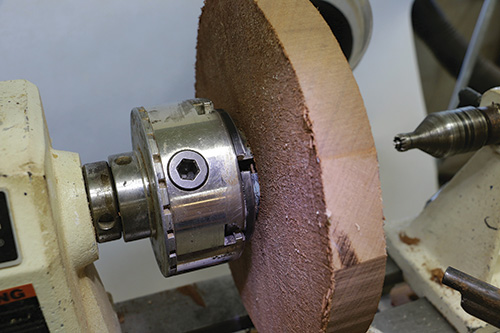
Remove the disk from between centers and secure it on the scroll chuck.
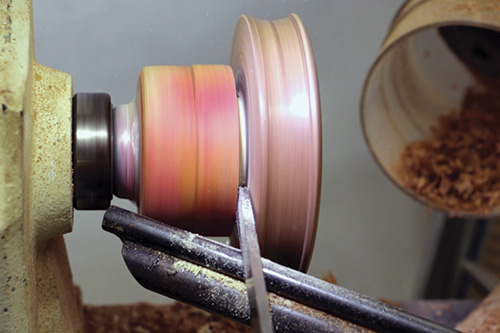
True the Rim
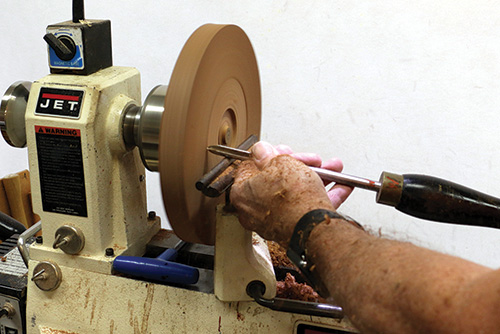
Using a 3/8″ bowl gouge, I cut from left to right to true the outer edge. For safety and additional stability, keep the tailstock engaged.
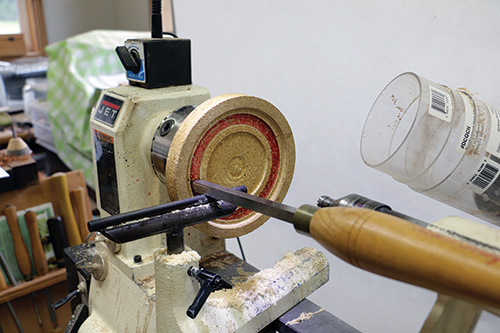
To finish the top of the trivet (now facing the lathe’s headstock), you’ll need a way to remount the blank from the bottom. I removed the tailstock and used the bedan to make a 2-1/8″ × 1/4″ recess on the bottom so the disk can be reversed on the chuck.
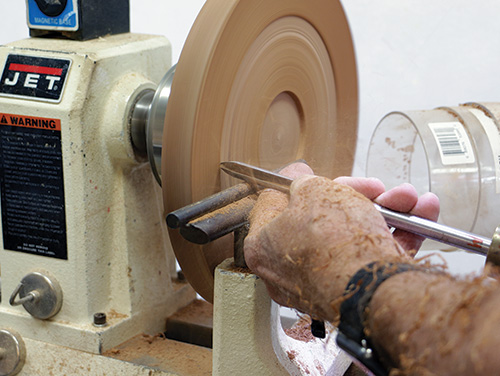
The bottom needs to be slightly concave so it will sit solidly on a flat surface. I used the 3/8″ bowl gouge to cut from the center toward the outer edge to remove any warp and make the bottom slightly concave. A straightedge held against the bottom (with the lathe off) offers a reality check and identifies areas where more work with the bowl gouge or bedan is needed. The recess in the center must be preserved, so double-check its dimensions and recut it as necessary to maintain the 1/4″ depth.
With the bottom profile completed, sand the bottom. Sanding through 320-grit abrasive usually does the job.
Turn the Top
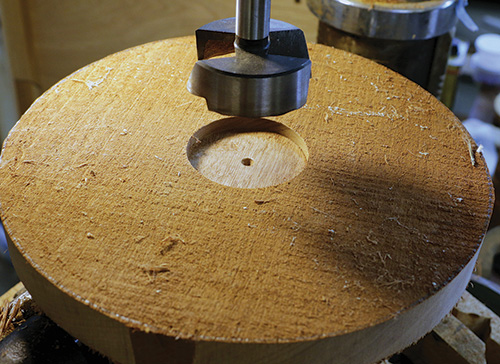
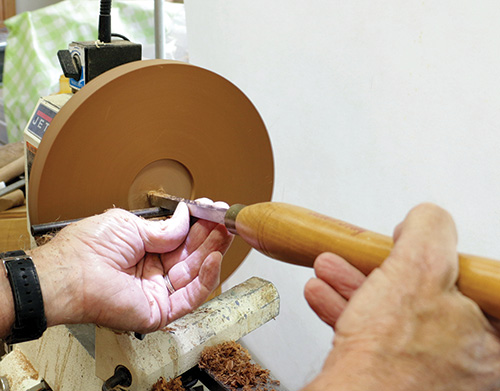
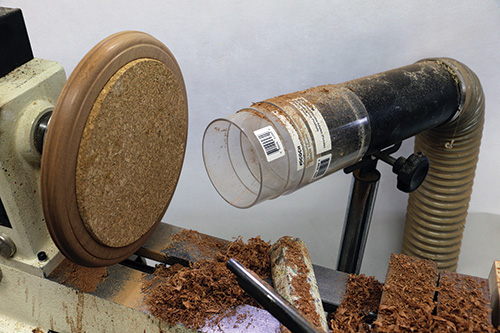
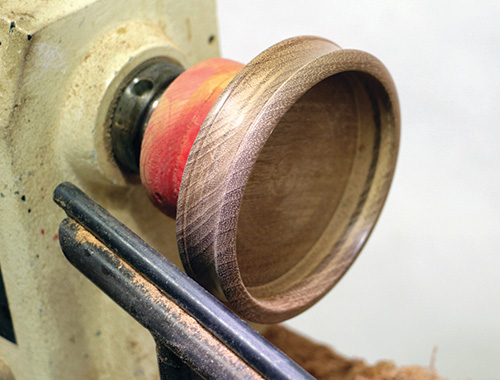
After the bottom is sanded, reverse-chuck the blank to turn the top of the trivet. Using the bowl gouge or bedan, I first leveled the top. Then I enlarged the recess for the cork insert—using the bedan or a parting tool—to a diameter and depth appropriate for the cork insert I had on hand.

With the aid of calipers, I found the actual thickness of my cork insert was 0.4″ (10mm). I decided to make the recess 0.2″ (5mm) deep so that half the thickness of the cork would extend above the surface of the trivet.
I used a spindle gouge to shape the rim, creating a simple round-over with a fillet cut on the top and side.
Double-check the flatness and diameter of the recess, then dry-fit the cork to confirm a good fit. Remove the cork and sand the top to completion.
Any finish appropriate to your time, budget, and wood species will work for this project. I like to remove the sanded blank from the lathe and finish it with a spray acrylic lacquer. For a permanent installation, the cork can be glued into the blank with a suitable adhesive. However, I attached the cork using double-sided tape so it can be replaced easily, should the cork become damaged.
The Wine Bottle Caddy
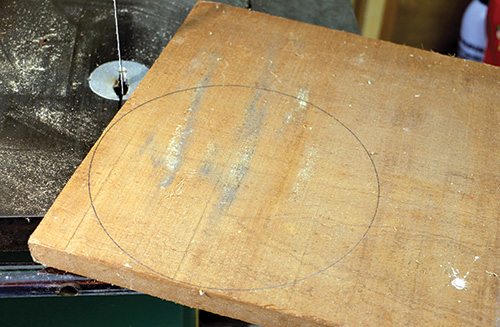
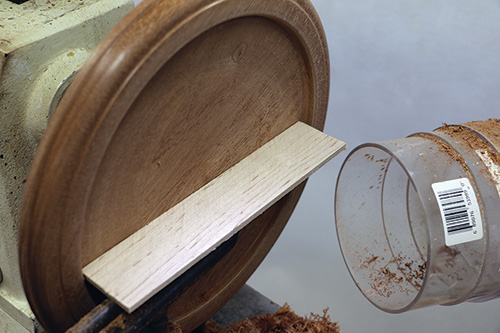
With three cork disks in the package and only one needed for a trivet, I decided to make a matching wine caddy to grace the table. Most 0.75-liter wine bottle measure 3-1/4″ (8cm) in diameter, so I cut a 3-1/2″ (9cm) disk from a cork disk. Careful cutting on the bandsaw or scroll saw will produce a nice round disk, and each hot plate disk I purchased will actually yield two wine caddy disks.
The caddy was turned using the same techniques as the trivet, but for this project I started with a 4-1/4″ (11cm) blank on a glueblock. I wanted the cork insert to sit below the surface of the disk, and the glueblock mount allowed a deeper recess to be cut in the blank.
As with the trivet, I cut the recess in the top of the blank using the bedan, and shaped and finished the rim with a bowl gouge.
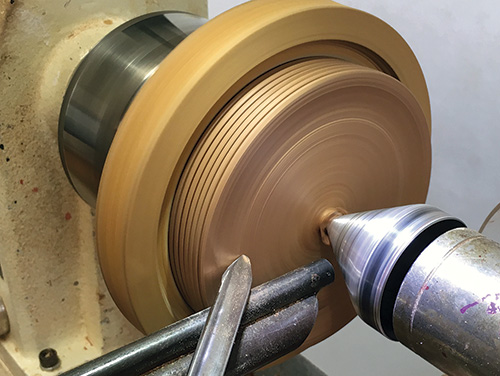
Part the wine caddy from the glueblock using a parting tool and reverse the blank on a jam chuck to finish the bottom. To make a jam chuck, I used the bedan to cut a groove into a disk of medium-density fiberboard (MDF) to accept the rim of the wine caddy.
Use the live center on the tailstock for additional support. Another holding option is to expand the chuck jaws into the recess for the cork disk, being careful not to over-expand the jaws and risk splitting the blank. The tailstock can still offer additional support with this chucking method.
I sanded the caddy on the lathe and applied a finish off the lathe. Use an alcohol-proof finish such as polyurethane or acrylic lacquer.
I found the cork insert a bit too thick, so I sanded it to about half its original thickness using a belt sander.
As with my trivet, I secured the cork disk with double-sided tape so it can be replaced easily if needed.
There you have it—the pair will grace any table, I am sure, and make a nice gift for any occasion. Now, as for that third cork disk… How about a set of coasters?
Walt Wager is a sixteen-year member of the AAW, and a woodturning instructor at Camelot’s Woodworking Studio at King Arthur’s Tools in Tallahassee, Florida. His website is waltwager.com.


