This article, “Turn an Umbrella Ornament,” is from the pages of American Woodturner and is brought to you by the America Association of Woodturners (AAW) in partnership with Woodworker’s Journal.
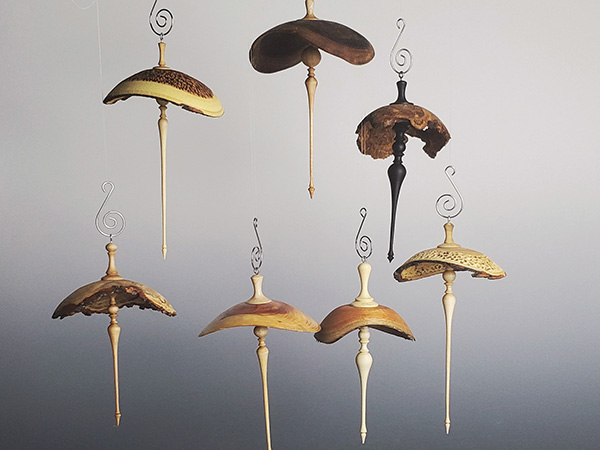
I have been making traditional hollow-globe ornaments for a while and realized they can be visually deceptive; it is hard to tell their weight just by looking at them. I wanted to create an ornament that looked airy and lightweight. After trying a couple designs and ideas, I developed the umbrella-style ornament shown here. This ornament comprises a small, upside-down natural-edge bowl (the umbrella) and top and bottom finials.
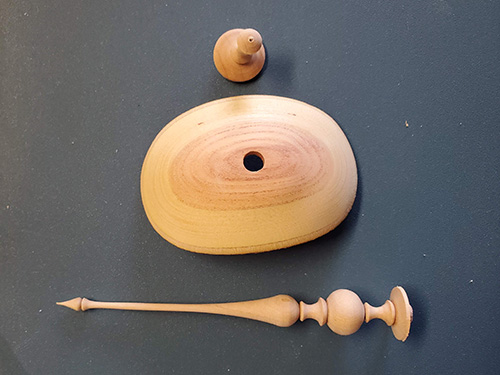
For the natural-edge bowl part of the ornament, you’ll need a piece of branch stock about 3″ (8cm) in diameter and 4″ (10cm) long. I prefer wood whose sapwood contrasts its heartwood, such as walnut, willow, and mulberry. For the lower finial, start with a piece of wood 6″ (15cm) long and about 2″ (5cm) square. The upper finial can be made using the wasteblock from the lower finial.
Turn the “Umbrella”
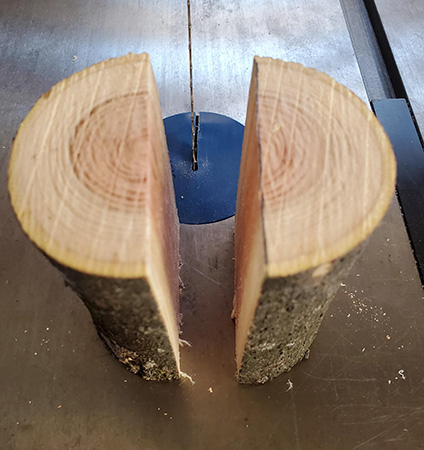
Look at the endgrain of your branch wood and draw a line through the pith so that the rings appear symmetrical on both sides. With the flat end of the wood securely registered on the bandsaw table, cut the branch in half.
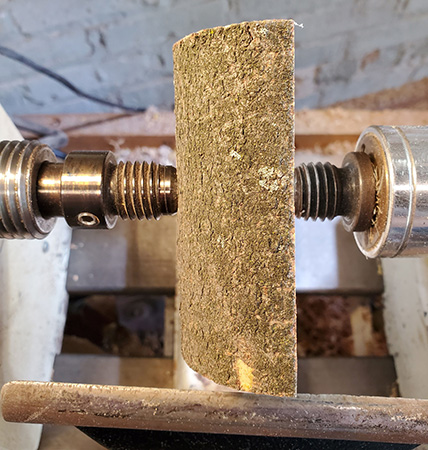
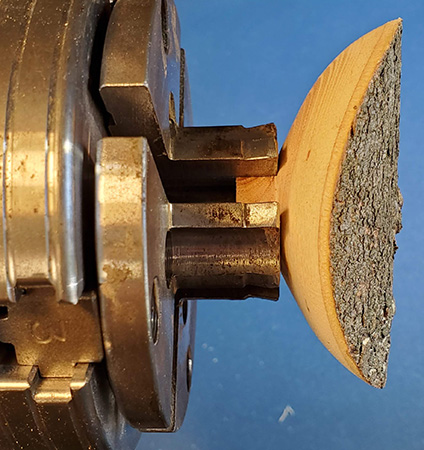
Mount one of the halves on the lathe between centers, with the bark facing the headstock and perpendicular to the drive center. Center the work crosswise on the pith and lengthwise so that the “peaks” of bark at both ends are at the same distance from the toolrest when the piece is rotated by hand. During turning, this will ensure the wings of the bowl are balanced. If both peaks are not at the same distance from the toolrest, adjust the tailstock live center on the flat side of blank as needed.
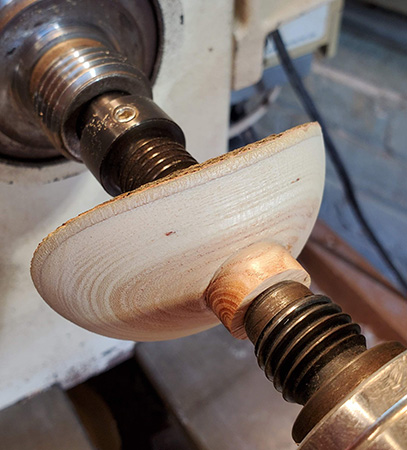
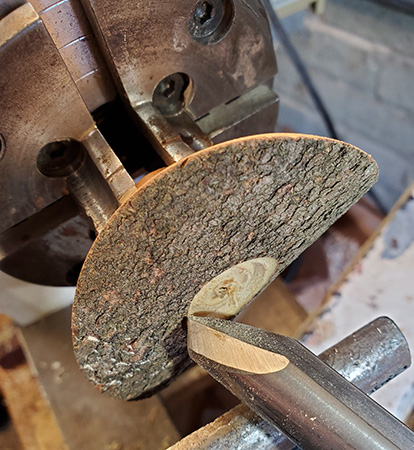
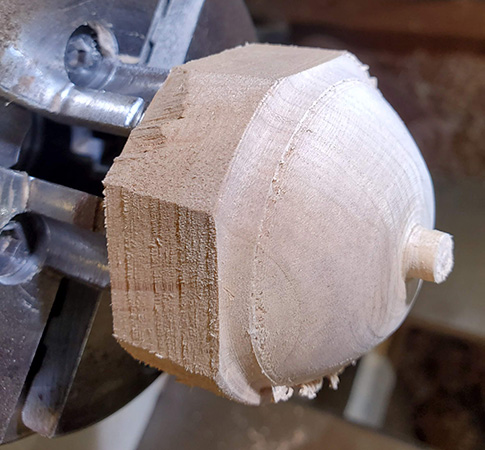
Turn a tenon, sized to fit your chuck jaws, on the tailstock side of the workpiece, then shape the outside of the bowl. As you form the bowl’s outside profile, confirm that the two lowest and two highest points of the bark edges, respectively, are equidistant from the toolrest.
If they are not, leave the drive center alone and adjust only the location of the tailstock live center. Strive for a constant curve when shaping the bowl, with the bottom of the bowl being only about 1/4″ to 1/2″ (6mm to 13mm) below the lowest bark edge.
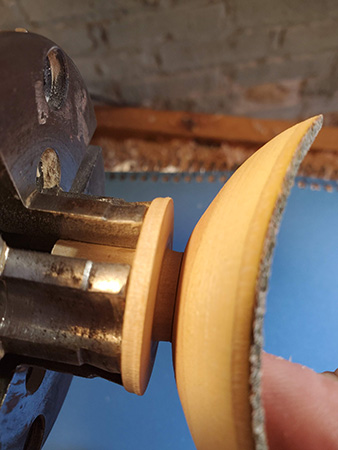
Remove the bowl from between centers and remount it in a four-jaw chuck. Hollow the bowl with a bowl gouge, working from the outside edge toward the center.
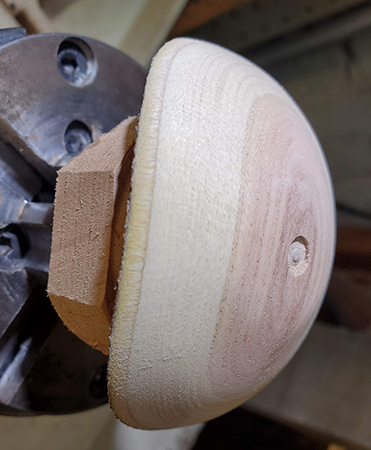
I like to use a light placed behind the work to “see” the thickness of the bowl by translucence. Try to make a 3/4″ (19mm) flat area in the center of the bowl because that is where the lower finial will be attached.
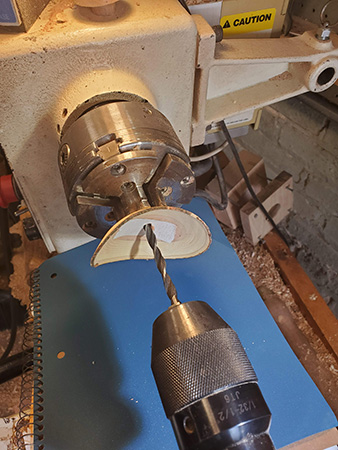
To aid in reverse-mounting the work on a jam chuck, drill a 1/4″-diameter hole through the thickness of the bowl. Before drilling the hole, adhere a piece of double-sided tape inside the bowl.
I made a jam chuck from scrap wood, with a 1/4″ spigot. A friction-fit of this spigot in the hole and the hold of the double-sided tape help secure the work on the jam chuck.
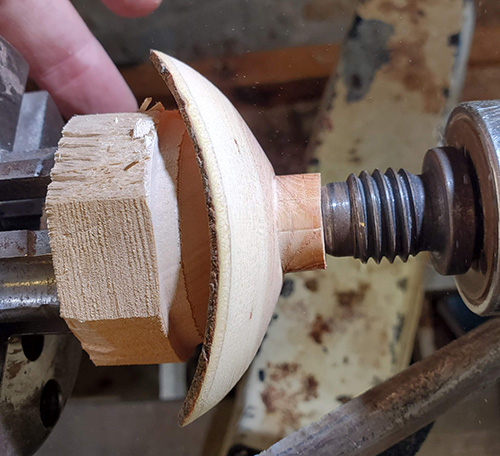
With the tailstock in place for added support, turn away the tenon. Remove the tailstock for the final passes, leaving a 3/4″ flat for the top finial.
Sand and then remove the bowl from the jam chuck.
Turn the Lower Finial
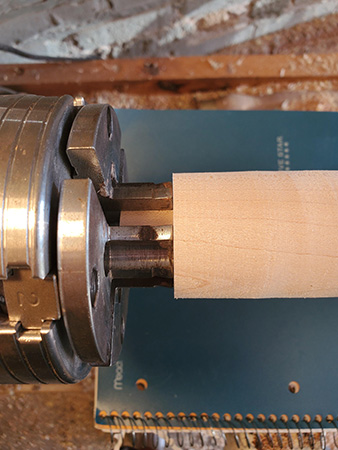
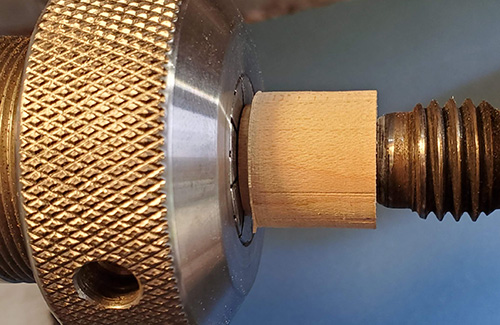
Turn the lower finial I started the lower finial using a 6″ length of maple, 2″ square, though 1″ square would provide enough material. Start by turning the blank round, and form a tenon on one end. Cut the tenon so that the wood will sit squarely against the ends of the chuck jaws.
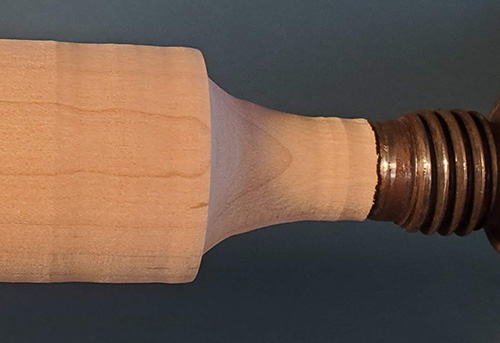
Mount the finial blank in the chuck, retrue it, and begin reducing its diameter at the tailstock end. Continue cutting and shaping the tip of the finial, working it down until you cut all the way through the blank, separating it from the tailstock.
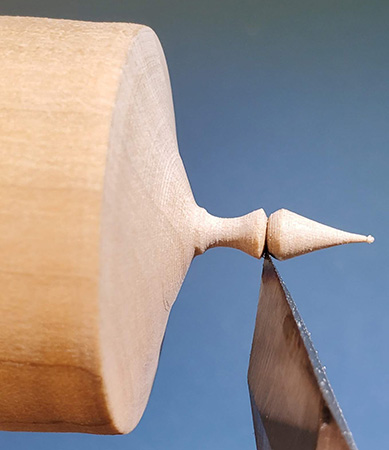
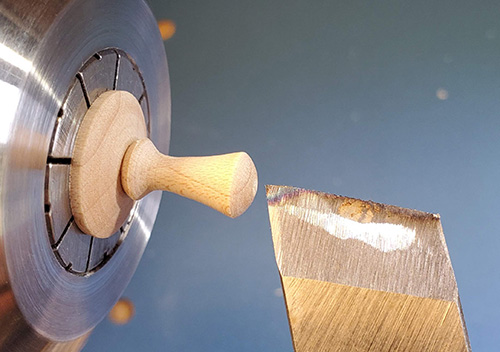
Shape the end of the finial, working on only the last inch of the blank. For maximum support, it is best to work in short sections, cutting and sanding each section before proceeding left toward the headstock. I used a skew as a parting tool to create a fine detail where the tip transitions to the finial stem.
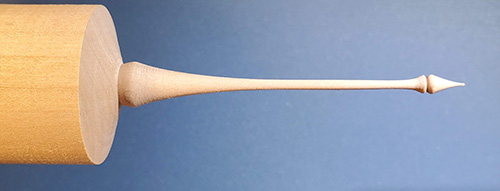
Using a bowl gouge, cut the stem of the finial down to final diameter in short increments. To reduce vibration in the wood, use a freshly sharpened tool and make light cuts. Continue for about 3″, allowing the stem to taper up and into a bulb shape.
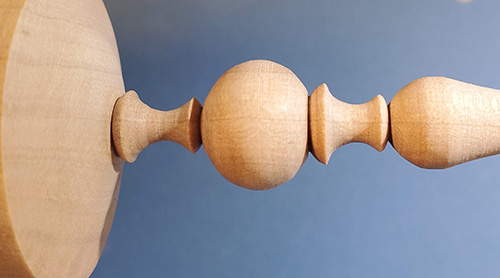
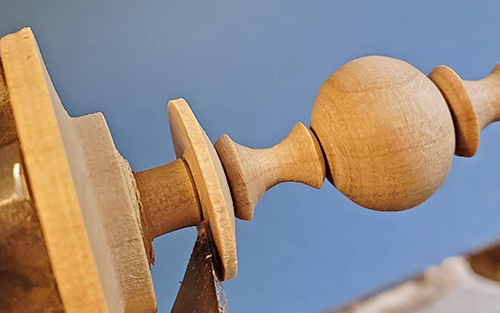
Your finial design is a good place to create interest. Note that when the ornament is assembled, the top of the finial will be obscured by the lower “wing” of the upside-down bowl but can be seen through the “valley” of the rim profile. Here, my design includes, from tailstock to headstock: the tip, a long taper to a bulb, then a cove, a ball, and another cove.
Next, create a base feature—about 3/4″ in diameter and slightly undercut— that will join the finial to the inside of the bowl. Use a parting tool to form a 1/4″-diameter tenon that will fit into the hole drilled in the bowl. Cut the finial from the waste wood, leaving the tenon about 1/8″ long.
Turn the Top Finial

The waste wood remaining in the chuck can be used to make an upper finial. The short stub of 1/4″-diameter tenon remaining will fit into the hole in the top of the bowl.
Bring the diameter of the edge above the tenon to about 3/4″; this will become the base of the top finial. Test-fit the top of the bowl on this tenon.
I used a 1/4″ collet chuck to hold this small turning, grabbing the 1/4″ tenon stub in the collet and leaving the larger tenon available as material for the upper finial. In designing the top finial, I formed a small cove that could be held using a thumb and pointer finger.
Once you have shaped and sanded the finial, drill a 1/32″ (1mm) hole in the end to accept a screw eye hook. It is helpful to start the hole using the long point of a skew chisel to prevent the bit from wandering.
Assembly
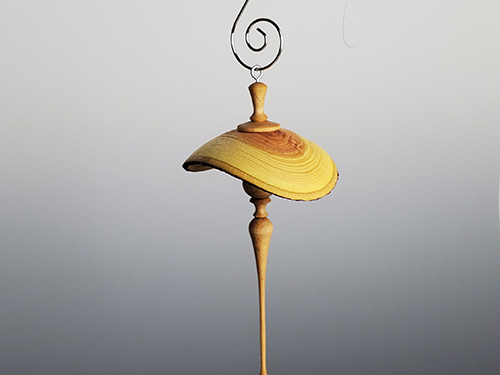
Test-fit the pieces, making sure the tenons on the upper and lower finials do not touch in the middle of the hole in the bowl. If they do touch, sand down one or both tenons as needed. Use a small amount of glue in the final assembly of the umbrella ornament, attaching both tenons into the hole in the bowl.
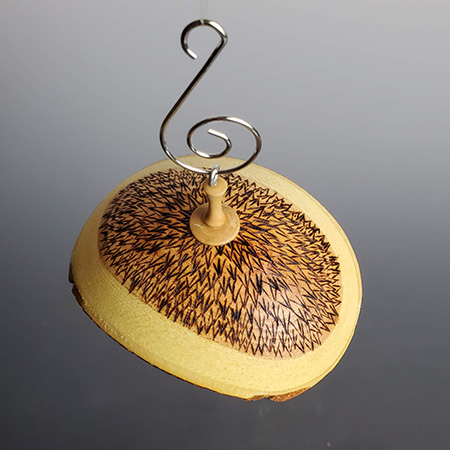
This project is fun because you can customize it and build both your spindle- and bowl-turning skills. I have created different variations of the project by using figured wood, natural-edge burl, and crotch pieces. I have also embellished the ornament with woodburning and piercing.
Kurt Wolff-Klammer, a hobby woodturner and member of the Chicago Woodturners, started turning ornaments to sell at a local church Christmas sale. Then he began exploring his own ornament designs. Follow Kurt’s journey on Instagram, @wkswoodworking.


