Chasing threads is the turning technique of cutting threads with a set of tools called chasers.
Threading wooden pieces dates back to Egyptian times and is well- documented from the 1600s on. There are two ways to make them. One is with a thread box and tap (it would be a tap and die for metal thread cutting). Thread boxes are sold in standard sizes. You simply drill a hole in a piece of wood and turn the tap into it to create an inside, or female, thread. The thread box (die) is placed on the end of a piece of dowel and turned to allow a very sharp, V-shaped cutter to create the outside, or male, thread. Plenty of oil helps to cut cleaner thread; mineral, raw linseed or cooking oil all work very well.
The second way to make threads in wood is to chase them in a wood lathe with a set of tools called “chasers,” which are really a set of scrapers that will produce a screw thread when presented to a piece of wood turning slowly in the lathe. In the main photo above, you see a set of modern Mayes & Warwick 16-pitch chasers on top of a gaggle of antique 19th century chasers that were used for threading brass parts for microscopes and telescopes. Mayes & Warwick and Sorby are modern manufacturers of chasers.

One chaser is for outside threads, and the other is for inside. My copy of The Lathe and Its Uses by J. Lukin, published by John Wiley & Son, New York, in 1868, gives exact instructions for chasing threads that could have been written yesterday. Not much has changed in this technique!
Still, it may be new information to you, and before we explore how chasers work, we need to familiarize ourselves with threads in general.
Anatomy of a Thread
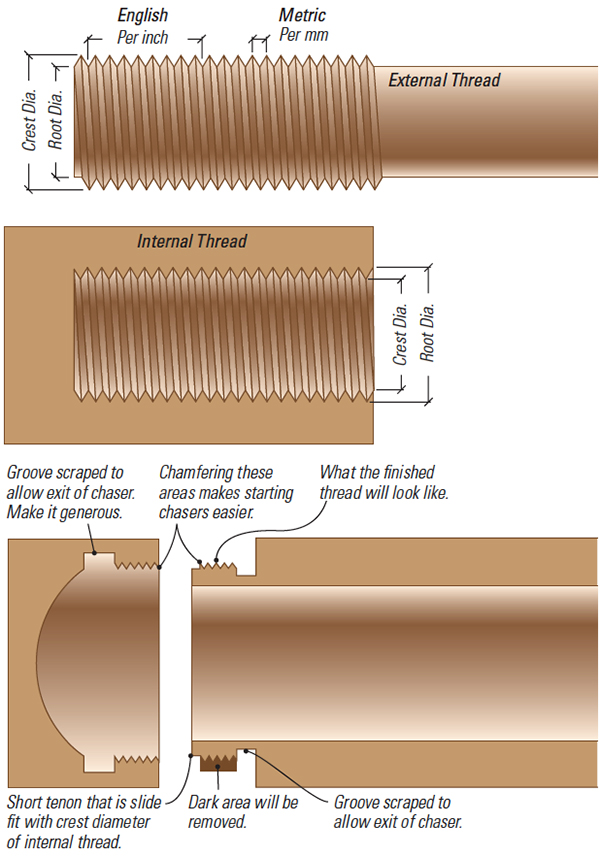
In the illustrations (below) you see an external thread in the top Drawing and a cutaway of an internal thread in the middle Drawing. The “pitch” of the thread is the distance from crest to crest. In the English system, it is the number of crests that lie within one inch. In the metric system, it is the distance in millimeters between two adjacent crests.
The most common thread profile is for the flanks to form a 60° angle at the crest and root. The “crest” is the highest point on a thread and can be thought of as the top of a mountain, whether it is an external or internal thread. The “root” is the lowest point in either case. Some confusion can arise because the crest of an external thread is the greatest diameter and the crest of a mating internal thread is the least diameter. After WWII, the terms “major” and “mi- nor” diameter, regardless of the gender of the thread, were adopted to avoid this confusion. However, most of us old codgers, who learned from even more ancient codgers, still use crest and root.
While my drawing shows the 8-pitch thread forming a sharp edge at the crest and root, this is seldom the case, especially in metal, because the resulting thread would be very easily damaged and difficult to handle due to the sharp edges. In metal, both crest and root are generally truncated so as to form a flat. In a wood thread,
it is OK to have a sharp root, but a truncated crest is a great benefit. Internal threads have the crest and root diameters reversed from the external ones. The crest, however, is what still needs to be truncated in either case.
Threads can only be chased in woods that are close-grained and durable. My absolute favorite is boxwood, but this is hard to find these days and expensive. Other good domestic woods are dogwood, pear and desert ironwood. Most fine-grained tropical woods, such as lignum vitae, cocobolo, ebony, African blackwood and rosewood, also take threads well. A good, cheap material to practice on while learning is MDF.
Because of the nature of wood, it is much easier to create a strong thread in plank grain rather than end grain. This is especially true if using a tap to create an inside thread. While you can get away with most any wood for a plank grain thread, a strong, close-grained wood is imperative for end grain threads. The water-thin variety of cyanoac- rylate applied to plank, and especially end, grain threads greatly aids in producing a strong, full-form helix.
In most chased threads, the internal thread is cut first and the external thread is fitted to it. This is by far the easiest way. If you bring the external thread to a nearly sharp crest and it is still tight, simply sand a larger flat on the crest with some 150-grit sandpaper glued to a piece of wood. Use it like a file and support it on the tool-rest so as to maintain con- centricity. Apply cyanoacrylate, chase the thread deeper, and check the fit. Repeat this process until the fit is perfect.
Practical Use: Boxes
Boxes are a great use for chased threads: you get secure closing with easy lid removal. It is easier for a beginner to cut a fine thread (the chaser picks up the fine thread more easily), but fine threads cross easily in day-to-day use. So, once you obtain the knack of chasing, you will want to graduate to coarser chasers. You can develop your skills by following the process shown in Making a Box with a Threaded Lid, below. We’ve also provided a video that demonstrated this process.
VIDEO: Chasing Threads
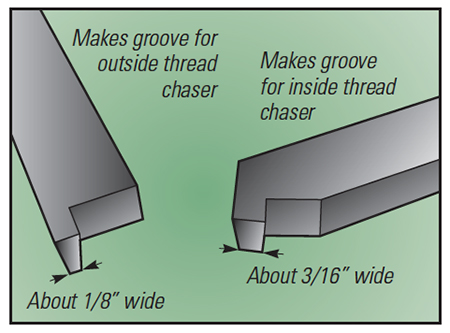
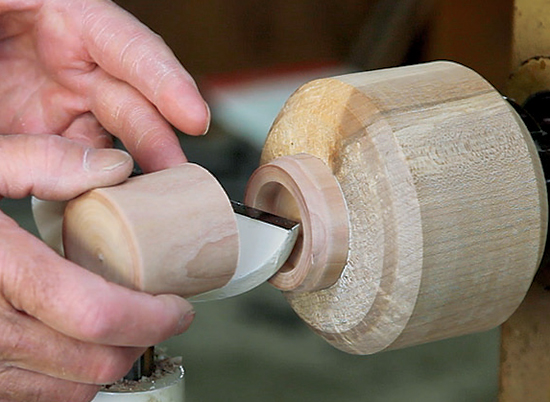
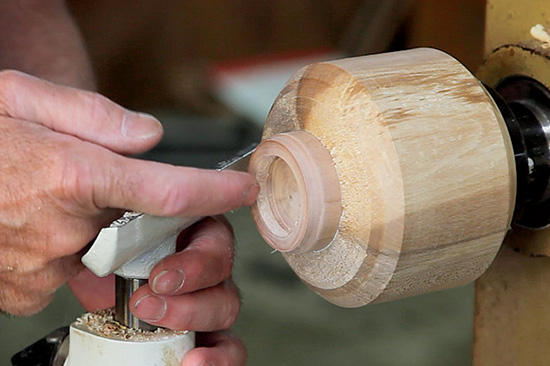
Before beginning to make your box, you’ll need to grind a pair of scrapers to be able to put a relief groove in both the internal mortise and external tenon. This allows lifting the chaser at the end of the thread and smoothly making another pass. The beginner will want to make this groove generous: if you hit the shoulder, the thread will be ruined.
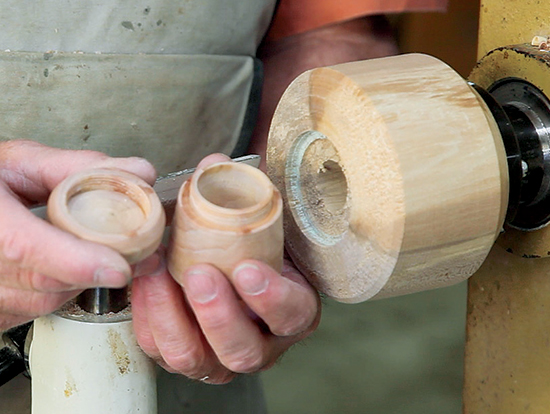
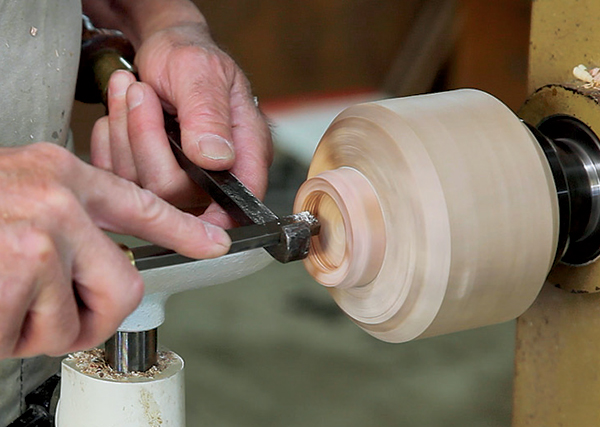
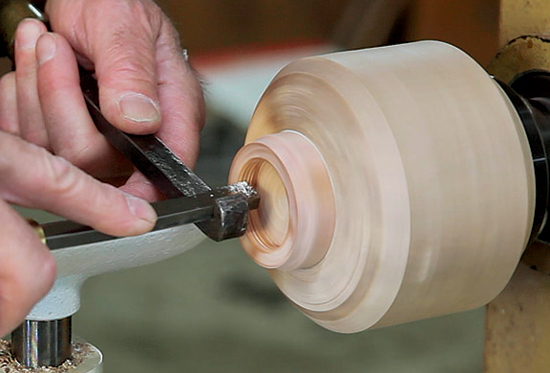
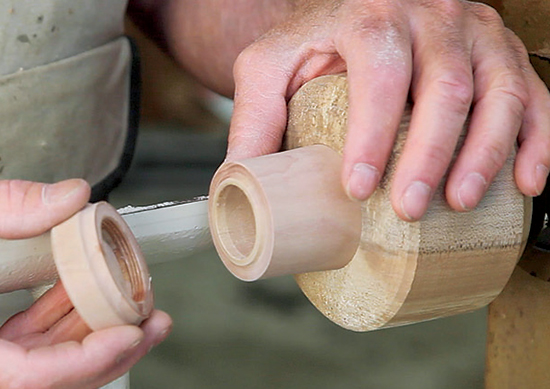
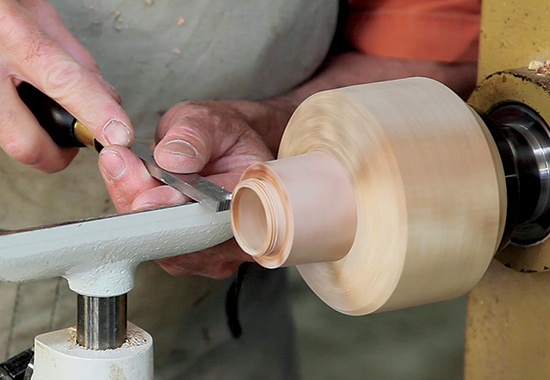
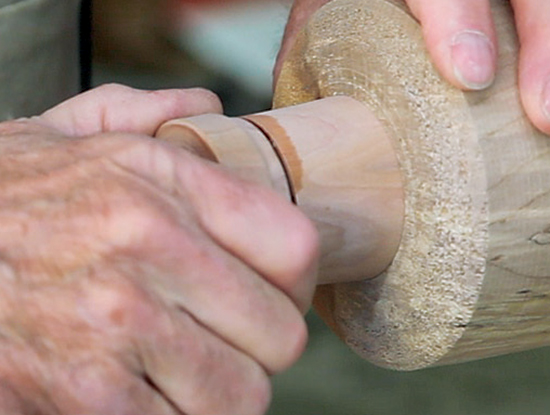
Although steps 1 and 2, below utilize the same workflow as turning a snap fit lid, including scraping a mortise in the lid, when it comes to step 3, we reach the difference: we now scrape a groove at the end of the mortise to allow the chaser to exit without coming to an abrupt stop and ruining the thread. After step 4, the interior thread is chased. Switching to the body of the box, we turn a very short tenon on the end that is a slide fit with the crest diameter (minor diameter) of the interior thread (step 5). We now chase the exterior thread to have a root diameter just below this (minor) diameter. We need to scrape a groove for exiting the chaser as shown in the lower illustration on the right side of page 19 and in steps 6 and 7.
It will take some time and practice to master thread chasing, but it is a skill well worth learning. Once you’ve aced it,take a threaded box to the next turning club meeting and show everyone that you are a regular Thread Astaire.

Making a Box with a Threaded Lid
1.
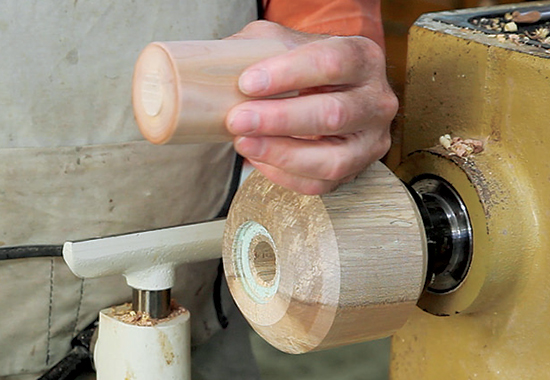
2.
3.
4.
5.
6.

7.
8.
9.