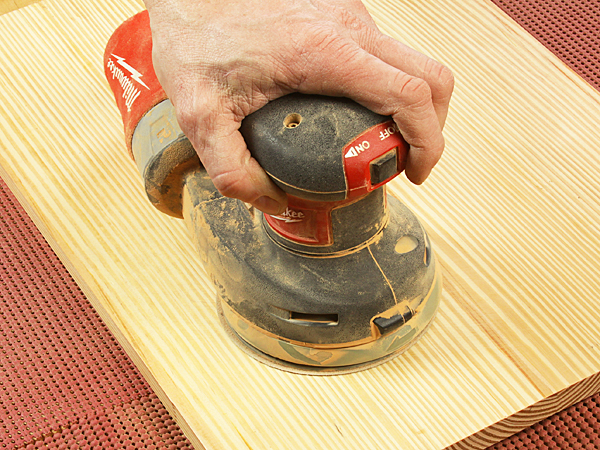
How should the speed and grit of paper be used on variable speed random orbit sanders? My background is in aerospace manufacturing. In metal machining, fewer cutter teeth equals lower rpm and more teeth will allow higher rpm. By this convention, lower grits would run at the lower speeds and the speeds would increase for the higher grits. Bigger grit equates to less teeth and smaller grit to more teeth. I usually apply this convention, but I have tried reversing it or just using the same speed for all. Really can’t see much difference in the final surface. Maybe your resources can shine some light on this, or did manufacturers just give us variable speeds because we thought we should have it? I know some still offer single speed along with the variable speed sanders. – Dennis S. Cropper
Chris Marshall: Dennis, as you point out, I’ve seen no real difference either in cutting efficiency by varying the speed of my sander relative to the coarseness of grit I’m using. I think the bigger issue, regardless of speed setting, is to not push down on the machine while sanding in an attempt to speed the process along. The sander should be allowed to spin freely and under its own weight plus light hand pressure. It ensures that the orbital action will work properly so the grit abrades the surface as efficiently as it can. Beyond that, I’m not certain that variable speed control makes much difference at all to the final surface smoothness. I set my random-orbit sander to maximum speed for any grit I’m using and leave it there all the time.
Interestingly, a manual that came with a Bosch variable-speed R.O. sander I own makes some recommendations on speed settings to use for woods, metals or paintwork. While the dial can be set from 1 (low) to 6 (high) speed, the recommendation is from 4 to 6 on all surfaces and with all sanding grits besides light sanding on paintwork (2 to 3 is recommended, in grits ranging from 180 to 400). Setting 1 isn’t recommended for any sanding situation. So, at least according to this manufacturer, medium to full speed is suitable for pretty much every sanding task.
Rob Johnstone: Ah, sanding, the root canal of woodworking. I confess that I do not adjust the speed of my R.O. sanders at all. I set it at full speed and that is it. When using abrasives to smooth a wooden surface the goal is to get a uniformly smooth result. So after you’ve started with an appropriately coarse grit to quickly and effectively remove the surface blemishes, scratches and glue blobs, the next goal is to remove the scratch marks that you just installed on the wood’s surface with the 60-grit (40-grit?) product you just used. (When you remove all the 60-grit scratches, you move up and remove all the 80-grit scratches, and so on.) There are two speeds to be thinking about when using a R.O. sander: the setting on the machine (which I’ve already said I ignore) and the pace at which you move the sander across the wood. Most of us move the sander far too quickly — like we are polishing our shoes or something. A correct pace is about 1-inch per second. When you first try it, that speed will seem SO SLOW! But it allows the machine to properly do its work, and you will soon learn that by slowing down in that regard, you actually spend less time sanding overall. My opinion is that once you get through sanding with 180-grit using a sander, it is time to move to hand sanding with 220-grit and higher.


