I just made one, now how do I use it?
Michael Dresdner: In the film “The Mask of Zorro,” the elder Zorro is about to teach his student the art of true swordsmanship, and asks him scornfully “Do you know how to use that thing?” The younger man nods, and answers matter-of-factly “The pointy end goes into the other man.
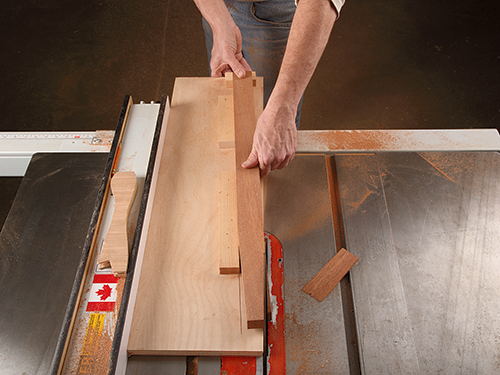
Taper jigs are a bit like that. The simple answer is that you place the wood you want to taper into the notch of the jig, with one side along the angled side of the jig, and move the wood and jig past the blade. The jig should be set so that it clears the blade and both the bottom and top of the tapered board are the widths you require. Some taper jigs run in table saw tracks; others use the saw’s fence to set the distance of cut. If you have not guessed already, this is the time to cut a lot of scrap wood until you understand the consequences of each different setup. I don’t know what your taper jig looks like, but please make sure that when it is in use, your hands are nowhere near the blade, and the wood being cut is secured in some way.
Rob Johnstone: I just love your question, because it is such a familiar situation to me. I’ve just bought (or made or was given) a widget, and now I have to figure out how to use it. And Michael’s answer is very practical. In fact, I would even go so far as to recommend that you put the jig on your saw with the blade fully lowered and make a few passes just to see how the geometry of your system works. Sometimes it can be just a bit counterintuitive.


