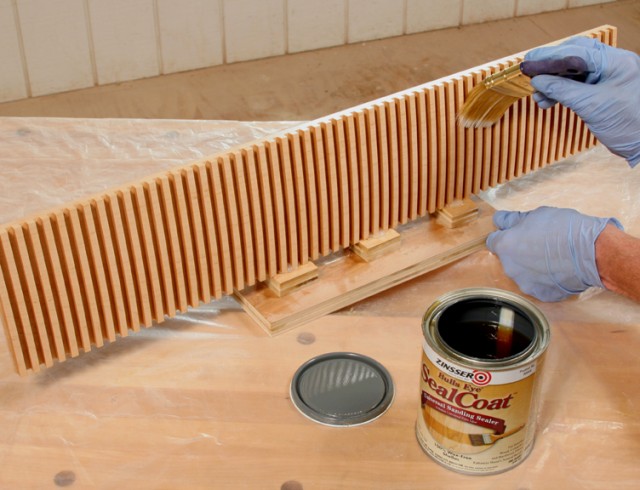
I have seen a couple of methods of making dental molding including using a table saw or a router indexed to the previous cut. But how do I determine the size of the dentil molding so the proportions look correct and come out even on the ends?
Michael Dresdner: Proportions will look good if you make the “teeth” square. The height is usually controlled by the size of the molding they will adorn, and that automatically gives you the width. Making that come out even on the ends is a bit tougher, since not all moldings will be the same length, or even a multiple of the same length. In cases where there is only one size, you can divide the width of tooth and space by the total length, adjusting the size of each tooth to make it come out right, with a full tooth (not a space) on each corner. Where that is not possible, do what you do with dovetails — shift the molding so that there is half (or some percentage) of a tooth on each end. That will look better than having two spaces, or having a space on one end and a tooth on the other. In most cases, no one will be looking at the corners, and if they do, seeing something that looks uniform and intentional is just fine.
Rob Johnstone: Any evenly spaced sequence will work out well for one application and not so well for another. The trick, in my opinion, is not so much getting the molding to ‘come out even’ at the ends (technically possible…but probably only for those from obsession; you know, like scroll saw experts), but adjusting the miter or end cuts so that they are balanced. Proportion is a matter of taste within accepted norms. The advantage of making your own dentil molding is that you can please your own taste. For example, you might want a wide raised section and a narrow lower segment…go ahead and knock yourself out.


