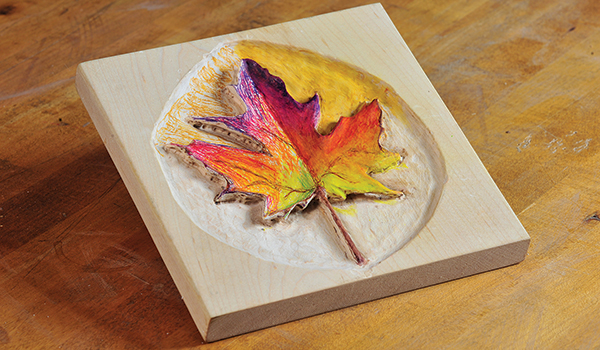
Did you ever wish you could control stains or dyes so well that you would be able to paint a picture on wood, make faux inlays, or add blended and flowing color to a carving? Think about coloring a bas relief of a ripe pear or an autumn leaf with its purples, reds, yellows, oranges and greens flowing into one another. Or add fake inlays of rosewood, bird’s-eye maple spalted wood or even fake dovetails.
You could use paints and wood stains, but controlling them to get a natural look is difficult. Fortunately, there’s a way to create the graceful blending of a fine watercolor painting with the ease of filling in a coloring book. The trick is a two-step process using watercolor pencils.
What are Watercolor Pencils?
Watercolor pencils look and sharpen like any other colored art pencils, but they are water-soluble. Brush on water after coloring and the colors dissolve and flow into one another. They allow you to obtain the beauty of watercolor art with the ease of using a pencil.
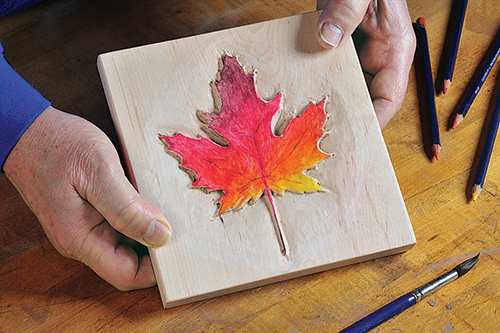
Because the color goes on dry, it’s very simple to put exactly what color you want exactly where you want it. Once the water is added, the individual pencil marks go away and blur, and you get a soft pool of color that mimics nature.
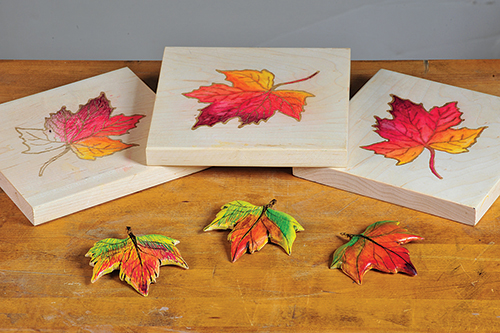
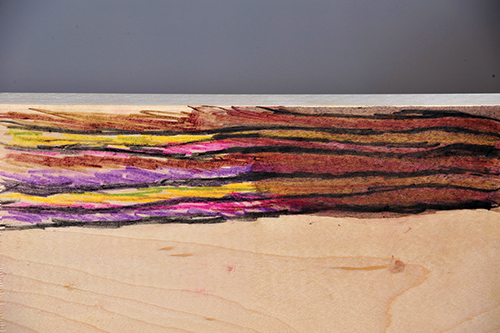
Why watercolor pencils in particular? Most regular colored pencils contain wax or oils, which means they are more difficult to blend, and might not be compatible under some finishes. Watercolor pencils do not contain waxes or oils, so they flow readily and are Left to right: Pencil work, starting to blend with water, final result. compatible under almost all finishes once they are dry. You’ll find them at art supply stores. Good ones, which have softer, richer colored “lead,” are rather expensive but worth it.
Step-by-step
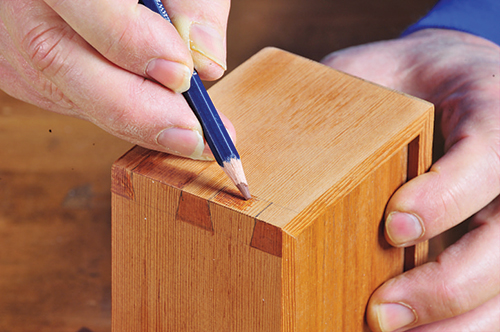
Make sure your wood is smoothly sanded. For very dense woods, like hard maple, you can apply the pencil directly to the raw wood. Softer woods, like poplar, will grab the color and absorb more of it into the pores. To gain more control, seal softer woods first by flooding on some thin dewaxed shellac, then wiping it all off immediately. That will seal the wood enough so the pencil doesn’t soak in too deeply, but it will still give you a surface that feels and works like raw wood.
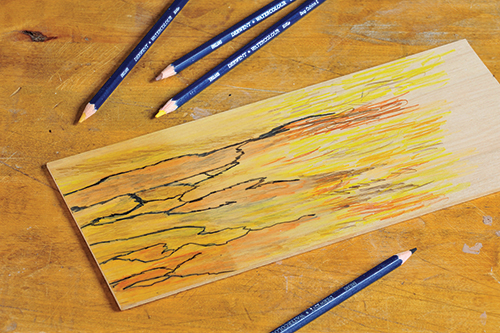
You’ll find that with lighter colors, such as yellows, oranges and even some reds, you’ll need to color more intensely with the pencil than with darker greens, blues and browns. Use black only with caution, as it tends to muddy colors quickly.

Dipping the tip of the pencil in water will make it add more color, but may gum up the sharpener if you don’t wait until the pencil is dry before sharpening the tip.
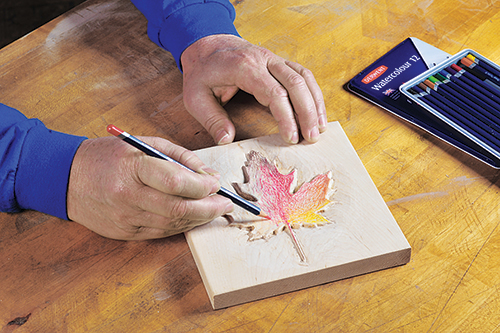
Apply the colors any way you like, and overlap as much or as little as you choose, but once you start adding water it’s a good idea to work from lightest colors to darkest. The brush will pick up and transfer some of the color, and it’s easy to get your light areas too dark if you begin at the dark areas.
I like to use a small, wellformed brush, like a sable or watercolor brush rather than a big, soft oxhair mop. The fine end lets me blend as much or as little as I want by selectively putting more or less water in any given spot. Just flowing water over the whole thing leaves it a bit too much to chance. Try it on scrap and you’ll see what I mean.
A Few Ideas
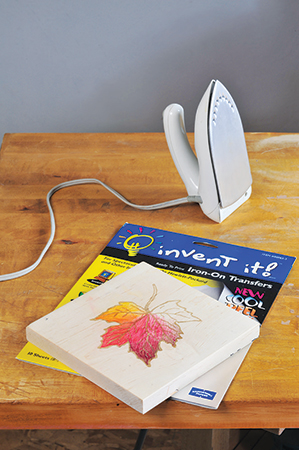
Carvings are a natural, but if you don’t carve, simply start with an outline and color it in. Draw it yourself, find a nice laser cut pattern, or use an iron-on transfer.
Find a clip art line drawing online, resize it to fit your work, then print it onto iron-on transfer paper, which you can find at any office supply store. Lay it face-down on the wood, set an iron on the cotton setting, and press the image right onto the wood. Remember, the art will be a mirror image. If that matters, flip the image on your computer or printer before printing it onto the transfer paper.
One of the nice things you can do with pencils is create fake inlays of other woods right onto the wood itself. You’ll want to mask so that your artwork appears only where you want it, for instance as a stringer or pattern inlay. In these samples, I simply let them blend to the wood so you could see clearly how they were done.
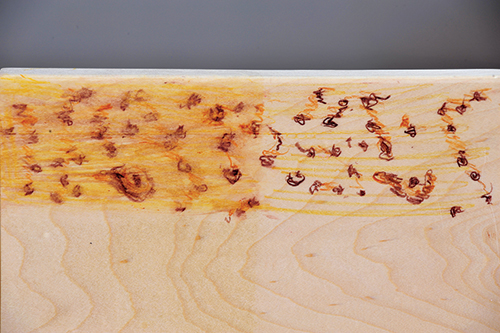
Rosewood, for instance, has a surprising array of colors in it that blend into a much more subtle figure. With bird’s-eye maple, I was a bit more careful and dryer with the water so the bird’s-eyes would soften but not get obliterated.
Spalted wood requires at least one extra step. First, apply your background colors to create the puddles of hue. Then blend those with water and let the wood dry before you apply the black lines. You can leave them as is, soften them with water, or only soften some areas where the line gets thicker or less distinct.
Don’t be afraid to experiment. What you see here is just a jumping-off spot. There’s no limit to what you can create.
Topcoating
Once you are done with your artwork, seal it with shellac, varnish, Danish oil, lacquer or whatever you chose. Avoid water-based finish since a wet coat of it can flow the colors together more than you planned. If you must use water-based finish, seal the colored area first with dewaxed shellac.


