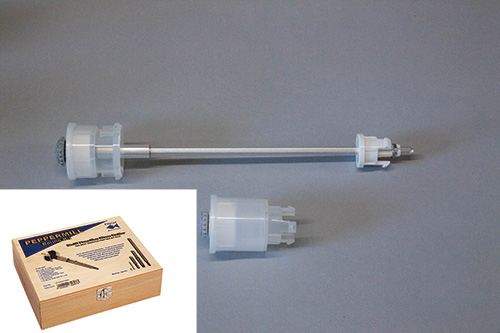
Over the last forty years, I have turned a good many pepper mills using a variety of grinding mechanisms. This project absolutely requires the purchase of a grinding mechanism, and it also demands that the mechanism fit superbly in the wooden body and cap to work well. For this article I picked the Rockler CrushGrind Mechanism, which grinds superbly. It comes in two variations.
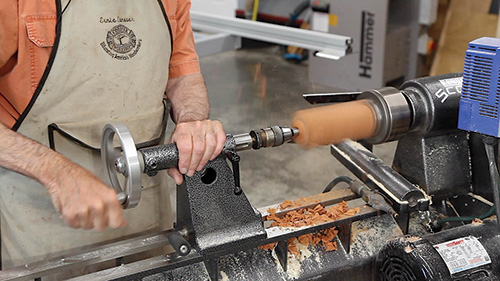
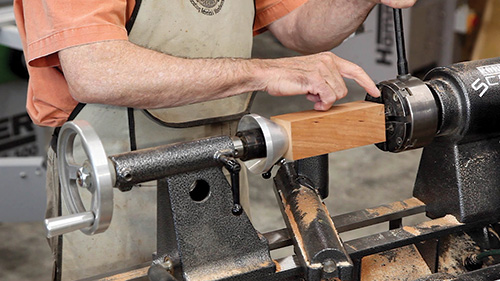
A mistake that most turners make is to turn the outside first. A much better arrangement is to do all the internal work first, then grab the bore in cones and turn the outside. This allows gripping in a four-jaw scroll chuck for drilling and ensures that the inside and outside of the spindle are concentric with each other.
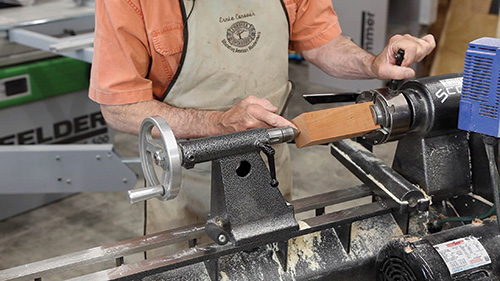
Being the guy who often says, “You can get along fine without a four-jaw scroll chuck,” I have to state that this is a turning project that is greatly aided by a fourjaw chuck. I used a Oneway Stronghold with the supplied jaws that grip externally from 1-3/4″ to 3-1/4″ for drilling and scraping the grooves.
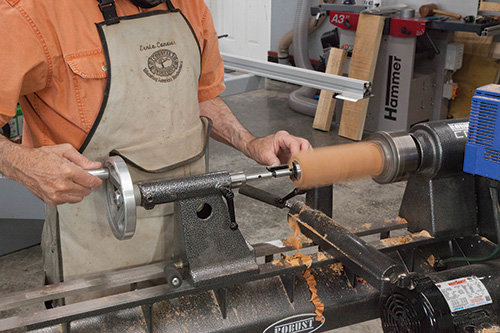
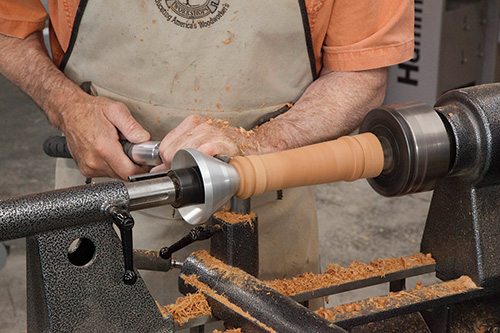
I also used their spigot jaws to internally grab the bored blank for turning the outside. I stabilized and centered the entire bore by also catching it with a Robust Live Center with a large cone threaded onto it. However, I could have put a piece of scrap in the standard jaws and turned it to a taper that fit the bore, then stabilized and centered it with the same live center. If you lack a four-jaw chuck you can do all the boring in a drill press, but scraping grooves to accept the paws of the grinding mechanism will be problematic.
That being said, this project can be done without scraping any grooves at all, as I’ll explain shortly. Taking this option means you drill the internal bores on the drill press then turn the outside between centers with a cone mounted on a faceplate, turned to fit the bore and stabilized with a cone live center in the tailstock. A turned cone that fits over the end of your live center can be rigged if you lack a commercial live center that accepts larger cones.
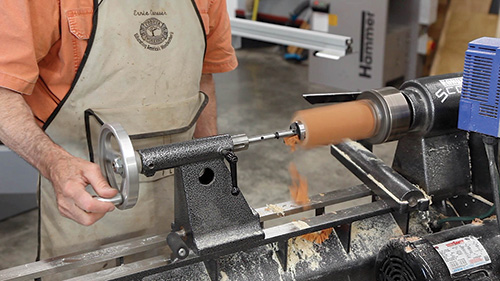
You will need some large Forstner bits to bore your pepper mill, and they differ between the two mechanisms. Pepper mill mechanisms are made to metric standards, while most of us have Imperial Forstner bits only. The larger a given diameter, the more likely you are to find discrepancies between the two systems.
In this project, the bore will be large for the grinding parts. Additionally, the mill’s plastic housing is slippery. You are likely to find out, as I did, that if rotating the cap grinds no pepper the grinder in the bottom and the insert in the cap (that grips the central shaft) are slipping.
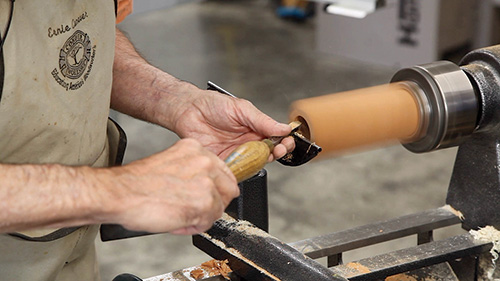
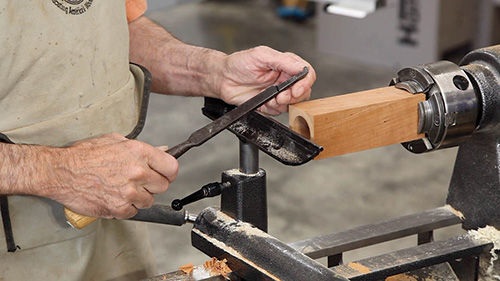
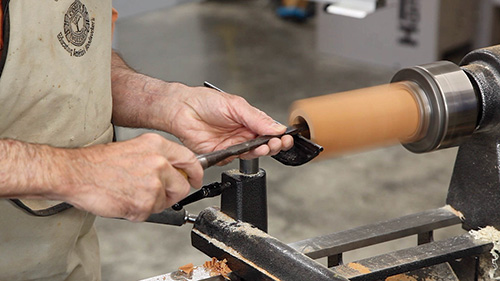
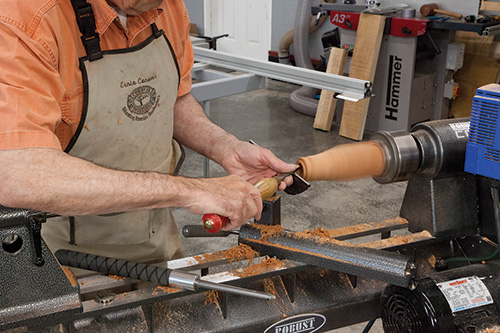
This is to say that you will have to epoxy these parts in place once you have tested that everything fits properly. Being originally trained as a metal machinist, I scraped grooves in both the base and the cap, but with epoxy you do not have to.
I do feel that a groove makes for a better glue joint between the plastic and the wood housing. I ground my scraper for these grooves from an old mortise chisel, but Sorby actually offers a special scraper for the purpose, the 895CGH Crush Grinder Scraper.
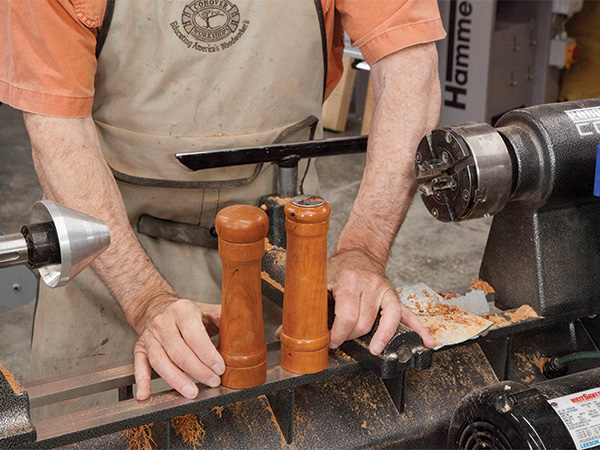
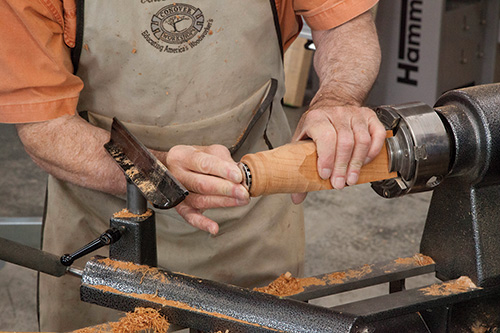
The drawing gives all the sizes (using Imperial bits) and the location of the grooves. The photo essay above should give you the necessary information to make a pepper mill. I strongly urge you to make your first pepper mill 6″ or less in height. Chucking will be much easier.
A matching salt shaker can be made using a salt shaker cap. It will appear that it is a press fit with a 1-1/4″ drilled hole. However, the cap measures 1.241″ across its retaining fingers, making it a loose fit with a 1-1/4″ hole.
It was probably designed for a 31.5 mm hole, which would yield a quarter of a millimeter (.010″) press fit. If you do not want way too much salt on your food, the solution is to bore the hole to 1-1/16″ or 1-1/8″ (depending on your bit inventory) and scrape a 1/4″-deep counterbore that is a press fit with the cap.
In the end, the cook in your household will appreciate your efforts with this project. And so will you — freshly ground pepper is so much superior to pre-ground pepper! It’s worth the effort.


