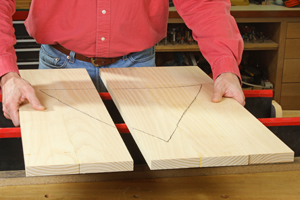
I heard that if you rip the center of the board and glue it back together, this would eliminate cupping. True?
Michael Dresdner: No, but instead of one big cup, you’ll have two, edge-joined cups that look more like a shallow W than one big U. That will mean you’ll have less wood to remove if you decide to joint and plane the cup out, and you’ll have more wood remaining.
When you rip the board in half (or thirds, or quarters, in the case of very wide cupped boards) you will notice that the ripped edge is not square to anything. Flatten each separate board on the jointer, then re-cut the edge, either on a table saw or jointer, so that the edge you plan to glue is at 90 degrees to the flattened face. That way, you won’t re-glue the cup back into the sectioned board, and you will end up with a board with at least one flat face. Whether you plane the other side before or after you re-glue depends on how wide your planer is. Personally, I’d do it before, just to ensure that I don’t experience more movement while cutting the other side, which can happen.
Finally, I have to warn you that flattening cupped boards is somewhat of a crap shoot. Sometimes it will work, and sometimes it will seem that the more wood you remove, the more the boards keep cupping. I hope you have good luck on this one.
Lee Grindinger: Ripping a board in half can relieve some of the stress caused by drying or the way the tree grew. For a while, it was standard practice to never use boards wider than four inches in glue-ups. It was believed that this minimized warping. Current thought is that wider boards are fine. Why the change? Most lumber is dried in kilns and kiln schedules include stress relieving conditioning stages. This has led to more stable and drier lumber. Also air conditioning in most homes has led to far less of a temperature and humidity swing season to season so the finished woodwork is not subjected to the extremes that existed.

