
Growing up in cold and snowy northern Minnesota winters, game night in front of a roaring fire with my family was always a treat. Competitive razzing and the occasional victory dance were tempered with genuine love and support for everyone seated at the table.
The games that stand out for me the most were mancala — a game we don’t really know the ancient rules for but seemed to work out just fine — and the ever-classic cribbage. Our cribbage board was made by hand, the holes a bit askew and the texture of the wood worn smooth and aged from years of use.
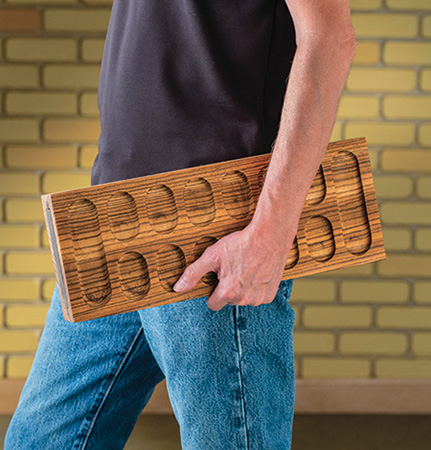
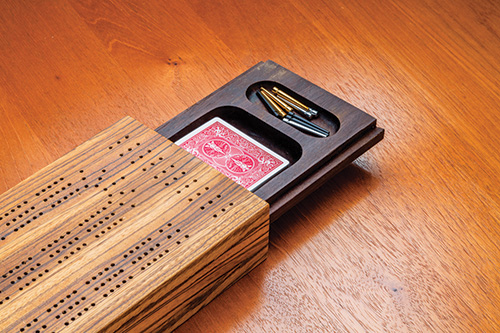
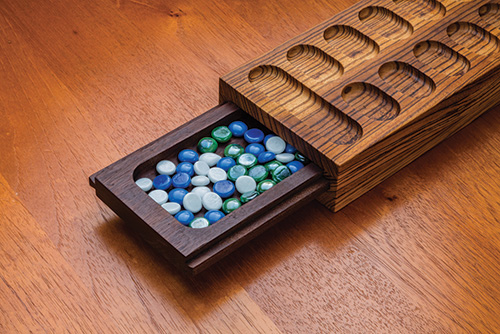
When I was given the challenge to design a reversible hardwood gameboard for Woodworker’s Journal, it was immediately clear that there was no better pairing than mancala and cribbage: they work both in scale and style of play. My gameboard features a slide-out tray that stores cards and cribbage pegs on one end and mancala playing pieces on the other. Whichever gameboard you have facing up presents the correct face of the tray for the playing pieces you need. Magnets keep the tray from sliding out accidentally and prevent spilling when it’s carried.
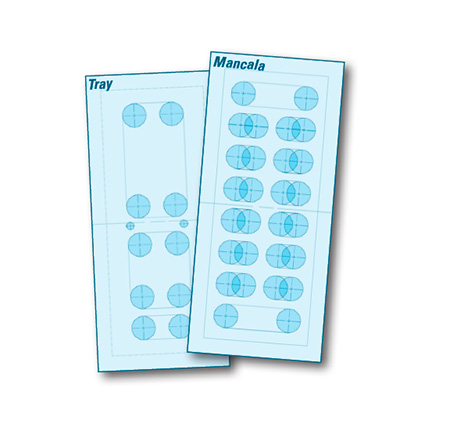
You’ll need a couple of templates to build this project. While cribbage drilling jigs and templates are widely available (I used Rockler’s three-player small drilling jig), mancala routing templates and the tray template I’ve created for this gameboard are not. You can download and print out free full-size PDF patterns for my jig templates online. You’ll also need a 1-1/2″-dia. Forstner bit, a drill press with a fence, a jigsaw and a spindle sander.
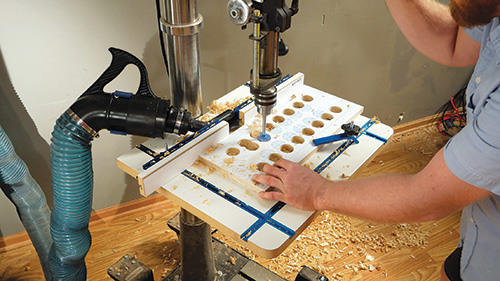
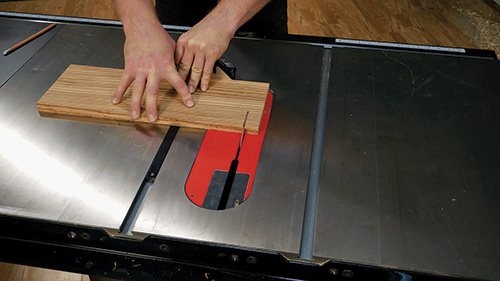
Start by cutting a few pieces of scrap plywood to 8-1/2″ x 19-1/2″ and 7-3/4″ x 19-1/2″, plus some 1″ strips to hold the gameboard blanks in place as you rout them. Using spray adhesive, attach the printed patterns carefully to the plywood template blanks. Then, head over to your drill press to bore the mancala template’s 28 through holes.
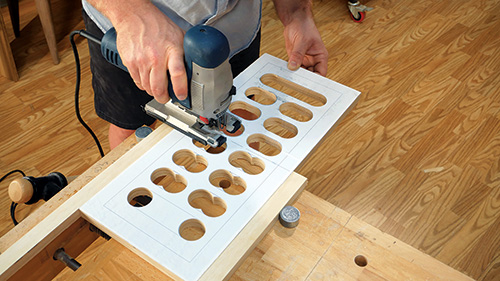
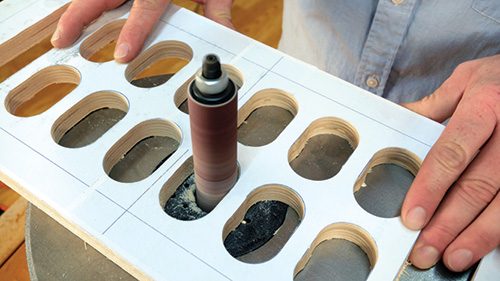
This step requires a careful eye. I found that locating the drilling centerpoints with the drill press turned off and lowering the bit to the work surface helped me align each and every hole. Adjust the fence to drill all of the holes in four long rows. Once that’s done, grab your jigsaw and turn the overlapping holes into ovals, cleaning up the sawn edges on a spindle sander. Now drill holes through the tray template, including the 1/2″ holes for the magnets you’ll use to keep the tray closed in the gameboard case.
Cut strips to wrap around one face of each template and attach them with brads. Sand the paper facings off of both jigs, and you’re ready for the fun part!
Choosing the Project’s Hardwood
Any stable hardwood will work well for the playing surfaces and tray. I chose zebrawood and Peruvian walnut as they are not woods I get to play with very often.
Small projects like this are also nice opportunities to learn the working properties of unfamiliar woods, so you are better informed if you decide to use them for much larger and more costly furniture builds later on.
Here’s something else to keep in mind: the potential for warping is a real concern with this little dovetailed sliding tray. To help mitigate this, I used 1/2″-thick stock and laminated the blanks with the grain flipped. That should help keep the tray flat over time.
Time for Template-routing!
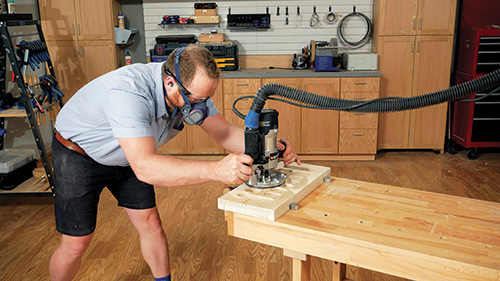
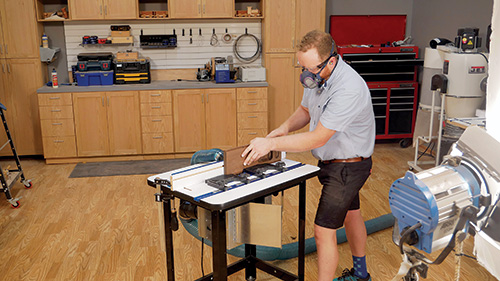
I started with a piece of scrap plywood in one of my jigs to dial in the correct depth setting and to get a better sense for how this big bit was going to work in my router. I’m glad I did, and I recommend that you do the same. Take 1/8″ passes to remove the material in your practice piece. I used the depth-setting turret and stop rod on my plunge router to make sure I wouldn’t rout too deeply Then, once you are comfortable, switch to your actual workpieces. On the tray, rout the two cribbage recesses into one face. Then flip it over and turn it around to rout the single recess for the mancala playing pieces in the opposite face. Rout the mancala gameboard now, too.
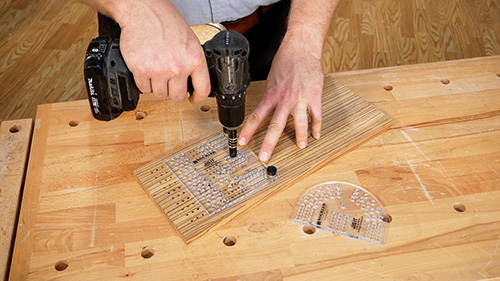
Set those aside and grab your cribbage board blank; it’s time to drill a bunch of holes! Follow the directions for the jig and you should have a finished cribbage board in a matter of minutes.
Dovetailing the Sides, Tray
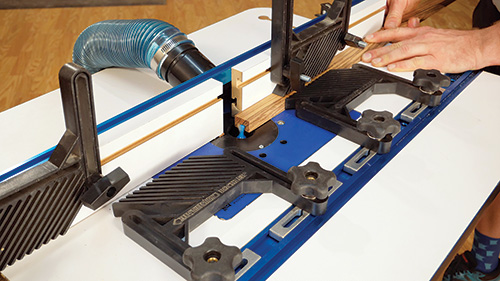
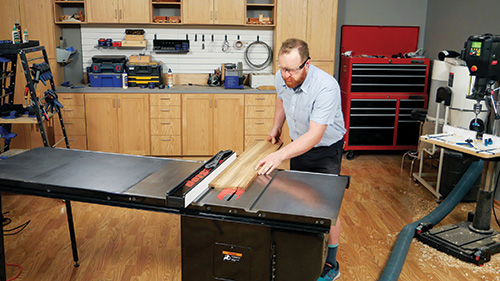
Prepare a 3/4″ x 1″ blank that’s 36″ long, then head to the router table for some dovetailing. Install a 1/2″-wide dovetail bit, and adjust the router table’s fence to center the bit on the 1″ face of the workpiece. Raise the bit to 3/8″, and make sure the fence is 3/4″ back from the outside edge of the bit. Install featherboards both to the router table’s fence and alongside the bit on the table to make sure this long, narrow “stick” remains under control when you mill the dovetail socket. After that’s routed, crosscut the two side pieces to final length.
Now adjust your router table fence to mill a dovetail pin along each side of the tray. You want a tight joint that doesn’t bind as you slide the tray in and out. Set up these cuts with the bit buried partially in the fence. Never rout with the wood trapped in between the bit and the fence, or the back of the bit can grab the wood and pull it through violently.
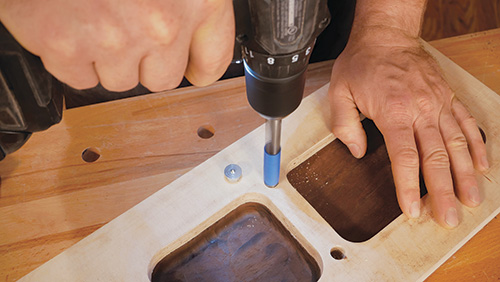
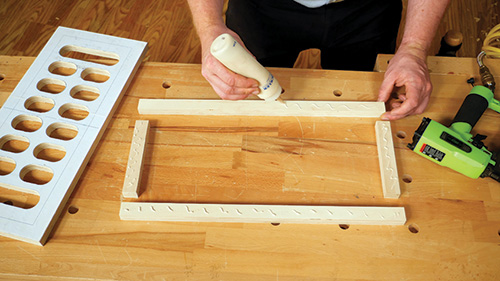
The last step before gluing the parts together is to grab your drill and a 1/2″ brad-point drill bit and drill holes for the magnets. I used the tray jig to drill 1/8″-deep holes into the cribbage supplies side of the tray. Two metal dowel points inserted in these holes helped me locate matching holes in the back of the cribbage board — just line up the cribbage board over the tray with the sides in place, and squeeze the parts together to prick it with centerpoints for drilling. Glue the magnets into their holes, making sure their polarities will attract.
Assembly and Finishing Up
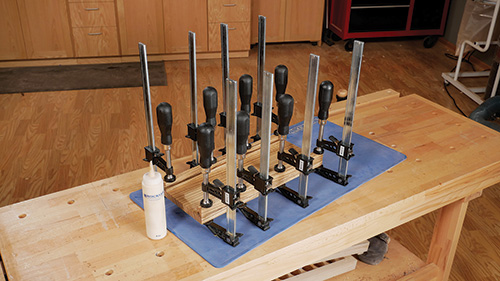
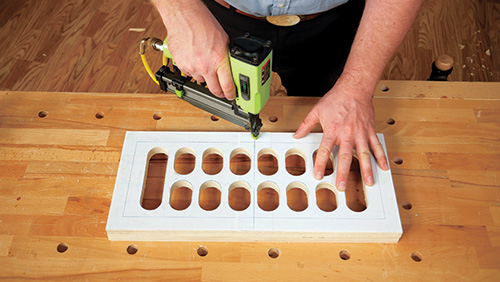
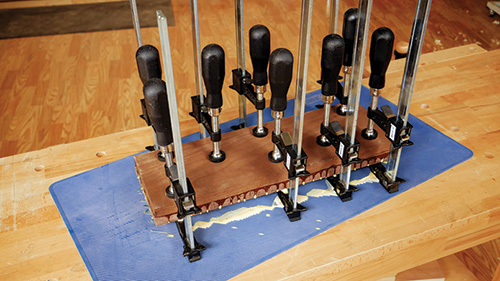
You’re ready for final assembly! Slip the sides onto the tray so it acts as a spacer, then glue the sides to the cribbage board. When the glue tacks up, remove the tray and glue on the mancala board. I found this was an easy method to keep the parts from slipping around.
When the glue dries, finish-sand the case and tray and wipe on a few coats of Danish oil. Waxing the dovetails will help the tray slide in and out more smoothly. Now you have an heirloom gameboard.
Click Here to Download the Drawings and Materials List.
Click Here to Download the Full-Size Templates.
Hard-to-Find Hardware:
Small Cribbage Board Templates, 3-Player, Curved Track (1) #51133
Small Deluxe Cribbage Pegs, 3-Player Set (1) #59924
Rockler Dish Carving Router Bit – 1/2″ Shank (1) #43495
Rockler Dovetail Router Bit – 1/2″ Shank (1) #91078
Rare Earth Magnets, 1/2″ x 1/8″, 10-Pack (1) #30810


