This article, “Turning an Earring Stand,” by Kip Christensen, is from the pages of American Woodturner and is brought to you by the America Association of Woodturners (AAW) in partnership with Woodworker’s Journal.
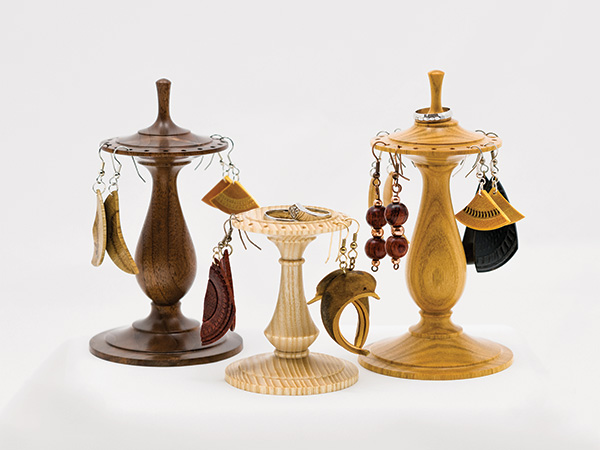
Among the designs included in the late Keith Rowley’s book Woodturning Projects was an earring stand, one of which I acquired and gave as a gift to my wife Kim. She has used it regularly for nearly two decades. After repeated encouragement from Kim, I made another one for her using Keith’s example and book as a guide.
Keith’s design included four separate pieces of wood: a base, a center post, an earring carrier, and a finial. The finial doubles as a handle and can also be used as a ring holder. The four parts were joined together by turning tenons that fit into drilled holes. After making the earring stand using Keith’s method, I decided to make one out of one solid piece of wood. This allowed the grain to align continuously from bottom-to-top and eliminated the need to join four separate turnings. After making several earring stands using this method, I have found they are fun to turn and are well received as gifts. My modified design requires changing the project’s drilling jig from having a center pin to having a center hole.
Prepare the Blank
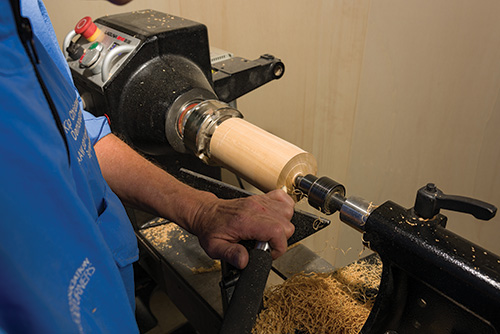
Start with a seasoned piece of wood about 3-1/2″ (9cm) square and 6″ (15cm) long. Straight-grained wood ensures the finial will not be weakened by crossgrain fibers. With the wood mounted between a drive center and a cup-and-point ball-bearing tail center, use a spindle-roughing gouge to remove the corners and turn a cylinder.

On the bottom end of the blank, turn a spigot to fit a scroll chuck. The spigot is about 1/4″ (6mm) long, slightly larger in diameter than the chuck jaws in the closed position, and approximately matches the shape of the jaws. My Vicmarc chuck has dovetail jaws, and a matching spigot is quickly turned using a skew with the handle held low in peeling position. The spigot can also be turned with a parting tool or a spindle gouge. The inside corner should be crisp and clean.
After securing the spigot in the scroll chuck, bring the tailstock into position and turn enough wood off the end of the blank to true it up. This will be the bottom of the stand and a slightly concave cut ensures the stand will sit on a flat surface without rocking.
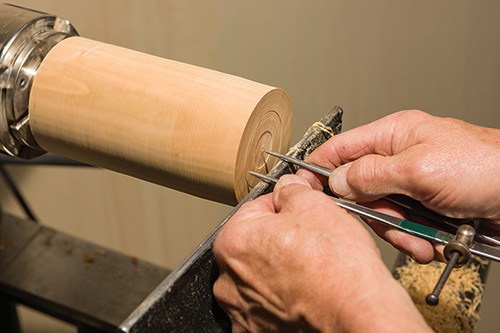
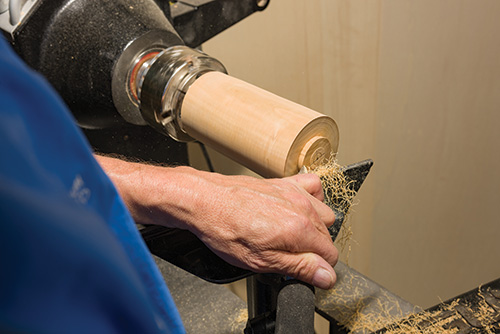
The next step is to create a recess just large enough for the chuck jaws to expand into, and 1/8″ to 3/16″ (3mm to 5mm) deep. To establish the recess’s diameter, I close the jaws of the chuck and set a pair of dividers to the distance from the center of the chuck to the outside of the jaws. Next, with the lathe running, I put the right leg of the dividers at the center of the wood and the left leg on the toolrest and gently press the left leg into the wood to score a layout line.
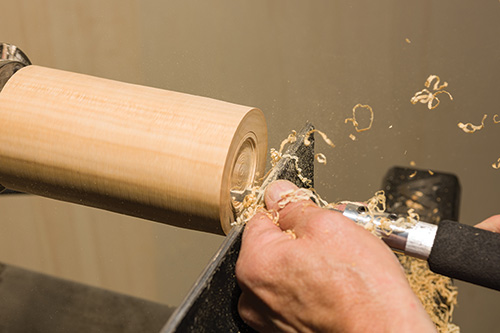
I like to remove most of the wood for the recess using a 1/8″ parting tool modified for scraping. The modified tool puts minimal pressure on the blank, reducing the possibility of getting a catch that can pull the blank out of the chuck jaws. When you think you have turned an adequate recess, check the fit of the jaws in the recess with the lathe off. A light cut with a box or pen scraper levels the surface left by the parting tool, and a skew presented as a scraper cuts the dovetail- shaped shoulder to match the chuck jaws.

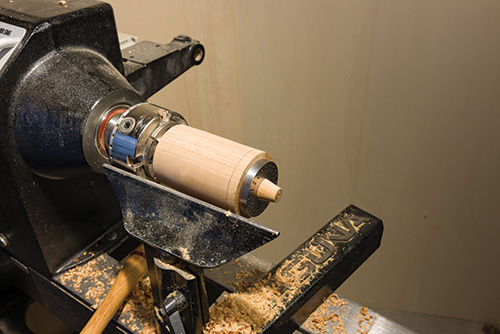
After sanding the bottom of the earring stand to its finished surface, the blank is ready to be reversed and mounted on the expanding four-jaw chuck to turn the remainder of the earring stand.
The blank should run true and the center mark on the top of the blank should align with the tailstock center. If the mark and center do not align, turn away the center hole from the previous chucking by taking light shearing cuts with a spindle gouge. The point of a skew establishes a new hole that will align with the tail center. With the tailstock brought up and tightened, the outside of the blank is quickly trued with a spindle-roughing gouge.
Modified Parting Tool
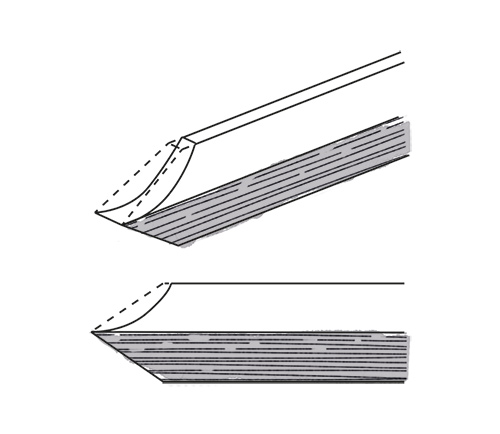
The tip of a parting tool is easily modified to convert the tool to a scraper. Simply use a bench grinder to remove the upper half of the tool tip. Once ground to shape, the tool can be sharpened by presenting only the unmodified lower half to the grinding wheel, as you would a typical parting tool. The resulting tool cuts endgrain cleaner and exerts less force on the wood than does a standard parting tool.
Create the Earring Carrier
To mark the location of the holes that will hold the earrings, measure about 1-1/2″ (4cm) down from the top of the blank and draw a layout line. The finial will rise above the earring carrier, so a lot of the wood in this area needs to be removed. This is quickly done by peeling with a skew chisel, a wide parting tool, or a Bedan parting tool.
I leave a tenon above the layout line that is just over 1″ (25mm) diameter, and then taper the tenon from its near-1″ diameter down to slightly larger than the diameter of the tail center. This taper gives clearance for the chuck of the hand drill.
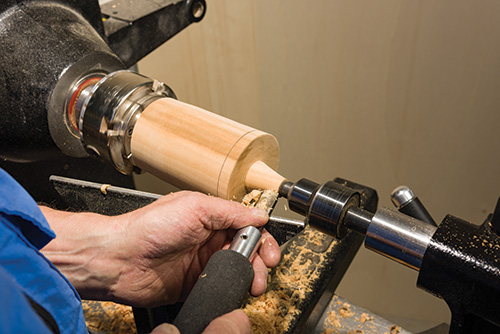
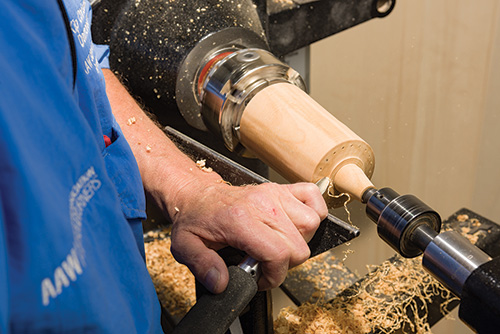
Uniformly arranging the holes around the rim of the earring carrier produces a professional-looking stand. It is possible to achieve a uniform layout with some calculations and the lathe’s indexing wheel (assuming it has one), but I have designed a metal drill jig that makes this step simple and accurate. To use the jig, I slide the tailstock away and hold the drill jig over the finial post, then rotate the spindle by hand while applying moderate pressure on the jig. This will burnish a light line that transfers the diameter of the center hole of the drill jig onto the tapered post and identifies how much material needs to be removed to accurately fit—and perfectly center—the jig over the finial post. Using the burnish mark as a guide, I use a wide parting tool to reduce the lower section of the post over which the drill jig will fit.
Drill the Holes for the Earrings

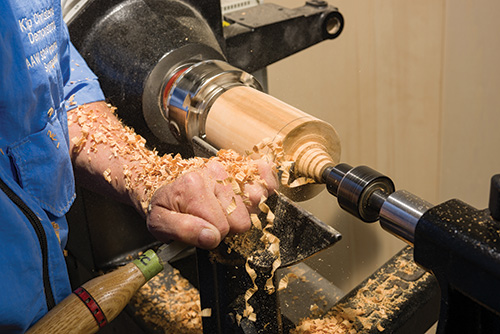
While I perform this next task with an electric hand drill and the blank on the lathe, it is also possible to remove the chuck from the lathe and use a drill press. I remove the tailstock, slide the drill jig over the post, and temporarily secure it in place with masking tape. With a 3/32″ (2mm) bit, drill a hole about 1/2″ (13mm) into the wood.
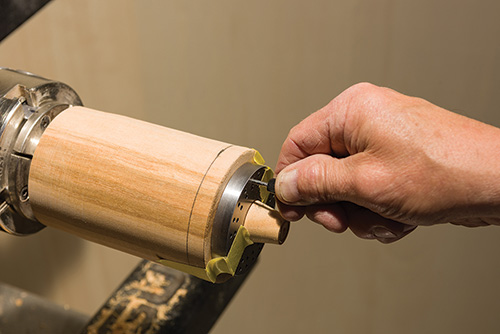
I press an indexing pin into this first hole and continue drilling the remaining holes. The indexing pin is easily shifted to another hole when it gets in the way.
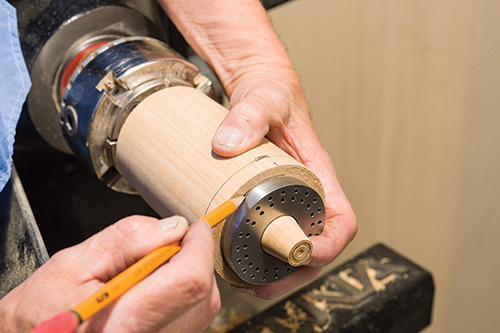
After all the holes are drilled, I draw a line around the outside of the drill jig. This line marks the approximate outside diameter of the earring carrier.
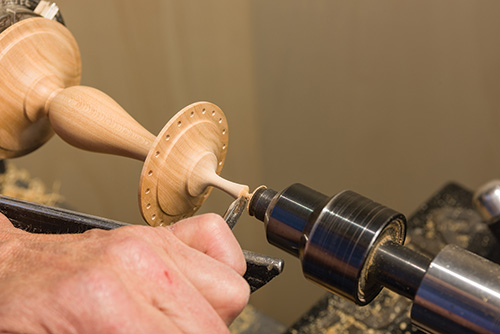
Shape Earring Carrier and Center Post
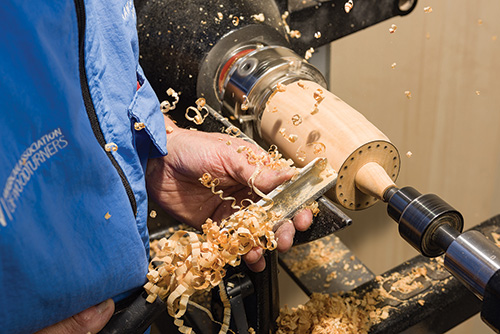
With the tailstock brought up for support, reduce the upper area of the blank to the diameter of the earring carrier layout line.
Turning from large to small diameter, take careful shearing cuts with a 3/8″ (10cm) spindle gouge and begin shaping the top side of the earring carrier, aiming for a slightly concave surface.
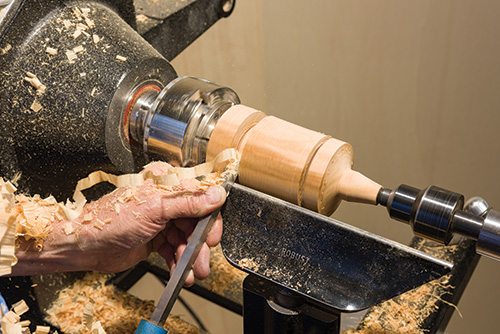
Define the area that will become the center post by reducing the diameter of the spindle between the base and the bottom side of the carrier to about 1″. The waste is quickly removed using peeling cuts with a 3/8″ Bedan parting tool.
After removing the waste material from the center post, I shift my attention to the underside of the carrier. There are two important tolerances that need to be considered for most earring wires to hang freely without binding on the earring carrier: the carrier should be no thicker than 1/8″ near the edge where the holes are drilled, and the center of the holes should be no more than 3/16″ from the outside edge of the carrier.
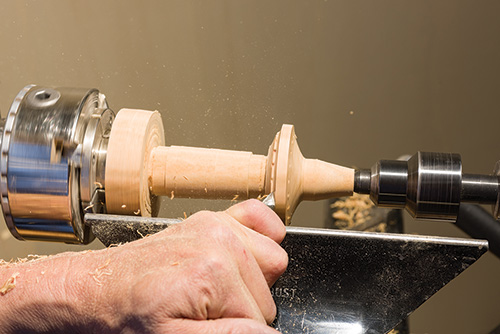
After defining the tolerances near the outside edge of the carrier, I focus my efforts on the base and the transition between the base and the center post.
Then I move to final shaping of the center post.
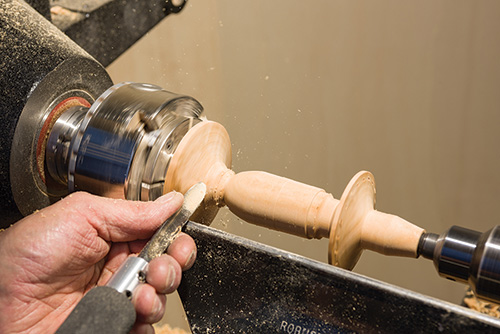
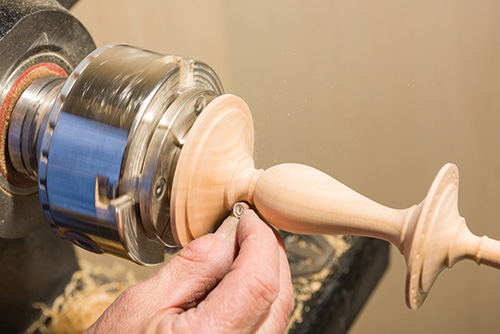
Clean out the Holes and Sand

Prior to completing the finial but after the rest of the piece has been turned, it is often necessary to clean the frayed wood fibers hiding in the 3/32″ earring holes. This is best done with a 3/32″ drill bit secured in a hand-held drill chuck or a small handle. I simply insert the bit into the holes and twist the chuck or handle by hand.
Lower the lathe speed to minimize heat build-up from friction while sanding. You will want to preserve the fine details you have worked hard to create by sanding carefully. To avoid removing crisp corners at the top of coves, roll the abrasive into a coil or wrap it over (not around!) your finger to fit the curvature of the cove. Use the edge of the abrasive to sand into tight corners.
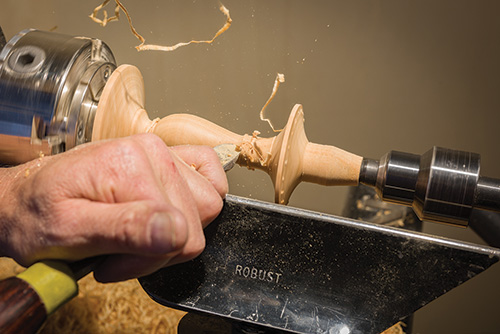
Shape the Finial
The finial is intended to be more functional than aesthetic, as it serves as both a handle for lifting the earring stand and as a ring holder. The finial should not be so small in diameter that it is fragile, or pointy at the top so it is awkward to pick up. Use light shearing cuts with a 1/4″ or 3/8″ spindle gouge to refine the finial. Sand the finial while there is still support from the tail center. Finally, separate the top of the finial from the waste near the tailstock and gently sand the top end.
Apply a Finish
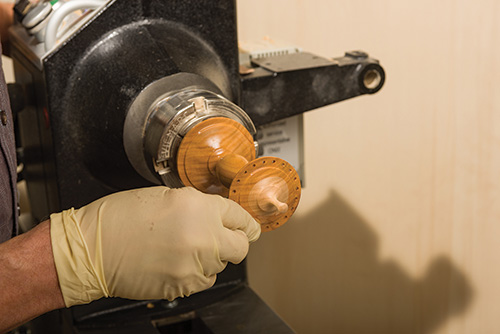
For a finish, I like to use a penetrating oil such as Waterlox Original. I apply the first coat using a clean rag with the lathe stopped, working the finish into the pores of the wood. Successive coats are most efficiently applied while the earring stand is secured in the chuck, but the stand can be removed easily, then re-chucked if need-be. I apply finish to the bottom last, after the project is removed from the chuck.
The earring stand is a useful item and a project that offers good opportunities to practice fine detail turning techniques. The project also offers the chance to apply basic spindle cuts to achieve a pleasing design. I hope you enjoy making them as much as I have.
All photos by Scott Finlayson.
Kip Christensen is a professor of technology and engineering education who teaches wood prototyping, furniture design, and manufacturing at Brigham Young University. He has a particular interest in woodturning education and has authored several articles and DVDs on the subject. His earring drilling jig is available by contacting Kip.


