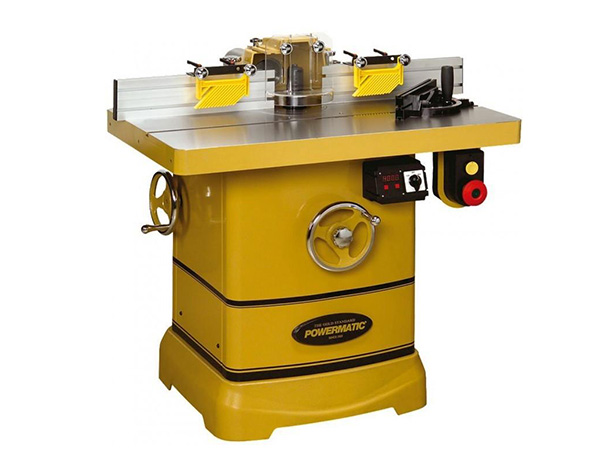
I recently purchased a locked miter bit for my shaper. My problem is that I haven’t come up with a good way to set up a fence to use with the bit. The bit, of course, leaves the workpiece with a 45 degree edge after it is cut. This edge is too sharp to rub against the outfeed fence. The mating piece must pass by the bit in an upright position and this sharp edge is then facing down to the table. Again, it’s too sharp an edge to be rubbing against the table. Besides, I don’t really want this perfect 45 to be blunted by rubbing the fence or the table.
Ian Kirby: You could go to some very elaborate set ups to preserve the feather edge. A mating piece on the outfeed table to support the newly cut workpiece is one example. Another is a support board clamped to the workpiece that doesn’t get cut. You won’t want to do any of these set ups for short runs or if you’re in a hurry.
The usual solution is an accurate set up and gentle hands to feed the work. But don’t feel too bad; you’re not missing a piece of the puzzle.
Ellis Walentine: The only way I know to avoid running that perfect edge against the outfeed fence is to set up an auxiliary fence that contacts the machined edge at another point. The little tongue of a lock miter provides an ideal bearing surface. Just make up a strip of wood of appropriate dimension and screw it to your outfeed fence. For example, if you’re shaping 3/4″ plywood, try attaching a 1/2-in.-square strip to your outfeed fence. Assuming your outfeed fence is independently adjustable, move it back until your auxiliary strip is in line with the tongue as it exits the cutter. The auxiliary strip serves to space the sharp edge off the regular fence surface while providing a solid bearing surface for the tongue.


