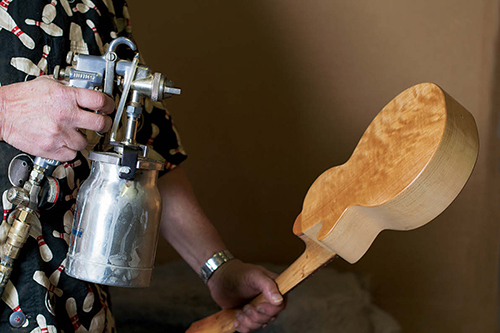
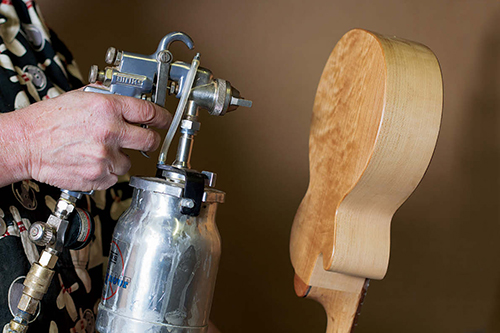
Spraying is quick, easier than brushing and fun. However, there are several things that can go wrong. Here are six common problems, how to avoid them in the future, and the best ways to fix them if they do attack. The first three have more to do with the material, environment and spray equipment, while the last three are more related to your spraying technique.
Orange Peel
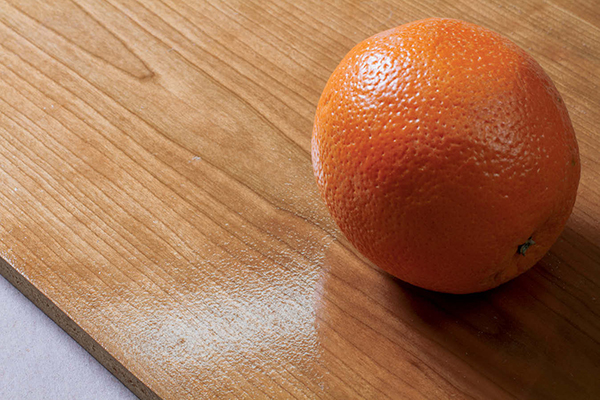
As finish flows through the gun, the tip atomizes it into tiny airborne droplets. If those droplets are too large or too thick to flow out during drying, you may end up with a surface that is pebbly, like the surface of an orange peel. Sometimes you can avoid it by using a smaller fluid tip on the gun, but the simplest way to sidestep orange peel is to thin the material.
Fixing orange peel is fairly easy. Wait until the coat is dry, sand it smooth, and spray the next coat with thinner material.
Incidentally, when you first spray water-based coating, it may look like there is orange peel, but when you let it dry overnight, the finish usually will flow out. That’s because water-based coating has a high surface tension and will create beads of finish, but the evaporation of the high-surface- tension water in the mix will allow the remaining finish to flow out level during the drying process.
Foam or Air Bubbles
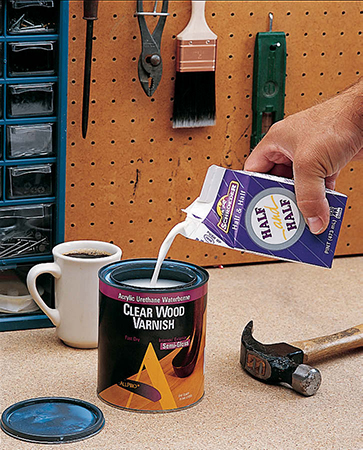
Though it is not common in other finishes, foam does show up in water-based coatings. Although it may look like blush, foam is actually a cloud of infinitesimal air bubbles trapped in the finish, usually caused by the spray gun agitating the coating. Spraying lighter coats, lowering the air pressure and using a smaller atomizing tip can all help, but in a pinch, you can also eradicate foam chemically. Add an ounce of half-and-half, the cream-and-milk mixture you put in coffee, to a quart of water-based coating before spraying. Use real half-and-half, not nonfat or synthetic.
Sadly, once in the finish, foam is not easy to remove. Acrylics can sometimes be dissolved enough with lacquer thinner to flow out the foam, but at other times, especially with water-based polyurethane, you usually have to remove the foam-laden coat and start over.
Lacquer, shellac, and oil varnish/polyurethane won’t generally foam, but you might get air bubbles large enough to see with the naked eye. Typically, that means you’ve sprayed too heavy a coat of finish over wood with open pores, thus trapping air beneath the fast-drying topcoat. Avoid it by spraying lighter coats or thinner material, but once they are in the finish they’re not easy to remove, and may require removing the bubble-laden coat.
Blush
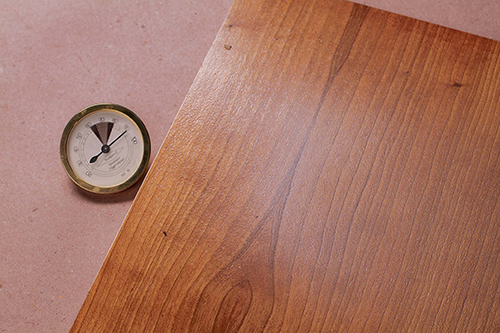
When moisture from the air gets trapped in a finish, we call it blush. It looks like a cloud floating in the finish, and usually shows up in drying lacquers sprayed in very wet environments. You can wait for dry weather to spray, or lower the relative humidity by running a dehumidifier or air conditioner on humid days, or a heater on cold, damp days.
Spraying another coat will remove the blush, though if the same conditions exist, it could attack that coat as well. If you can’t alter the environment or wait for a dry day, you can slow down the drying rate of the finish itself by adding blush chasers and retarders, which are usually available wherever you buy your lacquer.
Drips, Sags and Runs
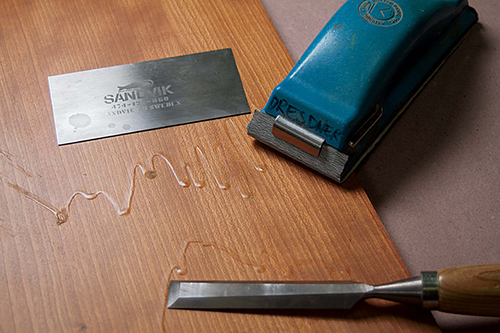
Stopping, moving the gun too slowly or going too close will deposit more finish, and can cause sags, drips or runs. Avoid them by keeping the gun moving at the right speed and at the right distance from the wood so that the finish flows on evenly: not too wet, and not too dry. When drips happen, let them dry fully, then sand, chisel or scrape them off carefully and recoat.
Overspray
Just as drips are from too much finish, overspray is from not depositing enough, usually by being too far away from the surface or moving the gun too fast.
In most cases, you merely need to get the gun closer or slow down a bit to avoid overspray. Fix it by sanding lightly to smooth the area, then respray.
Holidays or Bands
Holidays are areas you missed or under-sprayed. Often, they come from moving the gun in an arc instead of keeping it parallel to the wood surface, or in designing a spray sequence that misses some areas, like the inside of chair legs or cabinets. Picture your pattern of gun movement in advance to ensure you’ll hit all areas the same, and keep the gun parallel to and the same distance from the wood at all times.
Alternate wet and dry bands of finish occur when you don’t overlap your spray strokes enough on a large, flat surface. With each pass of the gun, overlap 50 percent of the last pass. Spray each pass lightly enough that the combination of the pass and overlap create one full coat, and don’t forget to account for the first and last passes near the edges.
Dry areas are often slightly rough. Smooth them with fine 400-grit paper, and focus on the “hungry” areas when you spray the next coat.
Spray Pattern
Any of these problems can stem from having an irregular spray fan, usually caused by a partially clogged fluid tip or air channel. Check the fan pattern by spraying for a split second onto dry cardboard or wood. You should see a uniform oval of finish, not a “dogbone” or “pear” shaped fan.
In general, good gun setup, correct fluid viscosity, proper triggering, and correct distance, speed, and pattern are all critical, but that’s a topic for another day.

