While a household circa 1800 expected a wooden bowl to be oval because it was turned from green wood, a similar denizen of the 20th century was put off by an oval shape. By the 1950s, Tupperware® was well established and inexpensive glass and ceramic bowls abounded, helping to create such expectations.
In the mid-20th century, many well-known woodturners, including James Prestini, Bob Stocksdale and Rude Osolnik, created natural edge bowls when they started experimenting with the traditional bowl’s form to create art to sell in craft galleries.
Predominantly, natural edge bowls are small. Part of this is that smaller diameters negate the wood shrinkage problem. Also, smaller items sell better in craft galleries because they are priced more reasonably and fit into the buyer’s décor more easily. This makes them perfect for mini and midi lathes.
Art Over Utility: Natural Edge Bowls of Varying Size
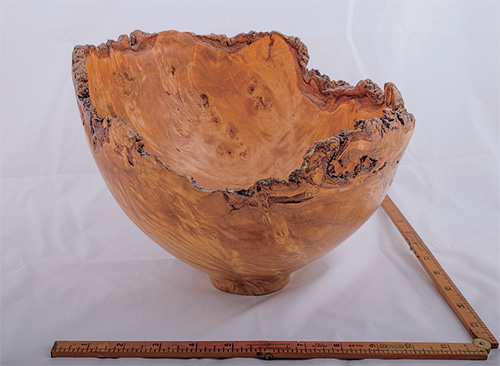
This 1985 poplar burl piece by Rude Osolnik is an exceptionally large natural edge bowl. Rude first turned the outside between centers, then chucked the base in a four-jaw metalworking chuck. He then wrapped the piece with duct tape and hollowed the inside, leaving a uniform 1/4″ wall. Very fragile, it is art and not utilitarian in the least.
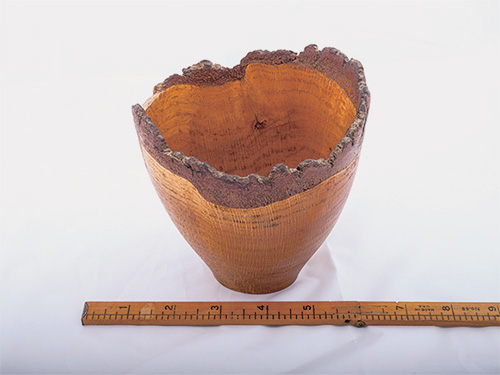
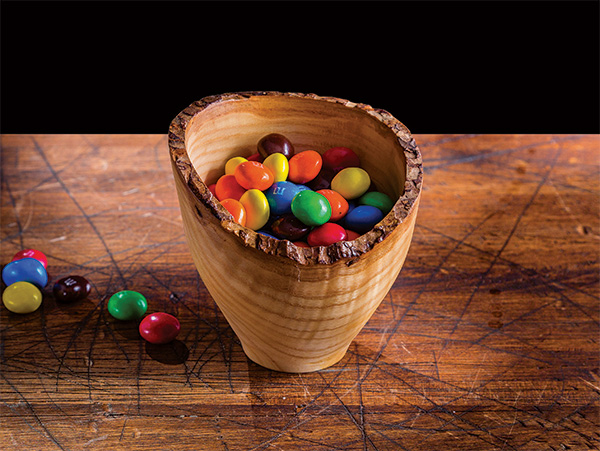
The author turned this average-sized natural edge bowl, with bark, from white oak. Well-meant but klutzy dusting resulted in the removal of the bark from a section: proof that natural edges are more art than utility. Turned green, the shape has warped to oval, but the natural edge largely hides this.
The Greener, The Better!
Natural edge bowls are best turned from green wood — the greener, the better! A common motif is to leave the bark on the natural edge. This requires harvesting the tree, or the limb of the tree, in the cold months if the bark is not to fall off during drying. While this varies regionally, here in northeastern Ohio, December to February are safe bets.
You can somewhat combat the “bark falling off” tendency by treating it with thin cyanoacrylate “super” glue as you turn to increase the bark’s bond to the piece. The cyanoacrylate becomes indispensible for beginning and experienced turners alike if you attempt to turn a natural edge piece from wood harvested in the warmer months.
The concept of a natural edge bowl is simplicity itself; however, the execution, not so much. Cutting through the uneven edges requires precise tool control. Lack thereof results in an unnatural edge.
If you can use a bowl gouge handily, the process is straightforward. (If not, read on for a solution.)
Natural edge bowls benefit artistically from a straight wall design with good heightto- width ratios, which shows off the edge and lends a modern look.
Mount Your Workpiece
The best way to turn the outside of a natural edge is between centers, or on a screw chuck with a live center in the tailstock supporting the area that will be the base. Although we are chucked between centers, this is still faceplate turning because the grain of the wood is running across the lathe and not the length of it. (It is the orientation of the grain that separates face from spindle work.)
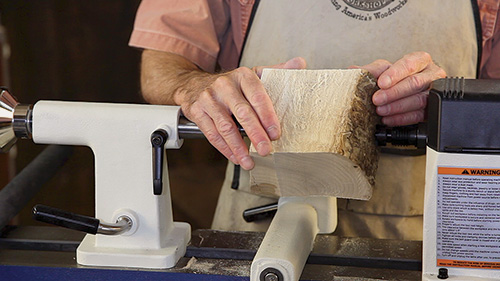
The best drive center for this type of work has only two prongs. Because the outside of the tree is uneven, a four-prong model will often only drive on one prong. This makes the center drift until three prongs engage. You can buy two-prong centers, but an easy solution is to simply grind two prongs away.
The orientation of the wood for a natural edge bowl is generally the opposite of the orientation for a level rim bowl. Instead of being the base of the bowl, the outside of the tree is now the rim.
Turning Process
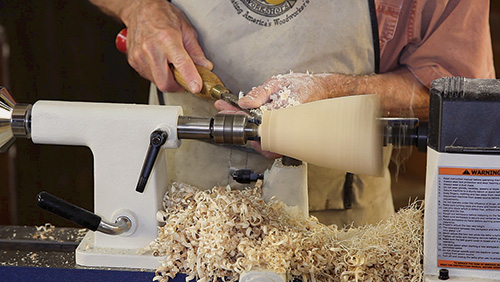
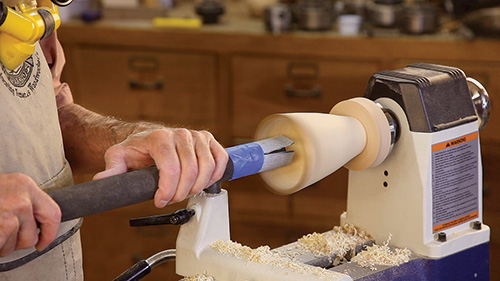
Create the form of your bowl by turning a relatively tall, slender form with a bowl gouge and creating a stout tenon for chucking. The tenon should be about 1/8″ smaller than the base of the natural edge bowl and between 1/2″ and 1″ long.
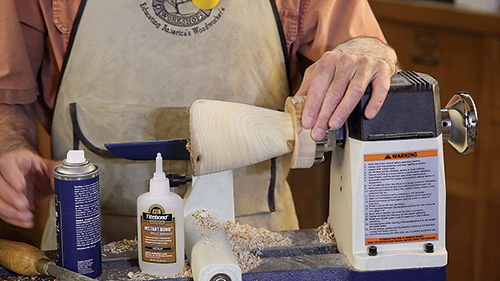
Sand the outside and now mount a 1-1/2″-thick glue block on a faceplate. In the glue block, scrape a straight-walled mortise that is a slide fit with the tenon. Scrape the area around the mortise flat so that the shoulder of the tenon on your bowl registers and brings the piece square.
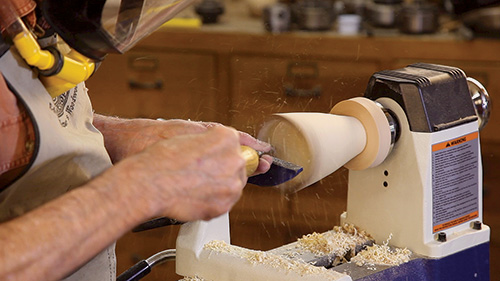
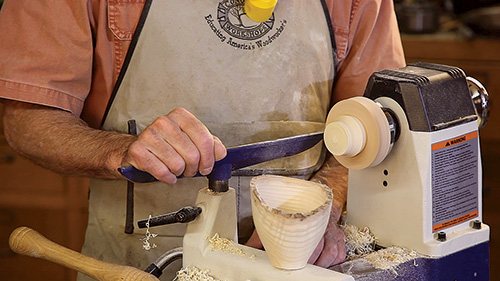
picking up the cut with a bowl gouge is the answer.
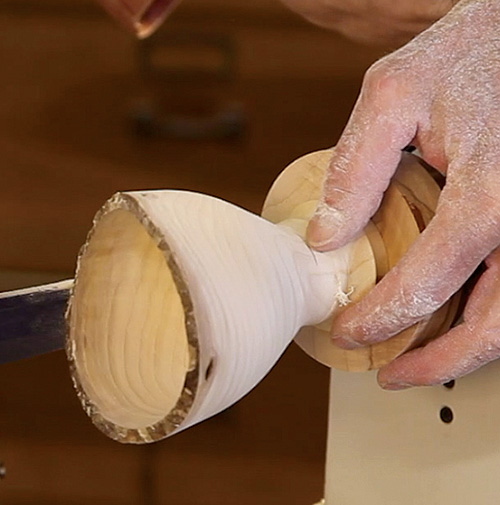
Turn the sides of your piece to a thin wall, in the range of 1/4″ thick. You can make this easier by shining a strong light on the left side, where you are cutting.
As the wall becomes thinner, it will become translucent. You can make an accurate judgment of the wall thickness by the intensity of the translucence.
If your bowl gouge skills are tentative, scraping past the uneven rim with a scraper, then picking up the cut with a bowl gouge, is the solution. (I learned this technique from Rude Osolnik.)
In addition, a bit of speed — in the 900 to 1,200 rpm range — is very helpful. Speeds above 1,200 rpm, however, do not improve faceplate work.
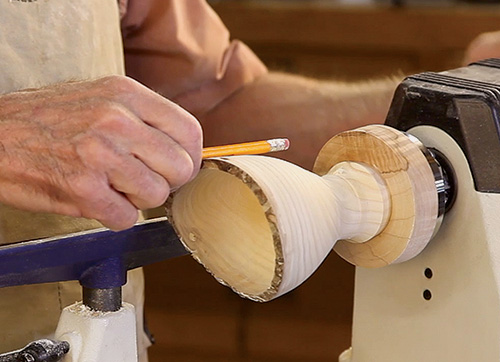
It’s very difficult to get the shape of the bottom of a natural edge bowl to be perfect with a bowl gouge. A big round-nose scraper can be of help here.
Finishing, Naturally
When it comes to sanding and finishing a natural edge piece, it’s best to keep in mind that the overall idea behind these types of turnings is to mimic Mother Nature. Opting for minimal sanding and little to no finish is A-OK.
If you do choose to sand the interior of your bowl, please keep this safety note in mind: it is unsafe to put your hands inside a natural edge bowl while it is on the lathe and the lathe is running.
You can turn a 1-1/2″-diameter dowel with a rounded tip, glue foam rubber around this, and then tape sandpaper to that to use a safer sanding option.
When you have finished turning your piece, part off at an angle so as to undercut the base. Hand sand the base — you can remove a nubbin with a carving gouge and some hand sanding — apply finish, and admire your newly minted art.
Although not terribly useful, natural edge bowls can be a lot of fun. Once you get past struggling with the techniques, you can concentrate on unleashing the hidden beauty in pieces of wood that would otherwise end up in the woodstove.


