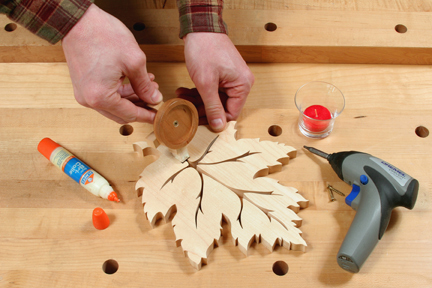
Surprise a candle lover in your family with this scroll-sawn wall accent. It’s a gift you can make in an afternoon.
Step 1: Download and print out the two-page Leaf Sconce PDF pattern. Note: When printing out the patterns, make sure your printer’s Page Scaling option is set to “None” to prevent it from reducing the pattern size. Enlarge the Leaf Pattern to 110 percent on a photocopier (it fits nicely on a sheet of 11 x 17-in. paper). You can use the Bracket and Candle Cup Base Patterns at their original size.
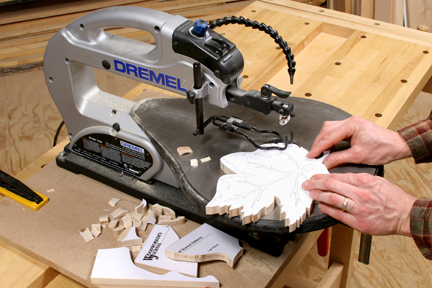
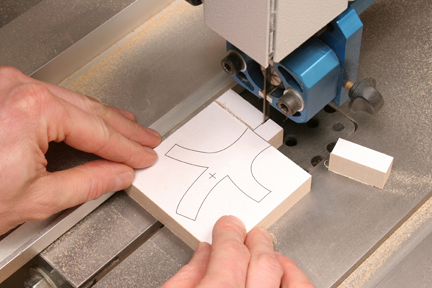
Step 2: Mount the Leaf Pattern to a piece of 5/8-in.-thick stock with spray adhesive. Soft or hard maple are great choices for these project parts, since the sconce has a maple leaf shape. Cut out the leaf on your scroll saw, but leave the inside “vein” design uncut for the moment (see Photo 1).
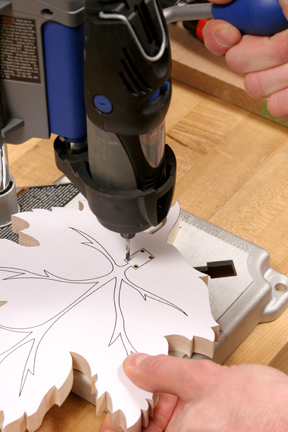
Step 3: The rectangular shape at the bottom of the vein pattern is actually a mortise. It will house a short tenon on the bracket you’ll cut in the next step. Drill four tiny starter holes at the corners of the mortise to fit your scroll saw blade, and cut out the mortise (see Photo 2). Note: Cut about 1/16 in. inside the mortise layout lines so you can chisel it as needed to fit the tenon.
Step 4: Mount the branch-shaped Bracket Pattern to a piece of 5/8-in.-thick stock with spray adhesive. It’s important to cut the bracket’s tenon so the sides are parallel and straight. To help make this easier, use a square-edged piece of wood for the blank, and position the pattern so the end of the tenon is flush with the end of the blank. Now, use a fence on your band saw or scroll saw to guide the tenon cuts (see Photo 3). Once the tenon is trimmed to shape, cut out the rest of the bracket on your scroll saw.
Step 5: Drill a 1/8-in.-diameter, 1/2-in.-deep stopped hole into the bracket where indicated on the pattern. The hole will serve as a pilot for a #6 x 3/4 in. screw, later. Peel the paper pattern off the bracket.
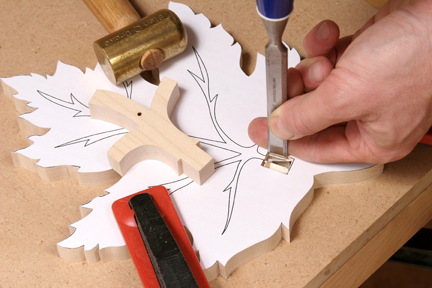
Step 6: Use a sharp 1/2-in.-wide chisel to pare the mortise on the leaf until the bracket’s tenon slides in with a slight friction fit (see Photo 4). When the joint fits properly, cut out the vein shapes inside the leaf. Peel off the rest of the paper pattern.
Step 7: You’ll use a glass votive cup to hold the candle on this sconce. To keep the cup from slipping off the bracket, we’ll make a recessed wooden base to hold it. You can mill the recessed area with a trim router equipped with a rub collar and a 1/4-in.-diameter straight bit. The Base Pattern is sized for a standard 2-in.-diameter votive cup. Mount the paper pattern to a piece of 1/2-in.-thick stock, and cut a 2 1/2-in.-diameter hole through another piece of scrap to serve as a template for your router. Make both of these parts from stock that’s at least 5 in. wide and about a foot long so you’ll have plenty of room for clamping as well as guiding the router. Drill a screw pilot hole through the center of the base where indicated on the pattern.
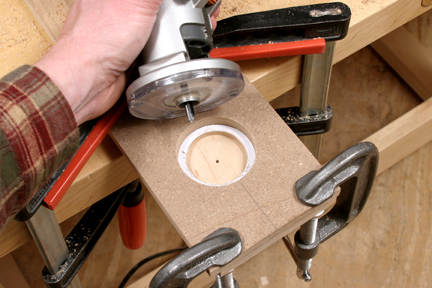
Step 8: Align and clamp your router template over the Base Pattern. Install a 1/4-in. straight bit and a 3/4-in. O.D. rub collar in your router, and set the bit for a 1/8-in.-deep cut. Rout around the inside of the template in a series of clockwise circles to remove the waste. Then, reset the cutting depth to 1/4 in., and make a second pass to complete the cup recess (see Photo 5).
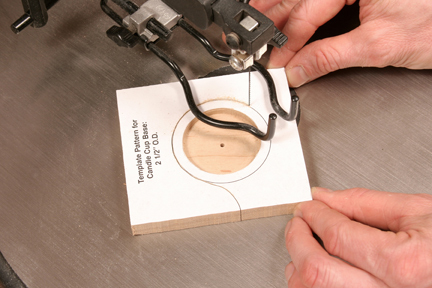
Step 9: Unclamp the template and workpiece, and cut out the base on your scroll saw (see Photo 6). Refine and clean up the base’s shape on a disc sander or by hand sanding.
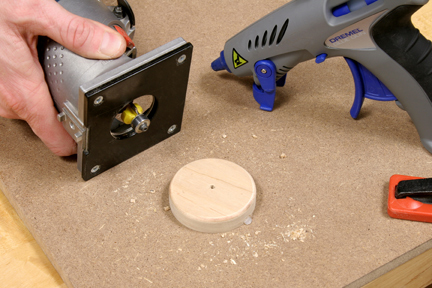
Step 10: Ease the bottom edge of the base with a 1/8-in.-diameter roundover bit in your trim router. Hold the base securely for routing by sticking it to a larger piece of scrap with a few dabs of hot-melt glue (see Photo 7). When you’re finished routing, tap the base free with a rubber mallet, and peel off the glue. If you’re not comfortable routing a workpiece this small, just soften the edge with a file or sandpaper.
Step 11: Use a detail sander and a sanding block to smooth the surfaces of the three project parts up to 180-grit (see Photo 8). Sand the leaf carefully, especially near the pointed tips, to prevent chipping them.

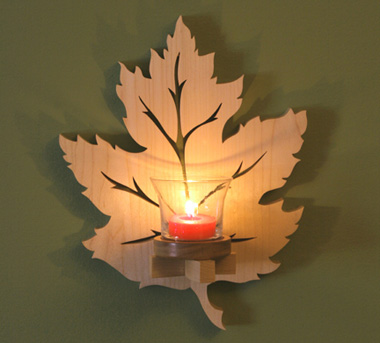
Step 12: Apply a few coats of finish to the sconce parts. Aerosol varnish, shellac or lacquer are good choices for reaching all the crevices and contours of the leaf. When the finish dries, fasten the base to the bracket with a #6 x 3/4-in. countersunk flathead wood screw. Glue the bracket tenon into the leaf mortise (see Photo 9), and the project is ready for hanging. Use a long, thin trim nail to hold the project on the wall. Tap the nail into the wall, then hang the sconce over the nail from inside the top vein cutout.