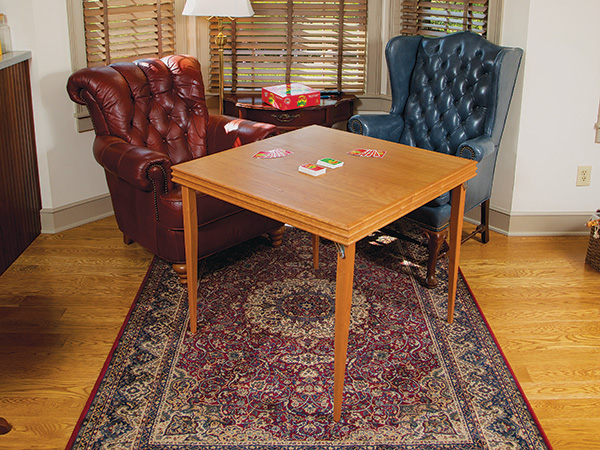
Folding tables make me think of parties, games, puzzles and hobbies. Activities like these that are full of merriment and maybe some rest and relaxation usually involve card or board games on a “card table.” Not owning one, let alone a nice retro-styled folding table, I decided to design and build one!
Cherry’s warm tones conjure up cozy thoughts of entertainment shared around the table for me. So, cherry was my first choice here. To get started, I picked up some 8/4 and 5/4 solid stock and cherry veneered plywood from the local hardwood store. Then I jumped straight into milling up the stock.
Prepping Stock, Tapering the Legs
My cherry lumber was kiln dried, so I wasn’t too worried about giving it time to acclimate to my shop. Even so, since this wasn’t a rushed project, I milled the apron and the leg stock about 1/8″ oversize, then let them sit for about a week. To my surprise, a couple pieces cupped and twisted just a bit; leaving them slightly oversized once again proved to be good practice!
I re-milled everything to be flat, square, and to proper thickness. I left the apron pieces overly long so that I could use them as test pieces for the mitering setup, and I kept back a 12″-long extra piece of apron sized scrap for testing my routing setups, too.
I decided to taper the legs for a couple of reasons: first, I love the look of tapered legs. Second, the taper added to the vintage card table look that I was going for. Rockler’s taper/straight-line jig makes ripping long angles like these safe and easy. Mark the dimensions and the taper angle on one of the legs.
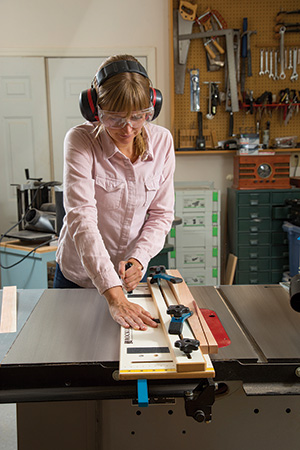
Check that the table saw blade is set square to the saw table. Set the leg in the jig on the table saw and make adjustments so that you will be cutting on the waste side of the marks. Once the jig is set and the leg is locked in place, rip tapers on two adjacent faces of all four legs.
Profiling the Aprons
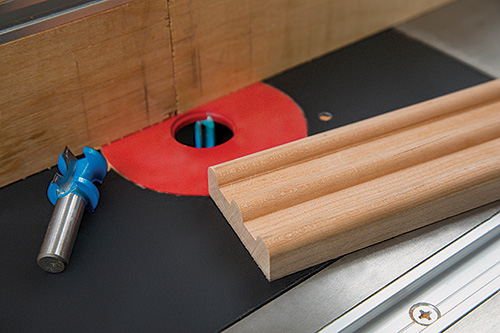
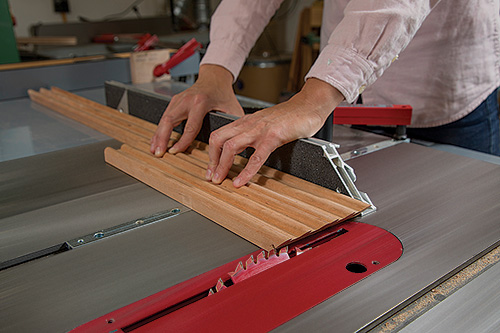
I played around with a few different styles of aprons for the table. The aprons will be glued to the plywood tabletop and the legs will be attached to them, so the aprons need to be both sturdy and attractive. Simple rounded-over edges would look nice, but I settled on a three-beaded pattern that adds even more interest. A bullnose radius router bit and a 1/2″ straight bit can create this retro looking molding. The exact bits I used are listed in the Hard-to-Find Hardware. This is where you can put that 12″ test piece to work as you check all the setups carefully before you shape the actual apron stock.
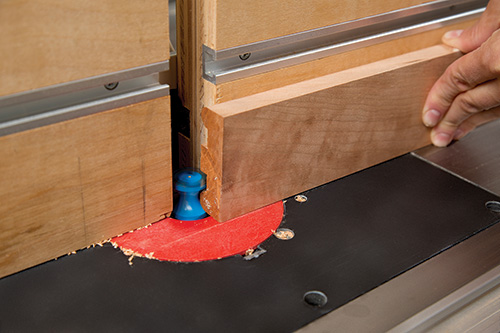
Before I got to the router table, I used a 1/2″-wide dado blade stack in the table saw to plow out most of the waste for the two grooves in the aprons. Then I set up the bullnose bit in my router. The bit height should be set so that the bit rounds over the raised section of the molding (see the Drawings). Once the bit height is set, adjust the router fence so that you are only removing about 1/16″ of material at a time, creeping up to create the perfect rounded beads.
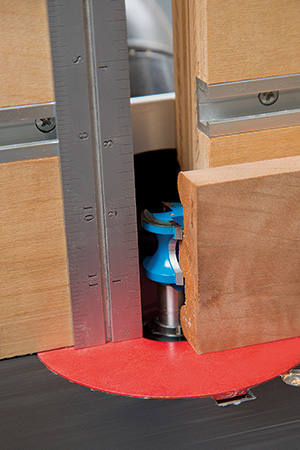
Now adjust the bullnose bit in the collet as needed so the cutters will be able to reach and shape the middle bead when the router collet is fully raised. Reset the fence so that, once again, you are only removing about 1/16″ of material at a time. Once the beads are milled, switch to a 1/2″-dia. straight bit to clean up the grooves between the beads.
The next step in making the tabletop is cutting the plywood to size. Evaluate which of its faces looks best, and mark it as the top face.
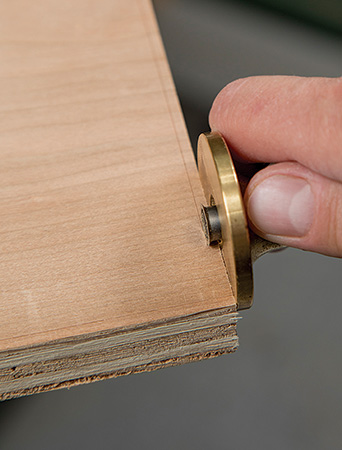
Notice in the Drawings above that you’ll need to form a tongue on all four edges of the tabletop, and you’ll do that by machining a rabbet. Use a marking gauge to score the plywood 1/8″ in from its top edges. I decided to also tape a piece of paper to the top face to protect it from getting scratched while working with it. Mill the four rabbets with either a dado blade or using a handheld router and rabbeting bit.

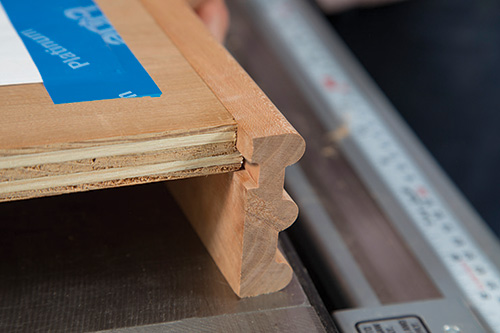
The 1/8″-long tongues you’ve just formed are captured in a groove in the aprons to form sturdy, interlocking joints. So go ahead and put a 3/8″-wide dado stack in the table saw. Adjust the rip fence 3/8″ away from it, and raise the blade just slightly higher than 1/8″. Test your setup on the 12″ molding scrap before milling a long groove into the back face of all four aprons. (Milling these grooves slightly deeper than 1/8″ allows a bit of extra depth at the bottom of the joints for excess glue to migrate when the tongues are inserted.)
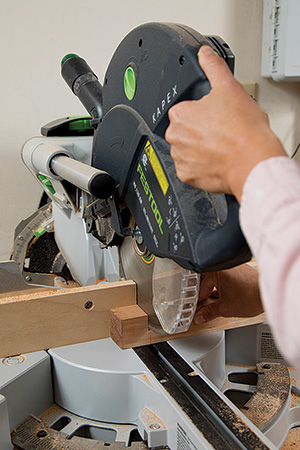
Mitering the Aprons
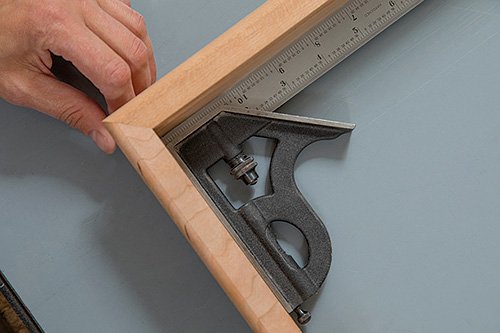
Miter joints need to be spot-on accurate to fit together well. Prepare for cutting them by first squaring your table saw miter gauge’s fence to the blade and adding a long sacrificial fence. Now tilt the blade to exactly 45 degrees. Cut miters on the ends of the test piece and one apron, and fit them together. Check for accuracy with a square. If the joint is square, mark the length of one of the aprons and miter it to length. Test it against the plywood tabletop. If it fits properly, cut the other three aprons to length, too, checking for accuracy by fitting them into place on the tabletop. Cut and fit them one at a time.
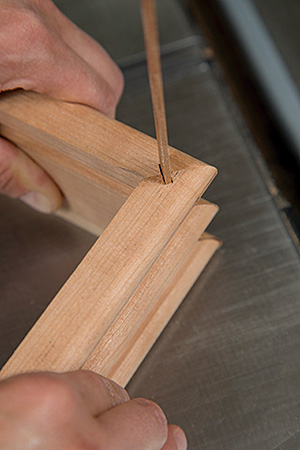
Assembling the Top with Splines
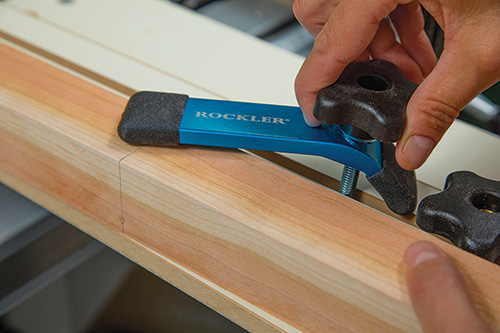
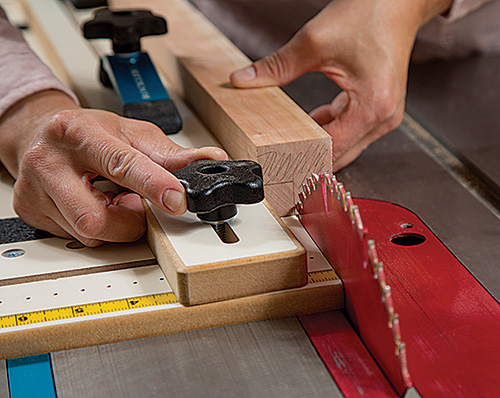
The apron miter joints are held together with splines that fit into grooves, so we’ll cut those next. Use the Drawings to mark a spline cut on your test molding. Tip your table saw blade to 45 degrees and adjust the blade so it will cut 3/16″ into the mitered face (half the groove width). Now clamp a block to the rip fence, ahead of the blade, to serve as a “step off” for the far ends of the aprons and to help position the groove cuts.
Rip 1/8″-thick splines from a piece of 3/8″ solid stock, and cut them 2-5⁄8″ long so that you’ll have a little extra length to grab onto when gluing up the aprons.
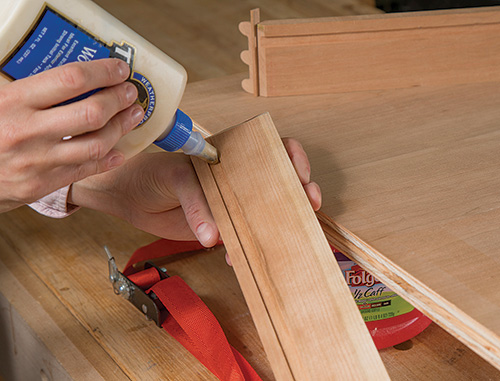
A band clamp is a great choice for gluing up the tabletop. Dry-fit the tabletop pieces first. Make sure you apply plenty of glue in the spline cuts and the apron grooves. Clamp the aprons, splines and top piece together, then carefully scrape the glue squeeze-out from the top after about 20 minutes, once the glue becomes rubbery.
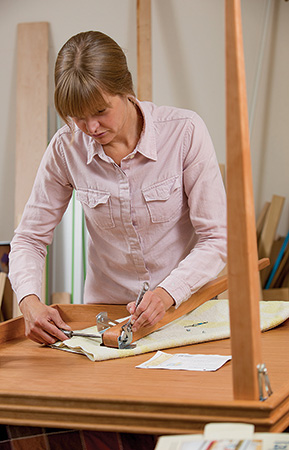
Adding Leg Hardware
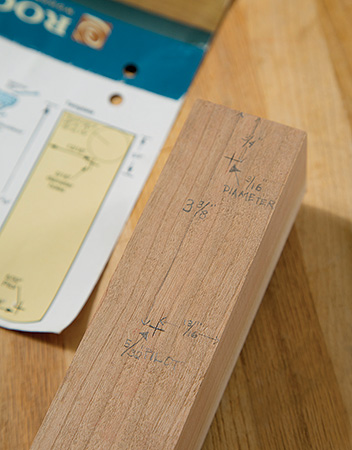
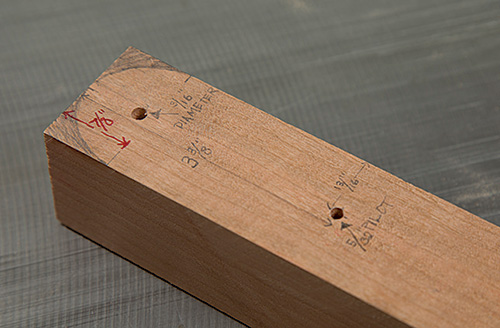
The metal leg brackets that allow these table legs to fold can be finicky to install properly. Since the legs are tapered, be sure to orient them correctly inside the brackets so the tapers face inward.
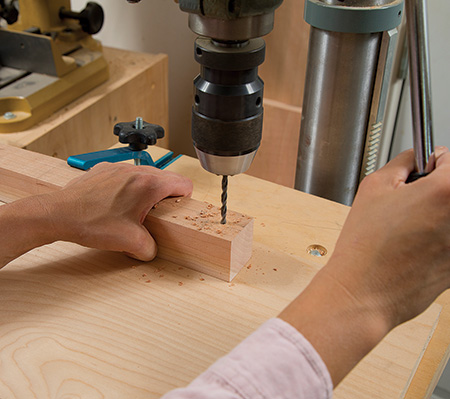
The dimensions spacing the holes from the top of the leg are correct, but these holes are drilled 13/16″ from the outside, non-tapered face of the leg. It is imperative to drill the 5/32″-dia. through-bolt holes on the drill press — they must remain perpendicular as they pass through the legs or the locking mechanism may not work correctly. Go ahead and drill the 3/16″-dia. holes for the machine bolts on the drill press, too.
Round the tops of the legs with a 7/8″ radius on the band saw, and then sand them smooth. When that’s done, soften the sharp edges of the legs using a 3/16″ roundover bit chucked in a router table.
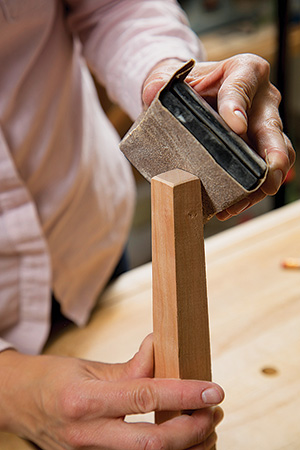
Take a couple of passes so that you don’t overtax the router or risk chipout. I chamfered the feet of these legs with a sanding block and added adhesive-backed felt pads so they won’t snag carpeting or scratch a floor.
Well, you knew it was coming…now it’s time for sanding. I used a palm sander on the top of the table and on the faces of the legs.
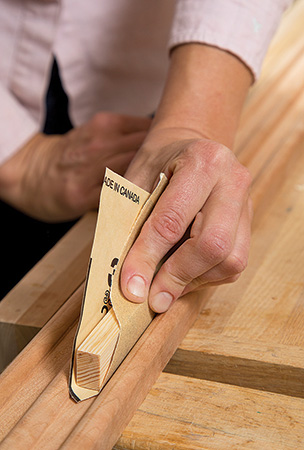
A little 1/2″-wide stick wrapped with sandpaper will make sanding the surfaces between the apron beads much easier. I cupped the sandpaper in my hand to sand the rounded edges of the legs and the apron beads.
Finishing with Varnish and Wax
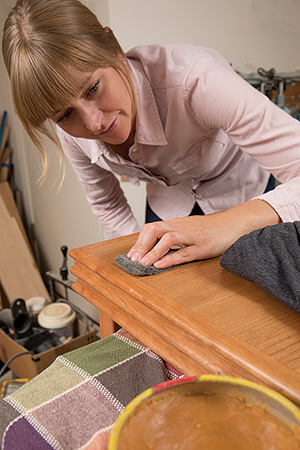
General Finishes Arm-R-Seal in a satin sheen is a great choice for this project. I just love applying the first coat of finish and really bringing the wood’s color and figure to life! I wiped on three coats of finish, allowing at least 8 hours of drying time between each coat. A little scuff-sanding with 400-grit between coats of finish kept the surfaces smooth.
After you give the finish at least 24 hours to cure, I recommend applying paste wax next. First, mush the wax into 0000 steel wool, and then wipe it on in the direction of the grain. Work in small areas so the wax won’t dry before you can buff it smooth with a clean cotton cloth. It’s a simple way to make the surfaces feel velvety smooth.
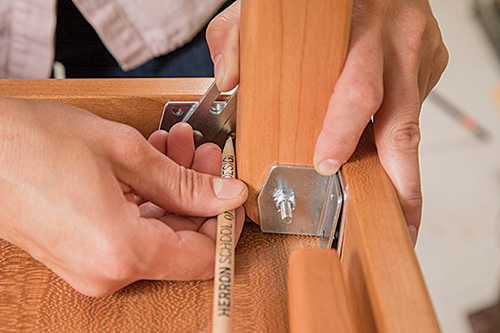
Assemble and attach the leg hardware, following the instructions that come with it. Hold the legs and hardware in place on the aprons to mark where to drill pilot holes to attach the four leg assemblies to the aprons.

Now try out your new table! The chilly weather has me thinking it’s time for a puzzle and some tea. Enjoy!
Hard to Find Hardware
Card Table Leg Brackets #63198
Taper / Straight Line Jig #21597
Bullnose Radius Router Bit, 1/2″ Shank #32545
Straight, 2-Flute Router Bit, 1/2″ Shank #90550


