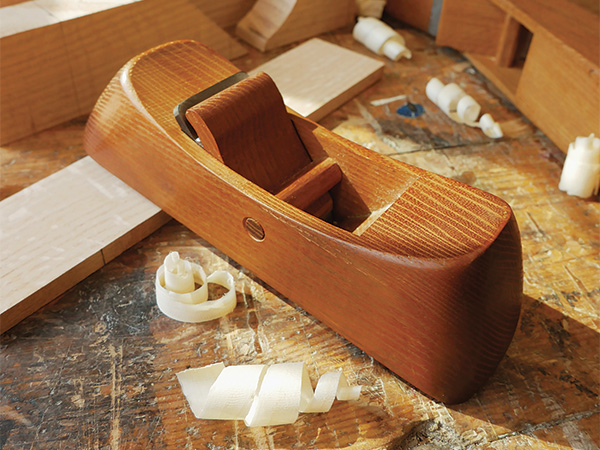
Driving the North Shore of Lake Superior provides a feast for the senses. You smell the Superior National Forest. You see epic views of the lake, cascading waterfalls, countless trees and little houses hugging the shoreline. You can taste the fresh air and fish when you stop at one of the restaurants along the way. The soothing sound of the water and the wind in the trees can bring on a calm only found in nature. And, if you’re lucky, you’ll be making this drive when the North Shore’s midsummer temperatures feel just great — as I did on my way to North House Folk School in Grand Marais, Minnesota. The most perfect feeling, though, came when I had the chance to make ribbons of wood with a wooden hand plane made by guest instructor Paul Linden. That was the reason for my trip: to build a plane of my own in Linden’s Wooden-Bodied Hand Plane class.
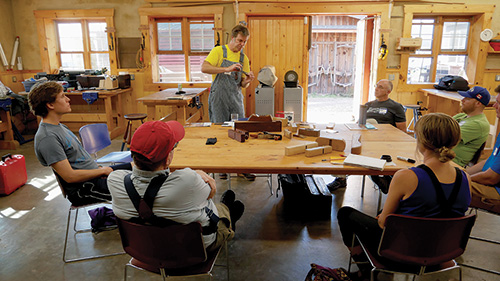
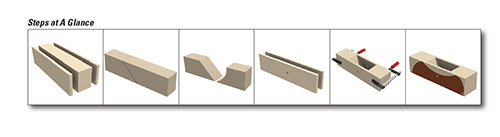
Building my first wooden hand plane alongside an expert like Paul really made the whole process less intimidating and fun! He gave our class a lot of good information about hand planes, and he thoroughly explained each step in the making process. After the two-day workshop, we all left with a deeper appreciation and affinity for these tools. On the following pages, you’ll see the basic plane-making process we followed in the class. With a few adjustments, there are many types of hand planes that can be made: smoothing, coopering, hollowing and so forth. Paul told us, “I believe that part of the fun of making your own planes is that you can design them to do whatever you want, and then call them whatever you want.”
Preparing Stock for the Plane Body
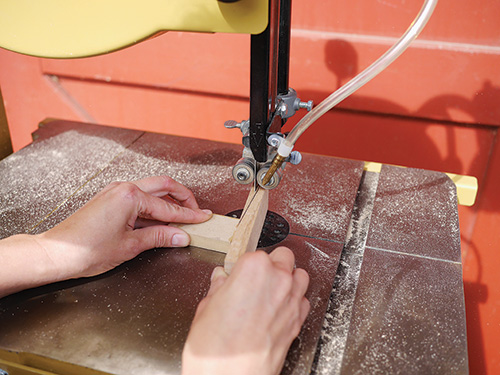
After hearing Paul talk about the different types of planes, I chose to make a scrub plane that I will mostly use for texturing. Paul milled our stock ahead of time, since the class was short. We started with blanks of ash or oak measuring approximately 2-3/4″ x 2-3/4″ x 11″, which will accommodate a 1-1/2″-wide plane blade (also called an iron). Once the blank is square, head to the band saw to resaw 3/8″ off of two opposing sides. These sides and the middle lamination will then need to be re-flattened. The important dimension is that the width of the middle piece is 1/16″ wider than the blade’s width. (For my plane, it was 1-9/16″.) You can use another hand plane to flatten these faces or opt for modern machinery to do it instead. If you use a surface planer or jointer, be sure to take extra precautions for safety’s sake, because these three laminations are quite small. I recommend milling larger wood, then cutting it down. Now, set the pieces back together again to line up the grain pattern along the seams, and mark their position with a registration triangle on top of the blank. If you choose, you can drill small holes for the registration dowels shown above.
Laying out and Creating the Throat
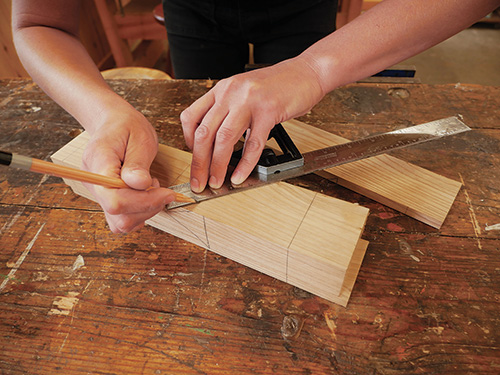
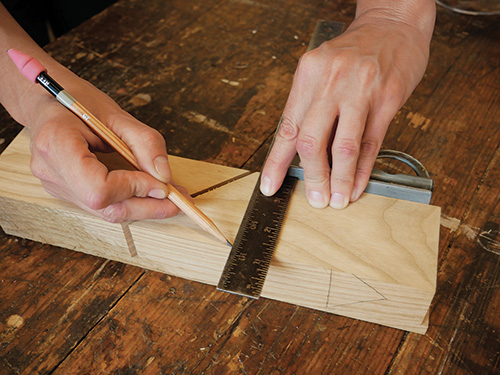
Decide which end will be the front of the plane, based on grain direction. Remove one side piece and mark where the bed will be for the blade. The bed is created by marking and making a 45° cut across the thicker center lamination, approximately 5/9ths of the way to the front, which divides it into two pieces.

I did this at a miter saw, then used a plane iron as a spacer to mark the width of the throat opening. Don’t make the throat opening too wide.
You can always go back later and file more material away to improve its fit. Create the rest of the throat opening on the other piece of the center lamination by marking and cutting a curve on the band saw that leaves plenty of room for chips to escape.
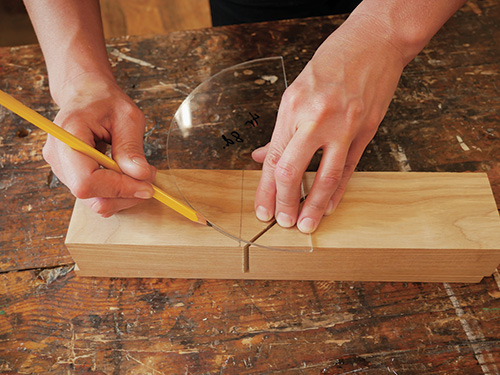
The throat that I’m marking is rather large because scrub planes remove quite a bit of material at one time. Leave some thickness at the bottom of the curve so the short grain here won’t break off during use (see the Drawing above).
Installing the Cross Pin, Gluing Up the Body
restrain the plane’s iron and wedge. Center this hole, top to bottom.
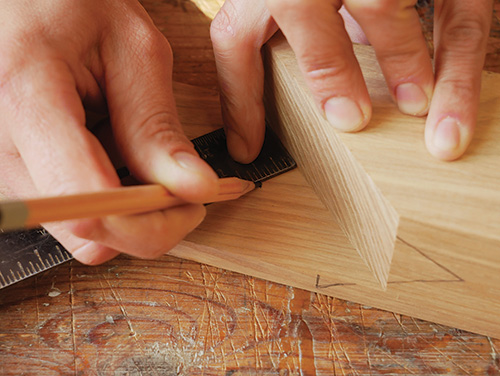
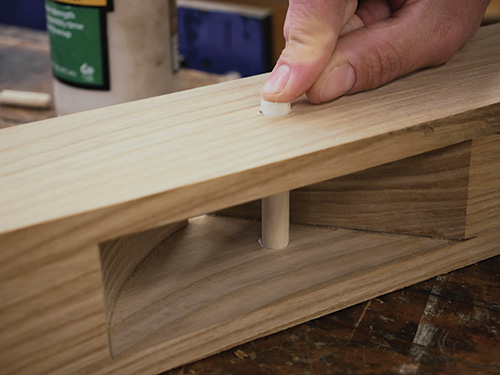
There’s a wooden cross pin that holds the plane’s wedge and iron in place. I’m marking where this 3/8″-dia. dowel pin will go. Measuring perpendicular from the bed, locate the pin’s center 9/16″ away from the angled face of the blade bed and centered from top to bottom on the plane body. Clamp the thin outer laminations together, and drill a hole through them both for this pin.
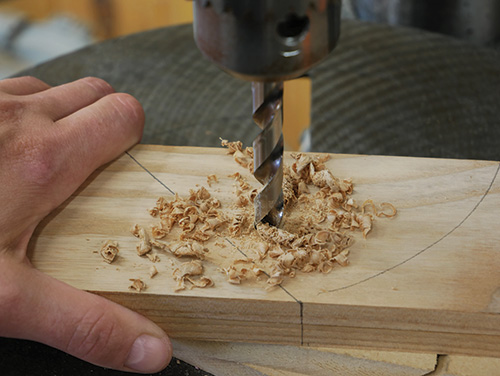
Cut a length of pin and dry assemble the plane body with the pin in place. Then, in what will be the waste areas of the plane body, mark for a pair of 1/4″-diameter holes on each thinner lamination so you can install more short pieces of dowel to help keep the laminations aligned during gluing and clamping.
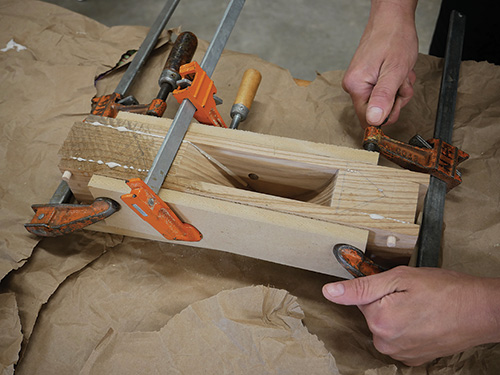
With the pin in place and the plane laminations clamped together, drill the registration dowel holes 1/2″ deep. Then, go ahead and glue up the plane body. Use clamping cauls and enough glue for good squeeze-out.

When the glue dries, it’s time to re-flatten the sole of your plane using a coarse-grit sandpaper on a flat surface like your jointer bed or a piece of granite.
Be sure to keep the sides of the body square to the sole as you flatten it. Then, glue the pin for the plane iron into place.
Customizing the Plane Body to Fit Your Hand
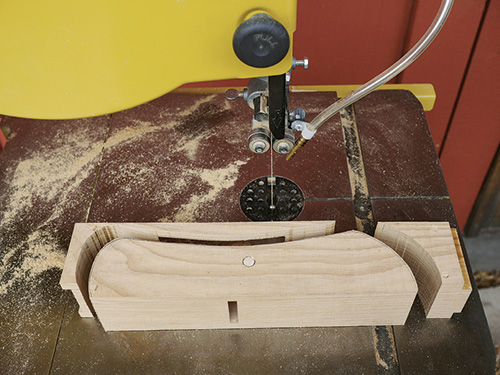
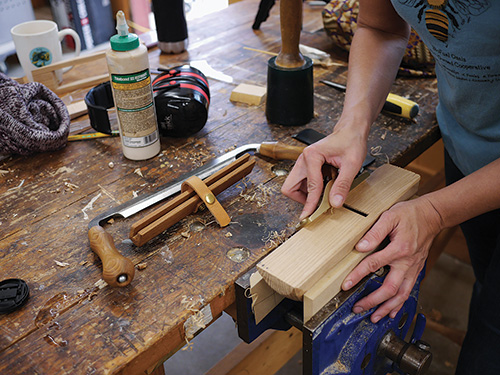
Now you’re ready to draw the profile of the plane that you want onto the plane body. Cut it out on the band saw. Decide how you want to shape the hand plane, or follow my basic shape in the illustration. At this point, it’s time to turn your roughly shaped plane body into something more comfortable to grip and use.
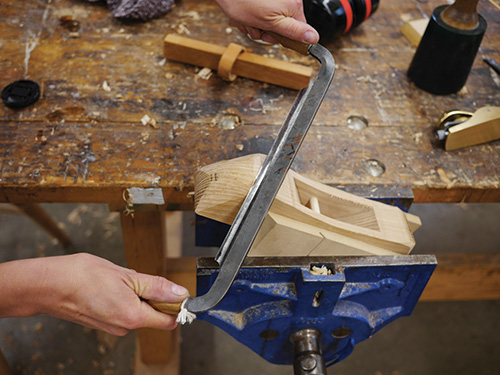
So, that will require some shaping tools. I put a sharp drawknife, spokeshave, block plane and sandpaper to work to shape my plane body. Soften the sharp edges, and keep removing material from the back end of the body until it fits your palm well.
The last wooden piece to make is the wedge, which fits in front of the plane iron and behind the pin. I cut the wedge to shape on the band saw, then used a block plane to clean up its angled face.
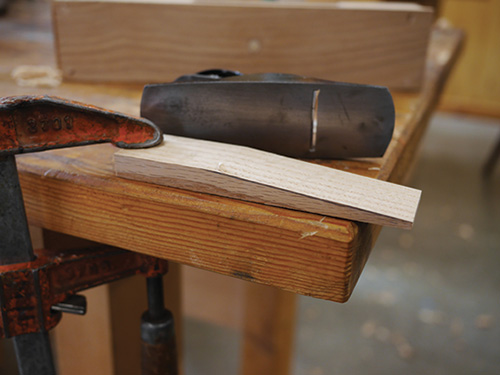
The goals when fitting the wedge include (by using only thumb pressure): a snug fit between the dowel and the plane iron and about 1/4″ space between the bottom end of the wedge and the sharpened end of the blade.
You may need to shorten the wedge or make it thinner, depending on how it fits. Finally, ease the long sharp edges of the sole by chamfering them with a block plane.
Making the Plane Iron
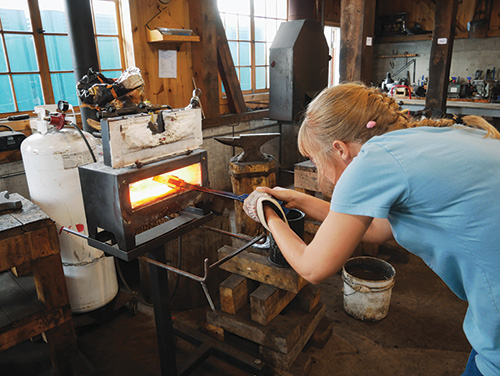
During our two-day class, I not only got to build the wooden plane body but also learned some blacksmithing skills. Starting with O1 steel bar stock, we shaped the cutting edges of our blades and hardened them in a forge so the steel would retain a cutting edge longer. As you can see here, the North House Folk School’s shop is well-equipped for metalworking! To learn the step-by-step process for making a plane iron, see my “More on the Web” article.
Finishing Up the Body
Traditionally, wooden hand planes have no finish. The oil of your hands will create a nice patina over time. Some users prefer to wax the body. If you do this, make sure not to wax the wedge and the pin, because you don’t want them to slip out of position during use.
That’s a quick overview of my process for making the wooden body. In the sidebar below, you can see that we also made the iron for our planes.
While I’ve made other tools, this was the most in-depth build so far. What a sense of satisfaction it was to try out my new plane for the first time! Paul Linden and North House Folk School made the whole experience so rewarding!
Click Here to Download the Drawing of the Plane Body Layout.


