I’m making a martin house for my son, but I’m having trouble cutting the roof pieces. The plans call for a 5 degree down cut for the four sides. I do not understand how to cut this on a table saw. At what angle do I set the blade? I do have an angle board made for the table saw (from one of your hints), but I still am confused. Could you please reply on how to make the cuts on a table saw, or where you think this should be done? – Robert Kastelic
Tim Inman: Sounds like the cut you need to make is a “compound angle” cut. In my experience, this is more commonly known as a “hopper joint.” To get a specific outcome, as your plans require, you’ll need to consult a hopper joint chart. There are charts and simple calculators available on the Internet if you look up “hopper joint” or “compound angle cuts.” These charts are quite common in woodworking books, too. You need to set the blade angle and also the miter gauge angle to get the correct “hopper” angle.
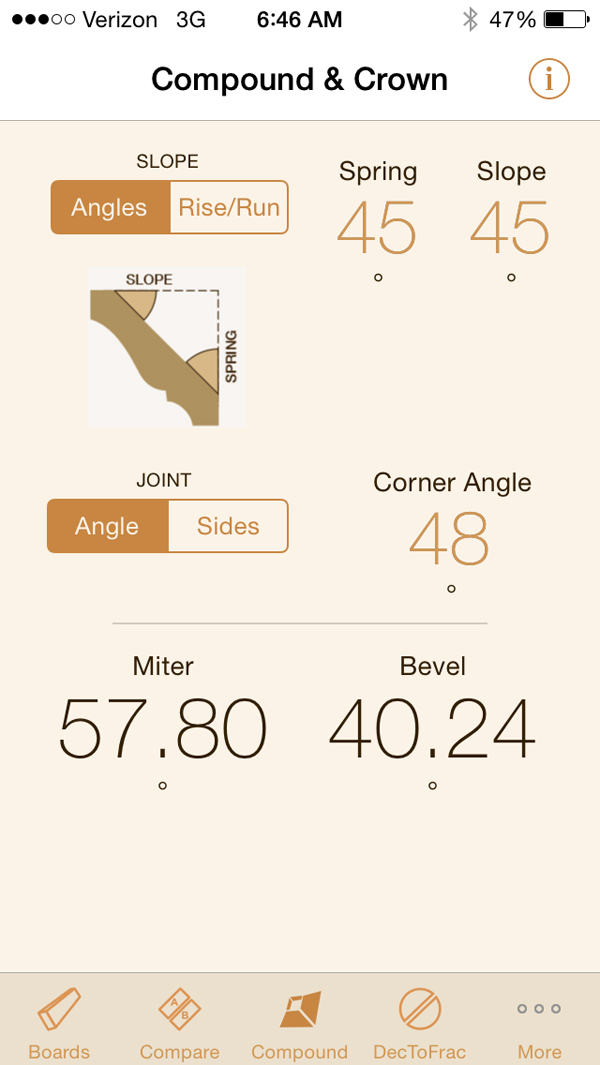
Chris Marshall: If you use a smartphone or tablet, you can calculate compound miter angles on an app called “The Woodshop Widget.” It’s available in Android and iPhone editions for $3.99. The compound angle calculator included in the app will tell you what the miter angle and bevel tilt of the blade needs to be for the corner angle you are trying to make. The app provides calculators for estimating board volume, wood movement, tabulating shellac ratios and changing decimals to fractions. There’s an extensive wood species comparison chart, too. Very handy stuff! It might be worth adding to your phone or tablet for all sorts of woodworking situations.
I’m sure fellow eZine readers will have other suggestions for references they use to determine compound miter angles.
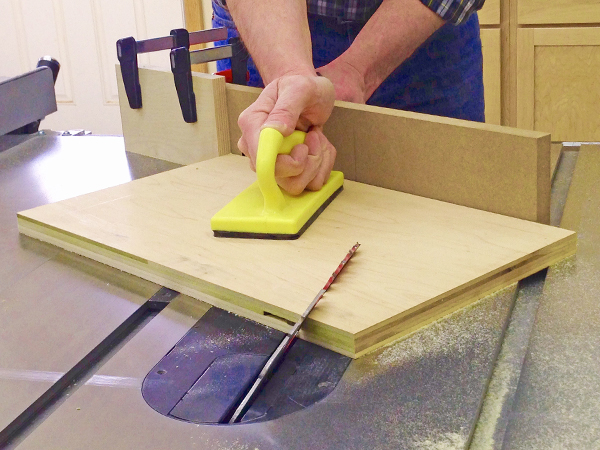
One other thought: cutting compound miters on a table saw involves swiveling the miter gauge off of square as well as tilting the blade. A tilted miter gauge doesn’t offer as good of workpiece support as when it’s square to the blade. So, I would add a long auxiliary fence to your miter gauge to provide better backup for these cuts. And, you might consider applying a strip of sandpaper or clamping a stop block to the miter gauge fence as well. It will keep the workpiece from possibly creeping along the miter gauge fence as you feed it through a cut. I think they’re good precautions to take, both to ensure accurate cuts and to work as safely as possible.


