Installing Classic Knife Hinges

Installing Classic Knife Hinges

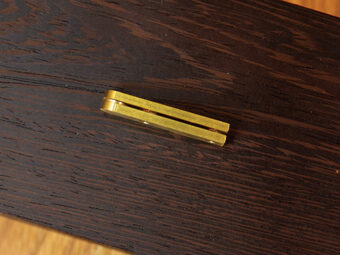
Installing knife hinges is not complicated in concept, but it needs to be precise in execution. For that reason, laying out the mortises you will create for the hinges is the most critical step, as well as sizing the door accurately.

Small gap in closed knife Hinge
Note that there is a slight gap between the leaves of the hinge. When a hinge leaf is set into the wood flush to the wood surrounding it, the gap will provide clearance for the door to swing open.

Screws to attach knife hinge
Quality hinges like these often come with brass screws. Brass screws break easily, so a steel screw is provided to make sure the hole is properly sized and threaded. Drive in the steel screw first, then remove it and install the brass screw.

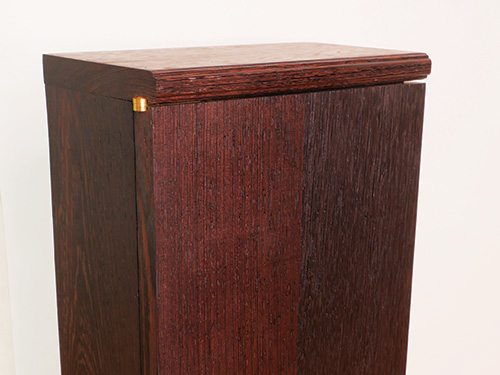
There are a few things to keep in mind. With a full-overlay situation like this one, you will want a slight space — a scant 1/16″ — between the back face of the door and the front edges of the cabinet carcass to allow the door to swing freely. You achieve that by slightly offsetting the location of the hinge leaf in the door.

Checking location of knife hinge on door blank
Set the knife hinge so the pivot point on the hinge is bisected by the edge of the door. The end of the hinge mortise will determine this placement.

Cutting installation mortise for knife hinge
After the hinge mortise locations have been scribed with a cutting gauge and a marking knife, plow a narrow slot into the mortise area with a router. This removes waste and sets the proper depth of the mortise. Don’t try to cut exactly to the lines of the mortise. Note the plywood clamped to both sides of the door, which provides a wider surface to set the router on.

First use a cutting gauge to scribe the long edges of the mortise and then a marking knife to cut the end of the mortise into the wood. On the door, you can use a router bit narrower than the hinge mortise (1/4″ for this 3/8″-wide mortise) to set the depth and remove some of the material.

Cleaning out knife hinge location with chisel
With a pair of sharp chisels, chop out the mortise to the full width of the knife hinge (here it’s 3/8″). Removing the waste with the router bit sets the depth of the mortise. Test the fit of the hinge leaf as you go.

Marking hinge location on cabinet body
Accommodate for the door gap, then use a cutting gauge to scribe the mortise lines into the cabinet lip. Masking tape allows you to see the markings for the mortise sides.

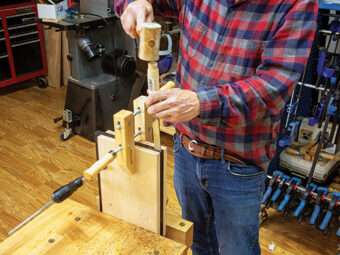
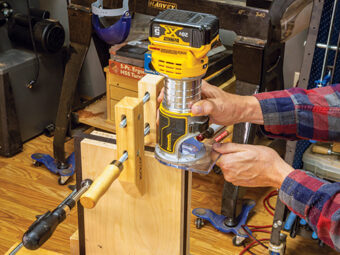
Clamp the door between two pieces of plywood to provide a wider surface for guiding the router. A wood screw clamp is useful for stopping the router before it cuts beyond the end of the mortise. Then clean up the mortise with a 3/8″ chisel and a wider one.

Cutting installation location for hinge in cabinet with chisel
Chop out the mortise with vertical cuts followed by paring away with the chisel.

Attaching knife hinge to cabinet body
With hinges attached to the door, slide the door and hinges into place on the cabinet. Carefully open the door, then pre-drill screw holes and attach the carcass-side hinge leaves.

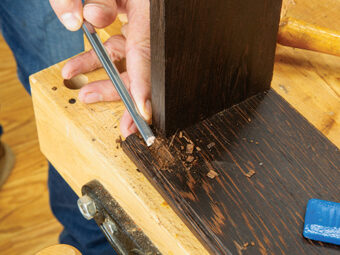
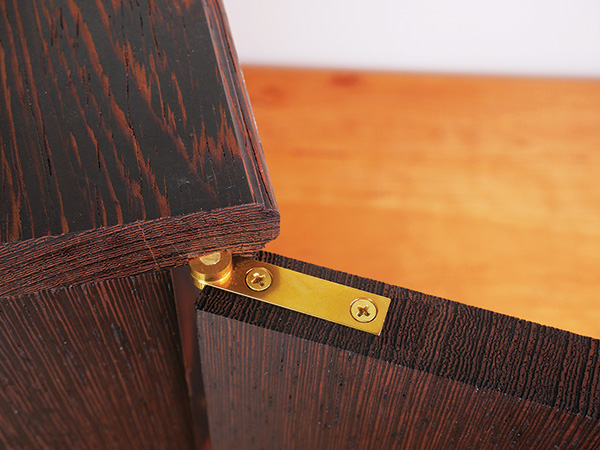
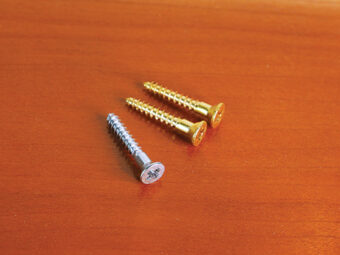
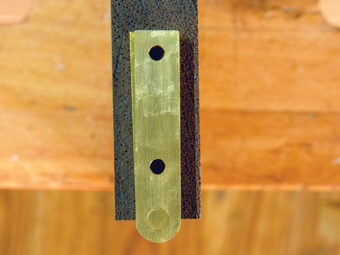
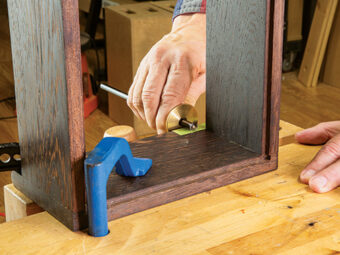
To chop mortises into the edges of the cabinet, lay out the location again using a cutting gauge to ensure accuracy. The vertically chop a series of lines about 1 mm apart in the mortise with a 3/8″ chisel. Pare the chopped area away and clean up the edges with a wider chisel. Do this until the mortise is at the proper depth and fits the hinge leaf neatly. Attach the hinges to the door. (Use a steel screw to help tap threads for pilot holes if the hinges come with softer brass screws.)

Cabinet door installed with knife hinge

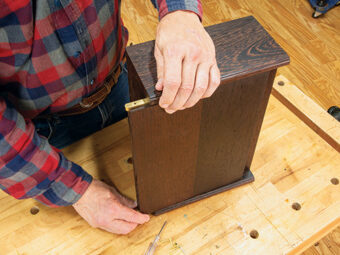
Finally, slide the door and hinges into place to check its alignment. Then carefully open the door and fasten the hinge leaves to the edge of the cabinet to finish up the installation.

Posted in: