Band saw boxes often feature creative designs and shapes. They are fun to make and fun to give as gifts. A band saw box is a type of wood box that is made entirely with a band saw. A solid or laminated block of wood is cut and shaped with a band saw to create a box that typically features an inset drawer. In this video we show you the basic process of making a band saw box. With these step-by-step instructions and a free downloadable template you can make the box featured in this video. Or, you can use the same process to create a band saw box that you design.
Step 2. Apply the band saw box pattern to the surface of the blank using spray adhesive.
Step 3. Cut the outside of the box clear of the blank, staying just outside of the line. Keep part of the blank to make the base later.
Step 4. Sand the cirular box cutout smooth.
Step 5. Cut out one of the drawer pieces following the line indicated on the pattern.
Step 6. Glue the drawer opening’s saw kerf closed, use packing tape as a clamp.
Step 7. Slice the drawer face and back of the drawer piece.
Step 8. Sketch the approximate waste area onto the drawer core (see the pattern). It need not be exact.
Step 9. Remove the drawer waste.
Step 10. Glue the drawer face and back onto the remaining drawer core material.
Step 11. Repeat steps 5 through 10 for the second drawer.
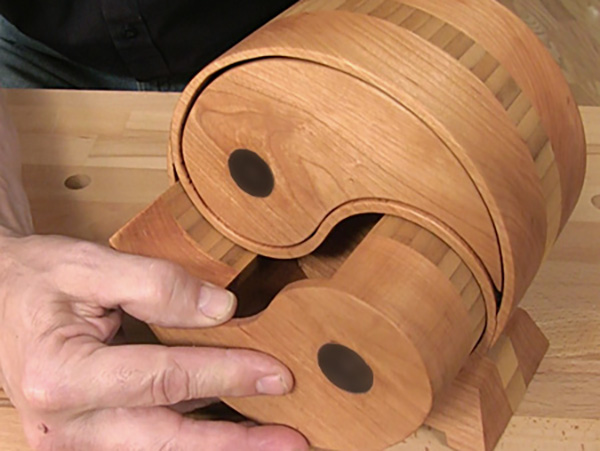
Step 12. Sand the drawers and box after the glue has cured. Set them aside for now.
Step 13. Form the base from the material you set aside. Sand it smooth.
Step 14. Glue the box and drawer assembly onto the drawer base.
Step 15. Apply finish to the band saw box components.
Step 16. (Optional) Drill shallow accent holes on the drawer faces. Color the holes with a marker or stain.
Step 17. (Optional) Glue a cloth lining into the drawer cavities.


