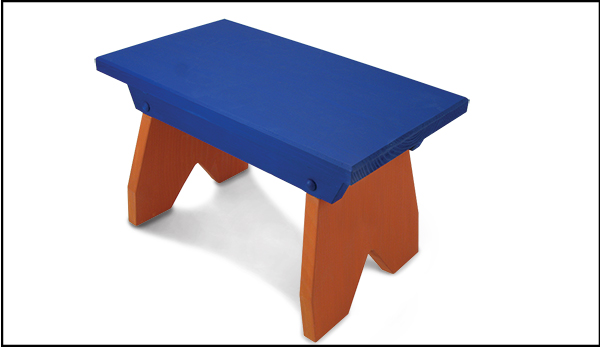
Houses aren’t really scaled practically for small children; countertops, sinks and cabinets are just too high for them to use comfortably. Fortunately, you can remedy the problem in an afternoon. A simple, classic step stool like this one is just right for putting everything within reach of the little ones. It’s even sturdy enough for an adult needing a few more inches to reach those top cupboard shelves. If you’re a long-time subscriber to Woodworker’s Journal, you may recall an “8th grade Step Stool” project from our March/April 2005 print issue that has inspired this new incarnation — some simple and classic designs deserve the occasional reprise.
One Board is All You Need

You can build this stool from a single 1×10, but if you’re using #2 pine from the home center, like I did, I’ll suggest spending the extra three dollars for an 8-ft.-long 1×12 instead. Even when you pick the best one of the pile, you’ll still need to do a little squaring, straightening and cutting around knots. If it turns out your board is nice enough, you can make two step stools: one for the house, and one for the shop!
First, taking the knots into account, crosscut three pieces to rough length: one at 16″, one at 18″ and one at 20″. These will be the stretchers, top, and legs, respectively. Joint and square up the long edges before cutting these parts to their final dimensions. When you rip them to width, leave them about 1/32″ oversize, so you can sand or plane off any saw marks. Cut the top to final length at this time, and crosscut the legs to 10″. With the table saw blade tilted to 8˚, crosscut the top and bottom of the legs parallel and to a finished length of 9″. In addition to adding some style, angling the legs gives the stool extra stability.
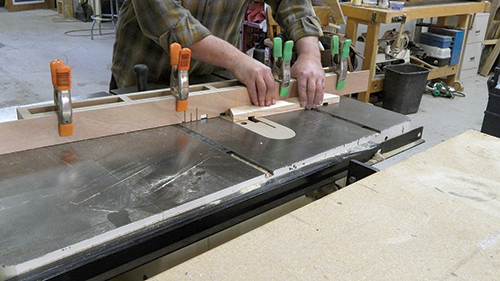
Mark a vertical centerline on the legs. On the top of each leg, measure 3″ out from either side of the centerline, giving you 6″ between the stretcher notches. To make the shoulder cut for these notches, I used my table saw with two miter gauges connected by a sturdy fence, angled 8˚ to match the angle at the top and bottom of the legs.
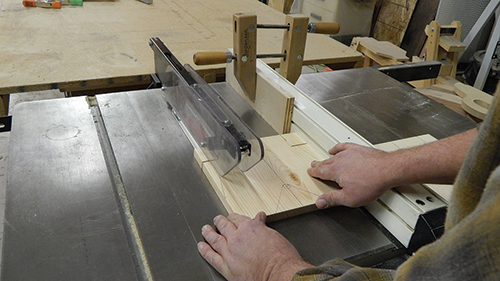
Now, to make the cheek cut for the stretcher notches, you’ll need to use two rip fence settings, so you can make a cut along both faces of each notch. You’ll make two cuts for each notch, eight total cuts. Once you’ve set the fence for the first cut, rip just a little ways at a time, checking the underside of the board after each cut. When you reach the shoulder cut, turn off the saw and clamp a stop block to your rip fence at that stopping point. Make the four cuts possible with this fence setting. Change the fence setting, flip each notch over to cut its other face, and you’ll come close to cutting the entire joint. Finish cutting the notches by hand to remove the remaining waste.
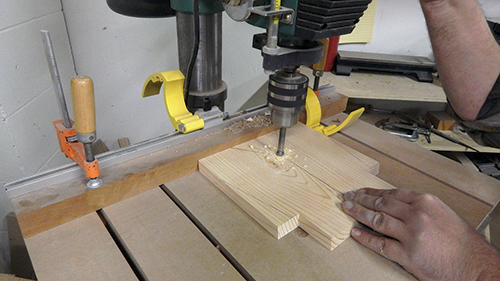
Next, you’ll give each leg a pair of feet. Start by drilling a 1/2″-diameter hole on the centerline 2-1⁄2″ up from the bottom. Make a mark along the bottom edge of each leg 2-1⁄2″ away from either side of the centerline, and connect these marks to the 1/2″ hole.
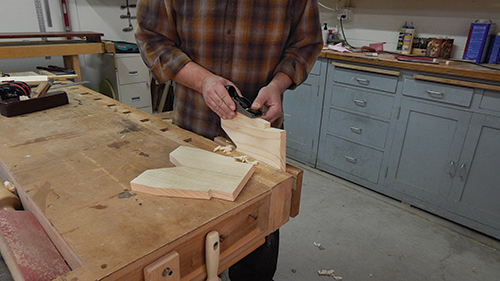
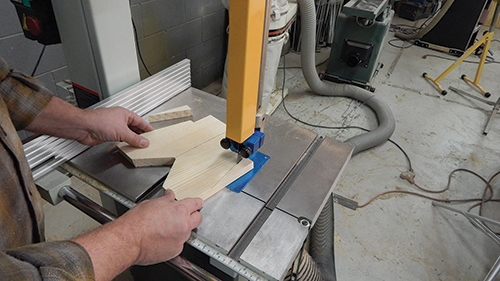
Cut along the layout lines using a band saw or jigsaw. To finish off the leg shapes, cut their angled sides and use a block plane or sanding block as needed, to remove any saw marks.
Bandsawing Legs

The simplest machine for this job is the band saw. Make the cuts by eye, following your layout lines.
If you don’t have access to a band saw, a handheld jigsaw will work fine, too.
Making the Stretchers
Rip the two stretchers from the remaining board that you cut earlier. Cut the stretchers’ angled ends at 22-1⁄2°. Now mill the 8˚ dadoes using a dado blade in your table saw. Be careful that these dadoes are angled correctly, relative to the angled ends of the stretchers. The correct direction is to have them angled opposite to, not parallel with, the angled ends of these parts.
Cutting Angled Dadoes
Be picky about sizing these dadoes to the right width — too narrow and the legs won’t fit them; too wide and the fit will be sloppy, which defeats the purpose of the dadoes in the first place. Aim for a good, snug joint connection.
Assembling the Stool
With all the cutting done, go ahead and apply any edge treatment you like. I routed a chamfer around the top board and a 1/8″ roundover on everything else.
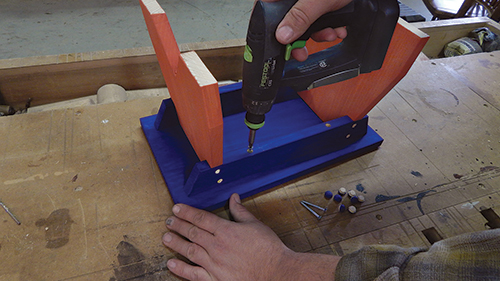
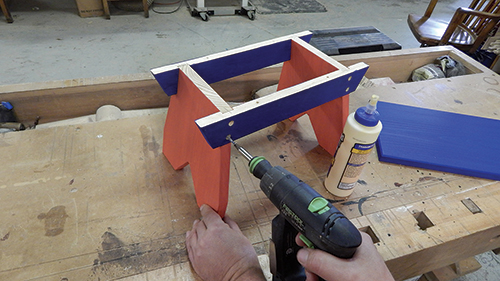
You can assemble this stool using just glue or glue and finish nails. However, for maximum strength, I recommend going with glue and wood screws. If you plan to paint your stool in several colors like I’ve done here, do that now on all surfaces that won’t need glue, while the parts are still fully accessible. (If you decide on a clear coat like varnish instead, that can wait until the very end.) Proceed with the assembly by attaching the stretchers to the legs. I counterbored all of the screw holes to set their heads below the surface. Now place the leg assembly upside down on the bottom face of the top board, center it, and drive screws through the stretchers to attach them to the top.
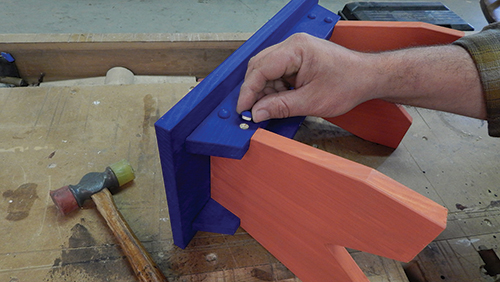
I covered the screw heads with decorative mushroom buttons. While they usually fit tightly in counterbored holes so as not to require glue, it’s a good safety precaution anyway: loose buttons could end up in inquisitive little ones’ mouths, ears or noses by mistake.
With the screws capped, your stool project is ready to make step-up tasks easier for just about everyone.
Click Here to download a PDF of the related drawings and Materials List.


