Sometimes what is old becomes new again — like desk caddies. They were popular back in the day, but as our world became more high-tech they rode off into the sunset along with their buddy, the fax machine. Still, the services that desk caddies provide remain useful for many of us, so these desk accessories are becoming relevant again. Do you have a person on your gift list who works at a desk most of the day? Then consider this handy and attractive project.
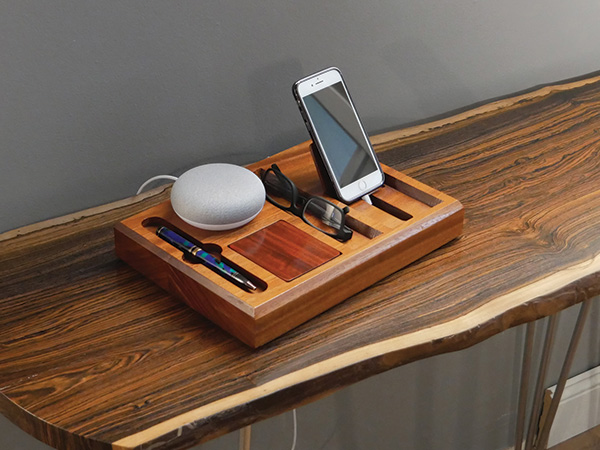
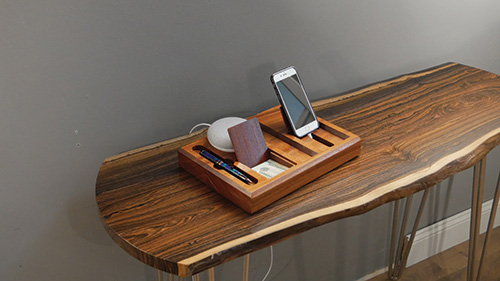
Our desk caddy is configured to serve the needs of a modern office desk. There’s a spot for a cell phone to sit upright with an access channel for a charging cable. There are recesses for a Google Home Mini (or perhaps, paper clips), some cheater glasses and a pen. And when you find yourself at work late at night with no food or drink to sustain you, there is a lidded money “vault” to save the day. Keep hydrated and don’t let your energy drop!
Building It “Analog” Style
If you are not a CNC user, just photocopy the pattern above at 200 percent. We are waiving copyright on this pattern for Woodworker’s Journal readers.
We recommend making the caddy as a doubled-up lamination. First, prepare a 1/2″ x 8-1/2″ x 12″ top blank and adhere the pattern to it. Cut out the five main compartments on a scroll saw. Angle the scroll saw table a few degrees to create beveled walls around the openings. For the money vault opening, rout a small rabbet around its side and front edges, to support the 1/8″-thick lid.
With that done, make a 1-1/4″ x 8-1/2″ x 12″ bottom blank. Cut and rout a 3/8″-deep, 3″-long groove in its top face to form a clearance channel for a cell phone cord. Bore a 3/8″-dia. hole down through the front end of this groove.
Then, starting at this hole, rout a 1/2″-deep groove into the bottom face to continue the channel out to the rear of the caddy. When the channel is finished, rout a shallow groove across the compartment in the top face to serve as a “dock” for the cell phone, which prevents it from sliding forward.
Glue the two blanks together. While that dries, cut out the money vault cover and phone support from some 1/8″-thick stock. Now cut or rout a chamfer around the caddy’s top outer edge. Finish-sand the project, then glue the phone support to the rear of the phone compartment. Apply your finish of choice and install some rubber feet onto the bottom, if you wish. Your new caddy is now ready to go to work.
The pattern is at 50% of its original size. Enlarge it with a printer or copier set to 200% to make a full-size pattern. Each square = 1/2″. Woodworker’s Journal readers have permission to copy the drawing for personal use.


