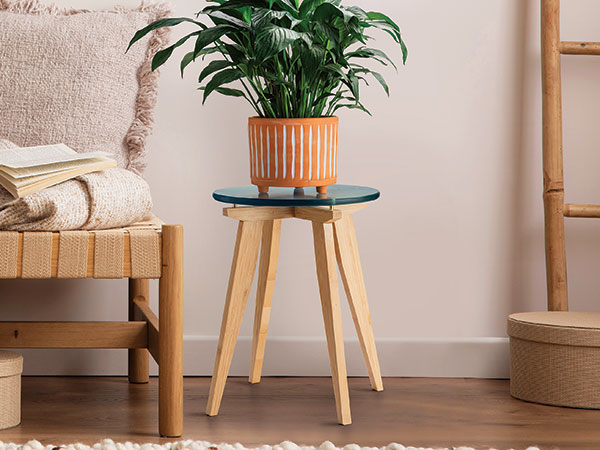
Indoor plants bring color and life into our homes. They are small oases of nature that soothe our nerves and please our senses. This small plant stand has a clean design that displays plants without making a fuss about its own looks and yet is attractive to view in its own right.
This design has a round resin “tabletop” that is as ultra-practical as it is impervious to water. Pouring your own resin top gives you the advantage of having nearly unlimited color variations at your fingertips. And that task will be made much easier by using a round silicone mold from Rockler. I have had mixed results making my own molds — breaking the hardened resin free from those molds is a common problem. They can be quite stubborn, and some bad words may have been uttered as I worked to free them. This silicone mold made that step so easy that it’s hard to explain the difference.
The framework of the plant stand is made from a manufactured bamboo board. I’d never used bamboo before, but I have to say I will use more of it now. It is solid and easy to work. Rockler sells a 3/4″ x 8″ x 30″ board that is more than sufficient to make one plant stand.
Starting at the Beginning
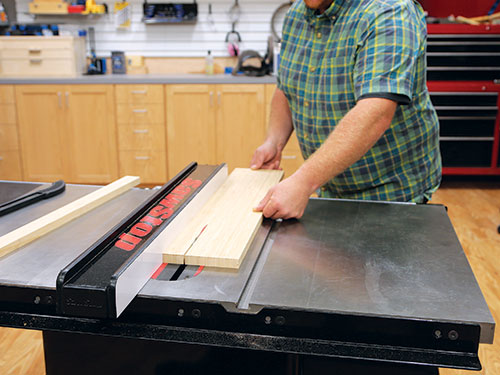
Kick the project off by ripping the top pieces and the legs to width on the table saw. As I’ve mentioned, this was my first experience with a manufactured bamboo panel. I was so impressed with the smooth, nearly polished edge that my carbide combination blade formed with these rip cuts. It was super clean.
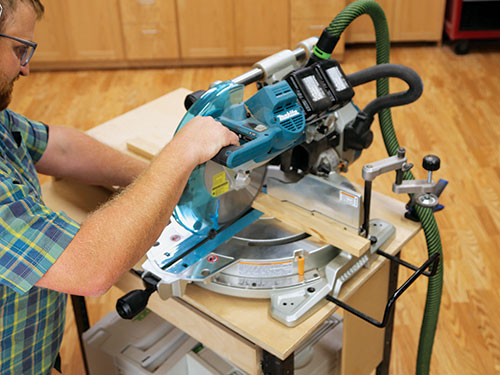
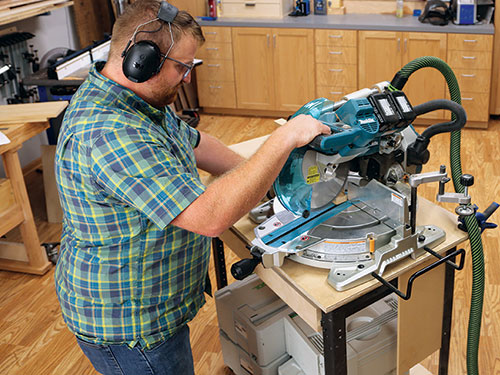
Following that step, I used my miter saw to cut the top pieces to length. As surprised as I was about the smooth ripped edges, I was equally surprised by the fuzz formed on my crosscuts.
Apparently, the fibrous nature of bamboo does not take well to crosscutting. I likely could have improved my success by scribing a line with a knife in advance of the cuts, but I decided to use sandpaper to solve the problem instead.

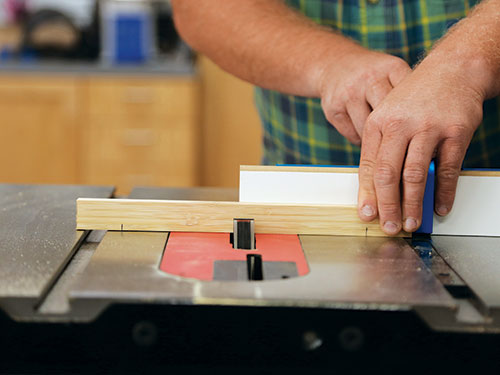
With the pieces cut to length, it was time to make the half-lap joint in the center of the top pieces. I used a 3/4″ dado blade in my table saw. Test your setup on scrap pieces. This needs to be a tight joint, so take your time and do it right.
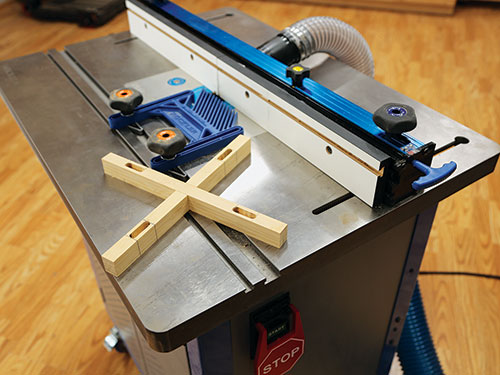
With that done chuck a 3/8″ straight bit into your router table and use it to form the mortises on the top pieces. It is a “drop” cut, so I made use of a featherboard to help control the operation.
I was able to rout the full 3/8″-deep mortise in one cut. The half-lap joint means these mortises need to be on a specific edge; mark them so you don’t get confused. Finish shaping the top pieces by cutting the angles on their ends.
Legs are Next
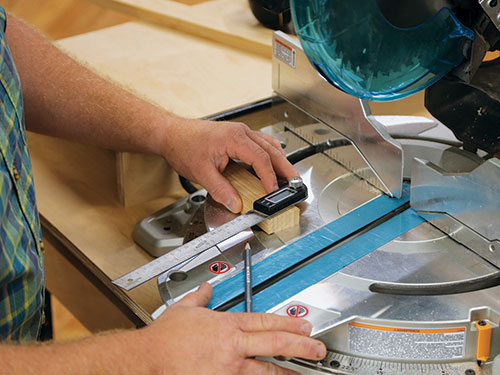
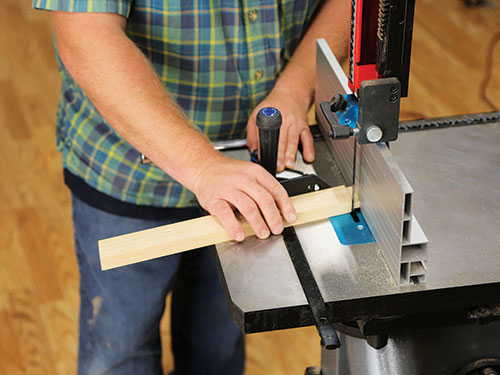
You’ve already ripped the legs to width, so now you need to add some details. First, cut the legs to length using your miter saw. Both the top and bottom of the legs need to be angled slightly. Set the angle — 10 degrees — on your saw. Be sure to cut the legs to exactly the same length to avoid a wobbly plant stand.
I raised the tenon on the top of each leg using my router table and a miter gauge. I attached a sacrificial fence to the miter gauge and chucked a 1/2″-diameter straight bit into the router.

Setting the bit 3/8″ above the table, I cut a notch in the fence, then clamped a stop block to the fence. Test the setup with scrap lumber until you are raising a 3/8″-tall by 3/8″- wide tenon.
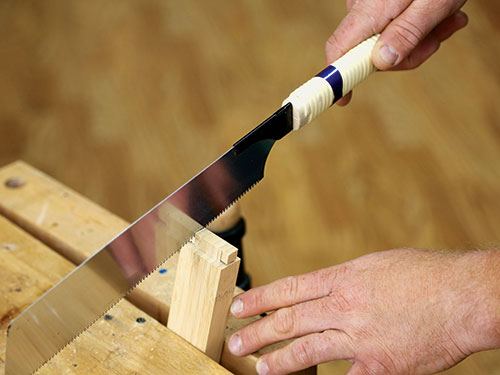
start forming the
shoulder of the tenon.
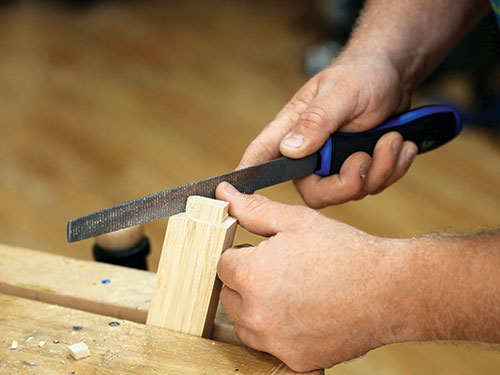
Using a combination of a band saw and hand saw, I squared up the shoulders of the tenons. Finally I used a rasp to round the shoulders to match the rounded ends of the mortises. Test-fit each leg to be confident of a proper assembly.
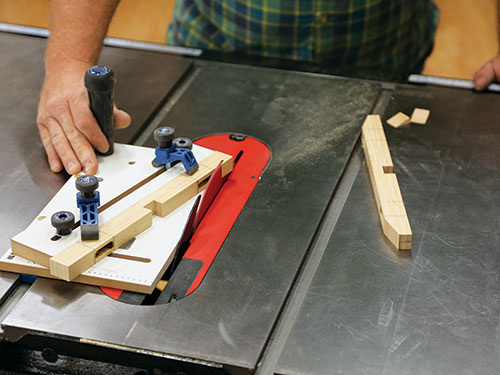
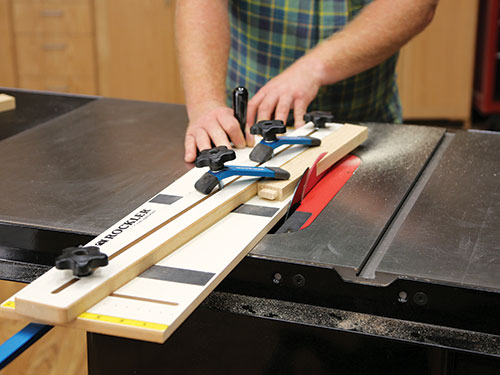
Tapering the legs comes next. The taper starts 3-1/2″ down from the top of the leg (minus the tenon) and angles over to leave 1/2″ of bamboo remaining at the bottom of the leg. I set up Rockler’s large tapering jig and sliced the tapers, which cut smoothly and cleanly.
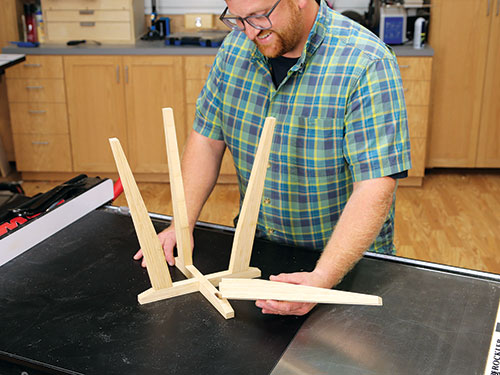
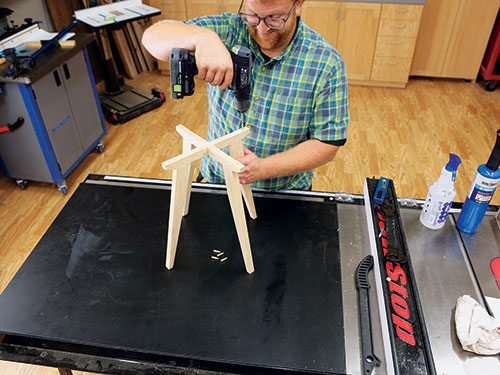
With that done, sand the undercarriage pieces smooth and do a dry-fit to make sure all the parts are correct. Now it’s time to glue and clamp them together. I chose to make two subassemblies using a top piece and two legs each.
I let the glue cure then applied glue to the half-lap joint and clamped the subassemblies together. I chose Titebond III, as it’s a darker color that matches the bamboo, but any wood glue would work just fine. After all the glue had cured, I broke the edges of the pieces with 220-grit sandpaper.
You may have noticed that the resin top is lifted slightly above the level of the top pieces. I did that with shelf pins that are usually used to support adjustable shelves in a cabinet. I bored holes for them 3/4″ in from the end of each top piece, centered in the edge.
Later, I used dowel points to locate the matching holes on the underside of the resin tabletop. This completed the woodworking aspect of the project. I sprayed a few coats of lacquer on the bamboo from an aerosol rattle can. It took the finish well.
Round Resin Tabletop
Epoxy resin work has become exceedingly popular when combined with woodworking. Rockler’s silicone molds make that work so much easier.
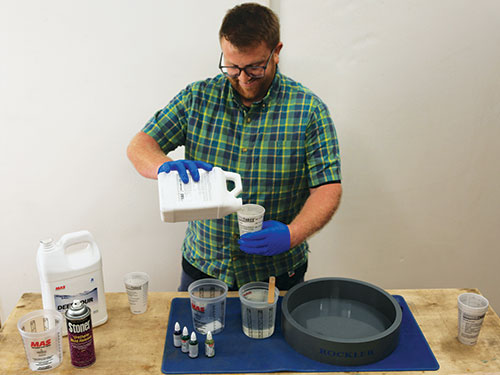
Measure your components carefully — by weight is best, but volume will work reasonably well. Using a mold release spray is also a sound technique … work smarter, not harder. Imagination and attention to details are the keys to great-looking resin products.
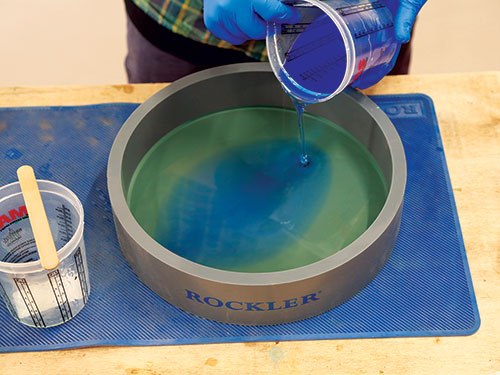
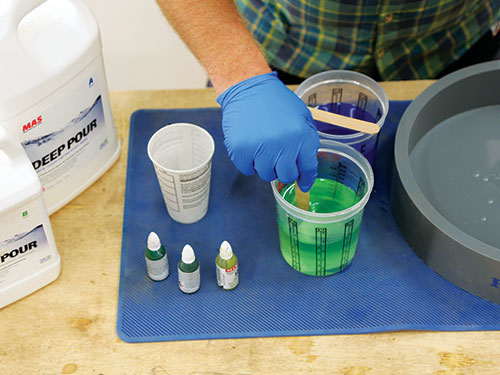
Careful measurement of the resin and hardener is critical to success. Mix the two components together well, then add color, should you so choose.

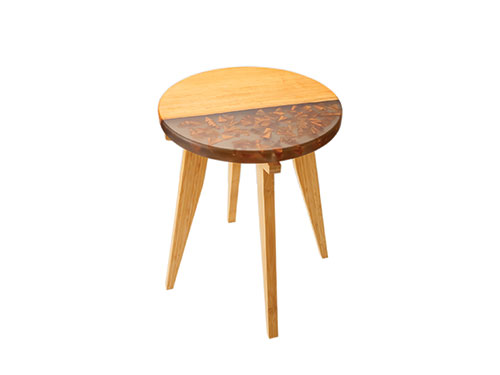
Combining colors and decorative agents adds variety to resin work. Rockler’s round silicone resin mold forms a perfect circle, and it also makes it so easy to remove the hardened resin when it cures. One trick in creating interesting swirls is to wait for the resin to just barely begin to harden and then move the stir stick across the shape in irregular and abstract patterns.
Topping it Off
I made the choice to make the tabletop from resin for a couple of reasons: first, resin is sturdy and waterproof, and second, it gave me a chance to try out Rockler’s new round silicone mold. Let me tell you, removing the top from that mold was so easy I could hardly believe it. That feature and the repeatability of the mold really sold me on the concept.
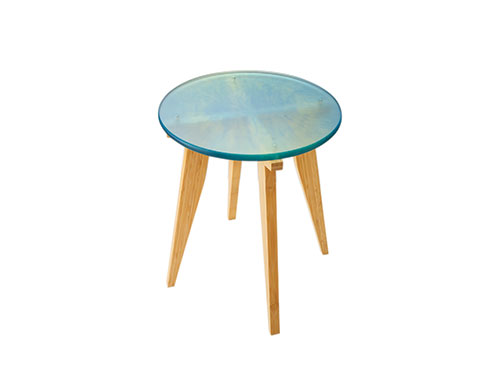
I made a few tops with my favorite being a translucent aqua green. To be frank, the tabletop could have been made of wood and the plant stand would be just as functional — but to me, the see-through top really adds to the freshness of this design.
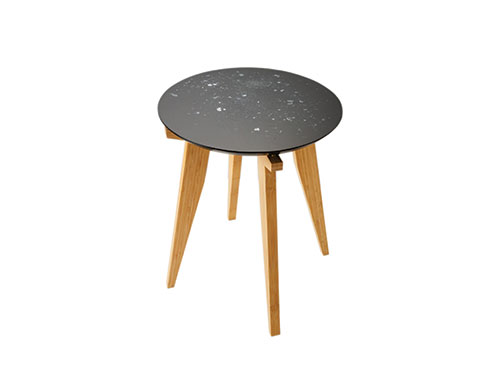
Here’s a fun little project to build, and it makes a great gift. If you give them to a few different people, changing the tabletop colors and textures ensures unique gifts for all.


