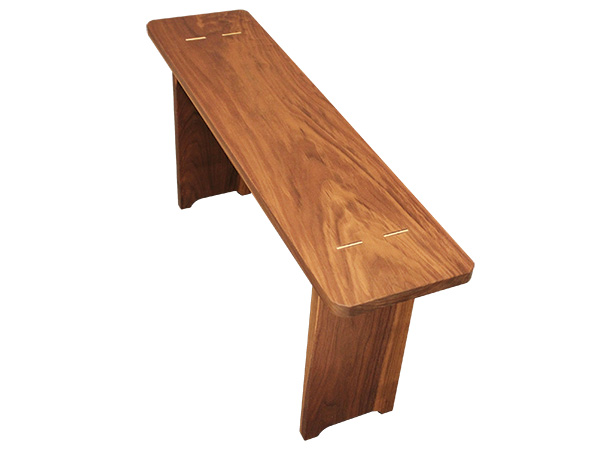
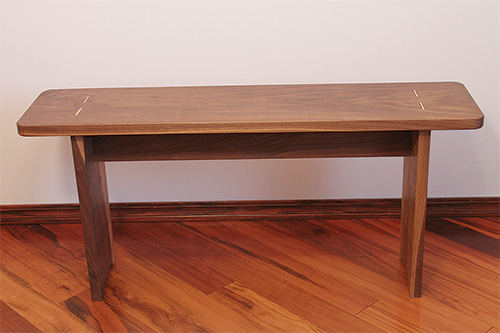
This sturdy bench is the fourth project I’ve built with wedged tenon joinery in the past year. This time, I primarily used power tools rather than hand tools. But no one can tell, even upon close examination, whether the joinery is cut by hand or by machine. The results have turned out that good!
Despite the great appearance, however, the wedged tenon joints you see in this bench are not your classic wedged mortise and tenons. They are, in fact, decorative loose tenon joints. You can make them with relative ease using just a plunge router and a shop-made jig. Let me show you how.
All-in-One Mortising Jig
First, a bit about loose tenon jigs. Regardless of their design differences in terms of complexity and versatility, shop-made jigs for loose tenons work on the same principle: The jig guides the bit to cut mortises of the desired length and width, while the router’s plunge mechanism controls the mortises’ depth. I am a fan of simple jigs, as simplicity means ease of use and less time spent jig making. For this project, I designed a simple router jig that handled all the through and blind or stopped mortises. To be used with a guide bushing, the jig is composed of a slotted base and a hardwood fence. The fence registers against either a reference edge (the end of the top or the front edge of the leg) to cut through mortises, or against a face (the face of the leg or of the stretcher) to cut blind mortises.
Choosing Bit, Guide Bushing
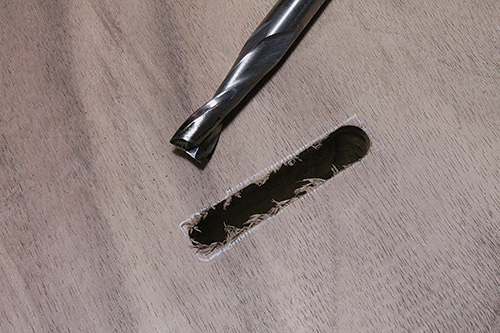
The width of a mortise is typically one-third (or less) of the thickness of the mortised stock. Since the stock for the bench is 7/8″ thick, I used a 5/16″-diameter bit. I chose an up-cut spiral bit because it allows faster feed rates (it evacuates chips up and out of the cut) and seems to wander less than other options.
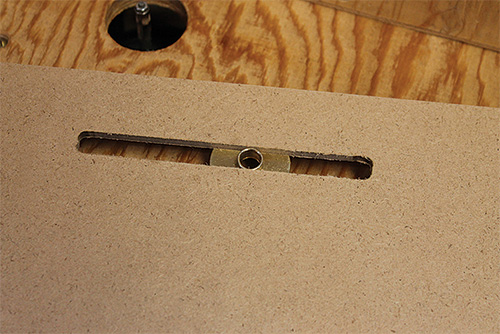
To help clear out the chips, you will want to use a collar that offers a large offset for the bit. If the guide collar is too long for the thickness of the jig, trim the collar shorter with a hacksaw.
Building the Jig
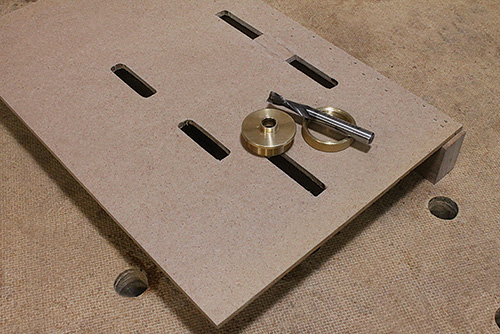
Start with a 1/4″-thick piece of hardboard or MDF as the base. It should be large enough to fully support your plunge router’s base and allow for clamping the jig to the workpiece.
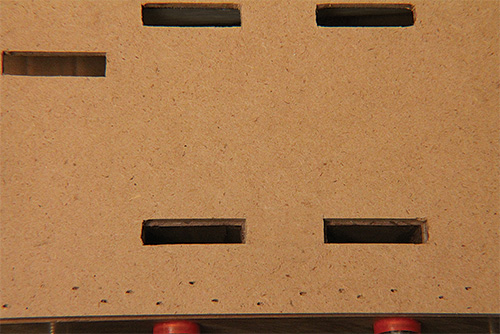
Lay out all the mortise slots on the base as illustrated, and then cut the slots.
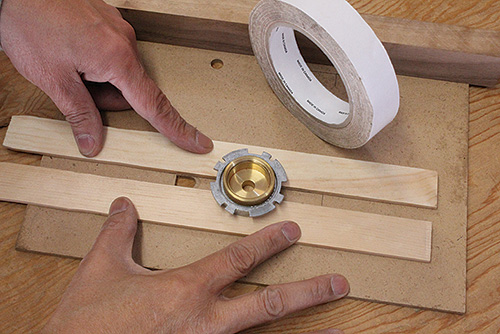
You can mill these slots on the router table with a flush-trim or straight bit in two ways. In “Method 1,” above, I affix two strips to the jig base to act like fences for guiding the slot cut.
Set the distance between them the same as the outside diameter of the guide collar you’ll use to cut the bench mortises. Drill an entry hole through the base, and use a piloted flush-trim bit to rout between the strips (the bit’s bearing follows the strips).
Another way to cut slots is to use your router table’s fence and a straight bit (“Method 2”). If you don’t have a bit the same size as the outside diameter of the guide collar you’ll use for mortising, choose a smaller bit and rout the slot in multiple passes, adjusting the fence after each pass to widen the slot.
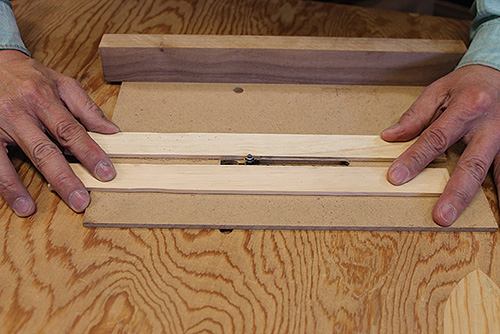
Either way, dual-mortise slots can be cut individually or as one long slot, then plugged up in the middle to form two slots.
Preparing the Stock
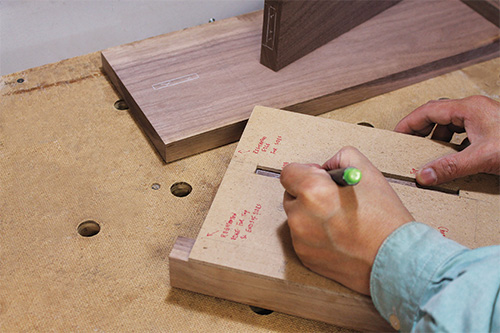
Follow the Material List to prepare all the stock to its final dimension — except for the stretcher, which is cut slightly over-length. If you mill your parts from roughsawn stock as I did, it’s a good idea to leave them in the shop for a week or so to acclimatize properly. Another part of preparation is marking your stock. I have found that proper markings reduce many unnecessary errors. After labeling the workpieces with cabinetmaker’s triangles, I used the jig template to mark out all the mortises.
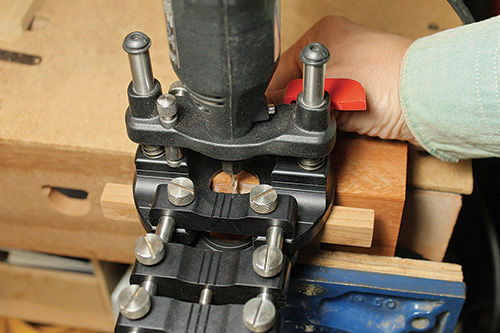
Routing the Mortises

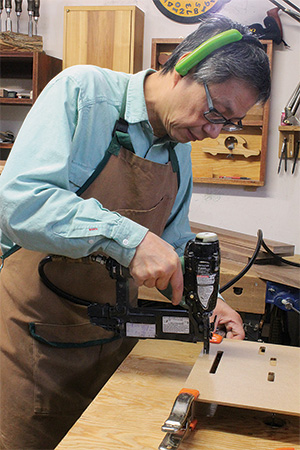
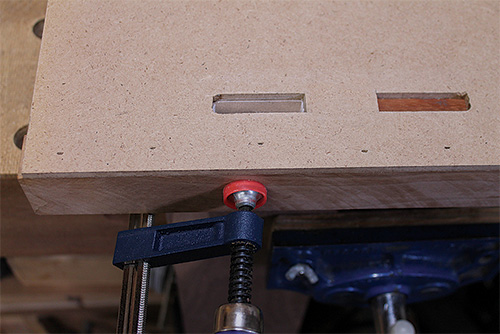
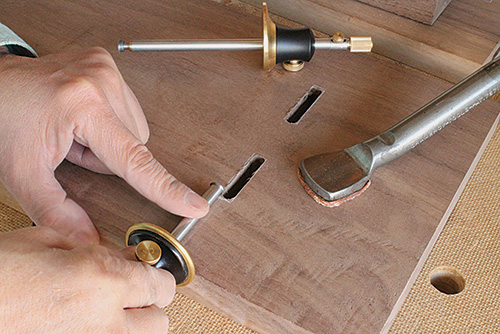
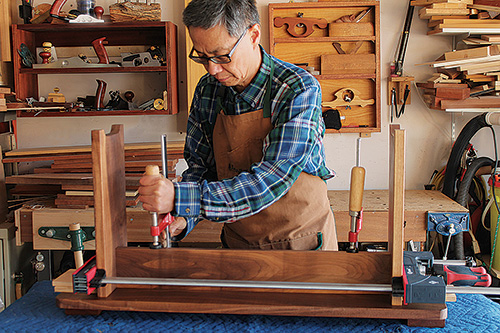
As you build the bench, you’ll use the mortising jig right away to rout most of the mortises. (If you use my jig, it will automatically locate the mortises for you.) To use the mortising jig, clamp it in place on the workpiece, registering the fence against the workpiece’s reference edge or face. For instance, to cut the four mortises in the bench top, use the jig’s two outer slots (right-most slots in diagram). First, center the slots on the top’s surface and butt the fence against one end. Clamp the setup securely and rout the through mortises in multiple passes, as I’m doing in the top photo at right. Remember to keep the router oriented the same way throughout for a consistent path of cut.
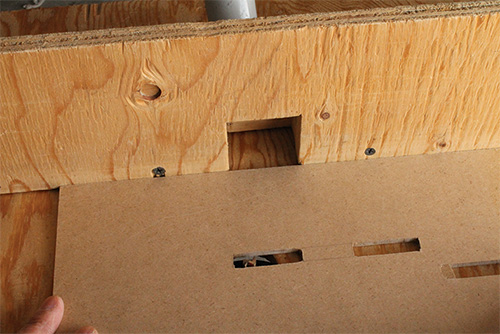
To cut the through mortises on the face of the leg, use the jig’s single slot (top slot in diagram). Align the jig’s top edge with the leg’s top edge so its fence butts against the leg’s edge.
To rout blind mortises into the top ends of the legs, use the jig’s dual slots that are closest to its fence. Center the template on the stock and register the fence against the leg’s outside face. You will cut the blind mortises on the stretcher later, after trimming to its final length.
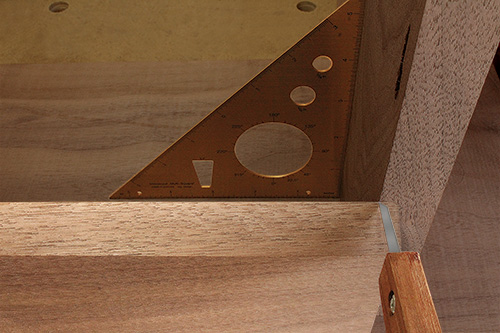
Squaring the Mortise Ends
You certainly can leave the routed mortises round on their ends and cut round-ended tenons to match them.
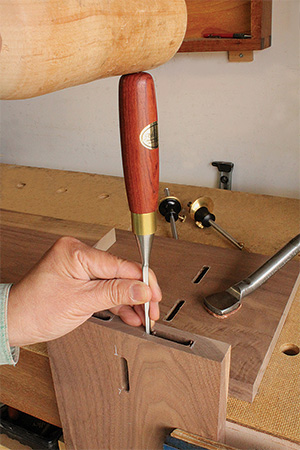
However, I prefer the hand-cut look of square mortises here. It is also much easier to cut square tenons.
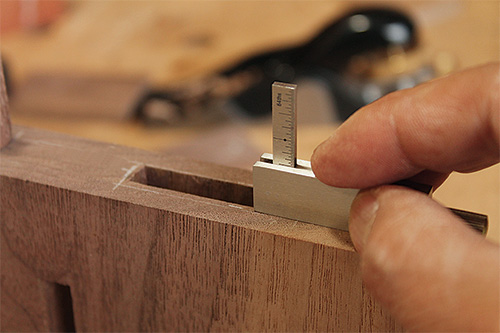
To square up the mortises, first scribe lines to lay out the square ends. Then chisel down on the scribed lines, checking to be sure the ends are flat and square.
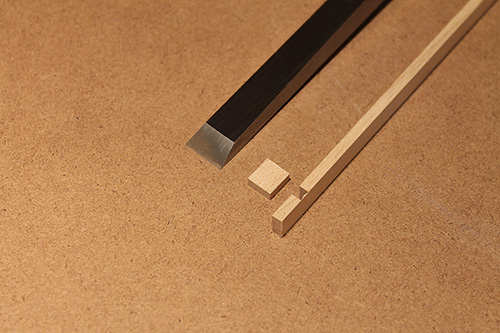
Milling the Loose Tenons
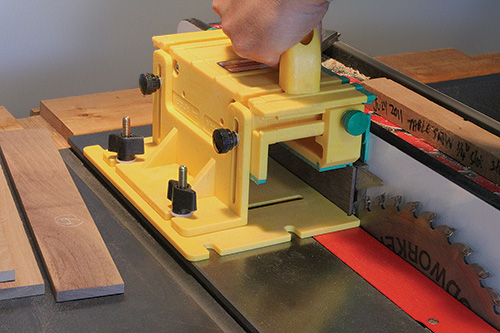
For strong joints, size the loose tenons to slip into the mortises without binding or wiggling. I milled the tenons to thickness and then to width, and I trimmed them 1/16″ short to allow for glue to escape — doing all this on the table saw with the help of some accessories, as seen in these photos.
Then, with the top dry-fitted to the legs, mark the stretcher’s final length.
Trim the stretcher to length and rout a blind mortise on each end using one of the two slots on the jig that you used previously to cut blind mortises on legs’ top ends.
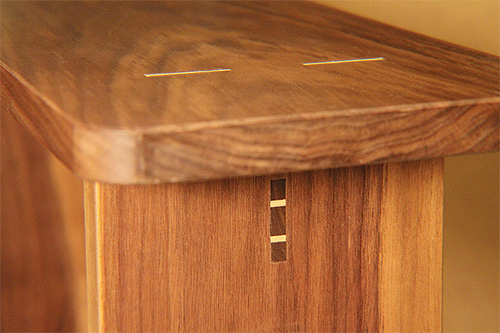
Forming Faux Wedged Tenons
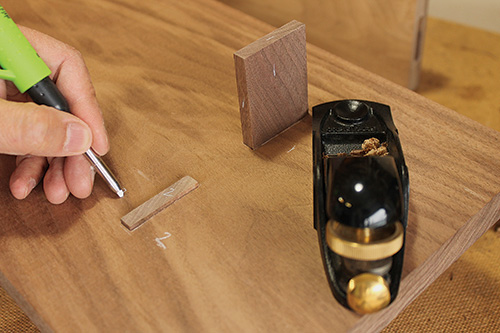
To create the decorative effect that implies wedged tenons, I cut grooves on the ends of the tenons and then inlaid a hardwood strip of contrasting color — I chose maple.
For the top’s mortises, I cut a groove along the end grain of the loose tenons. Alternately, for the mortises on the legs, I cut two short kerfs across the tenon thicknesses.

You’ll get the best control by using a rotary tool or small trim router to cut these grooves.
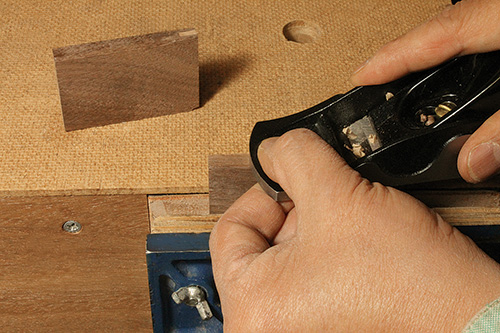
Carefully cut the inlay strips to fit into the grooves or kerfs, using safe table saw techniques for cutting thin or small pieces. Lastly, glue the inlay strips to the tenons, then plane or sand them flush.
Wrapping up with Feet, Finish
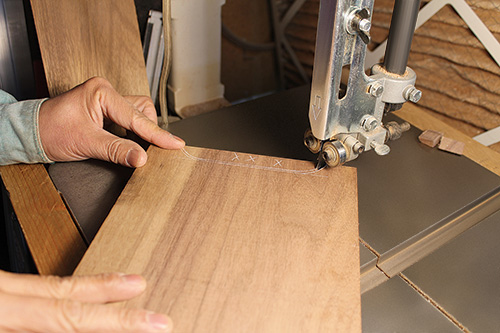
To create the shape you want for the bench’s “feet,” lay out the desired profiles on the workpieces. I draw two parallel cut lines about 1/16″ apart, then bandsaw between these lines (see photo 1).
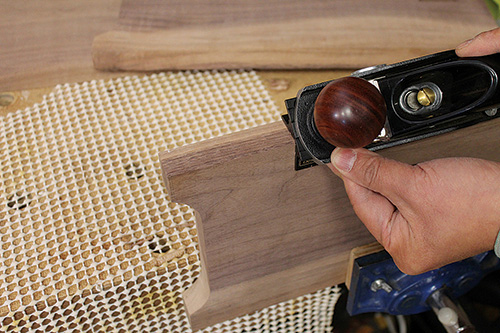
Sand to the remaining cutline to smooth these bottom contours. Finally, ease the edges of the parts with roundovers or chamfers, as you prefer.
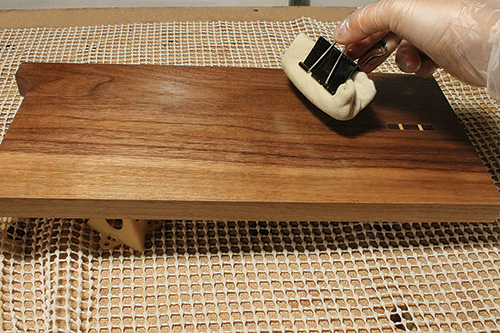
All that’s left is to finish-sand, glue up the assembly and then apply the finish of your choice. I typically choose to apply finish before the final glue-up, as I did here, sanding with 220-grit abrasive between coats.
After the finish cured on my bench parts, I assembled the stretcher and legs with loose tenons, then glued this subassembly to the bench top with its loose tenons.
Decorative loose tenon joints are easy, strong and versatile, and they add a distinctive touch of fine craftsmanship to this build. Give this technique a try, and I’ll bet you’ll find many other applications for its use.
Hard to Find Hardware
5/16″ D x 1″ H x 1/2″ Shank Freud #75-104 Carbide Up-Spiral Bit (1) #33326
1/2″ Dovetail Guide Bushing, 7/16″ O.D. x 11/32″ I.D. x 5/32″ L (1) #63065


