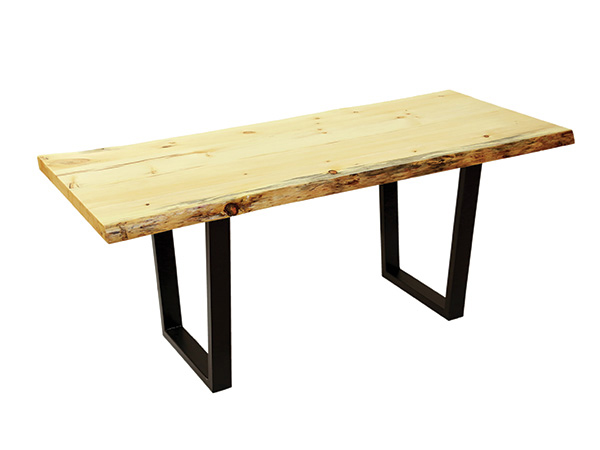
Modern-style live edge tables with metal legs like this one have exploded in popularity in recent years. If you’ve ever shopped for one, however, you know how very expensive they can be at a furniture store or gallery. And building one can be challenging if you don’t have access to slabs or the shop machinery to process them.
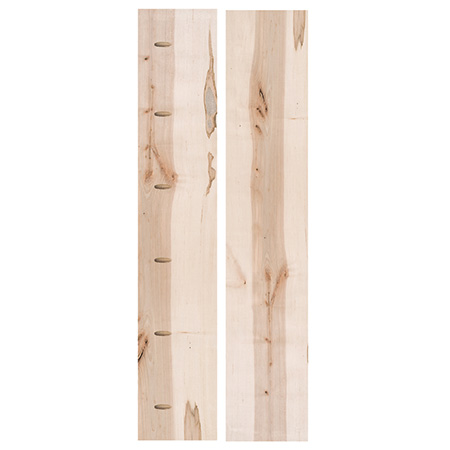
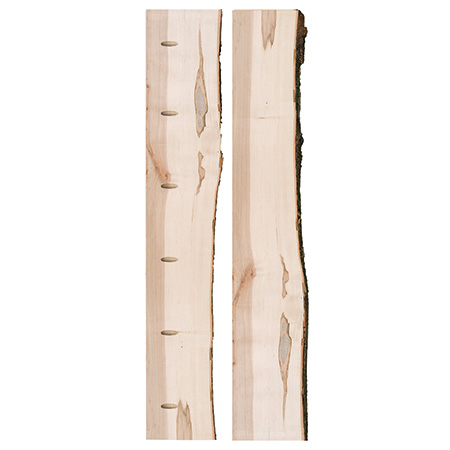
But take heart: there’s a simple solution for both the tabletop and legs. Timber-Link pine and maple slabs, available from Rockler, come in both live edge and straightedged pieces that are ready to assemble and finish right out of the package.
Pre-drilled pocket screw holes make the top as easy to build as applying glue and screwing the slab sections together. The number of pieces you buy determines the top’s width, and you can cut it to any length you prefer.
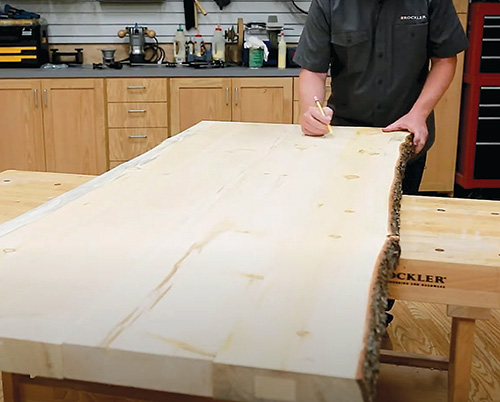
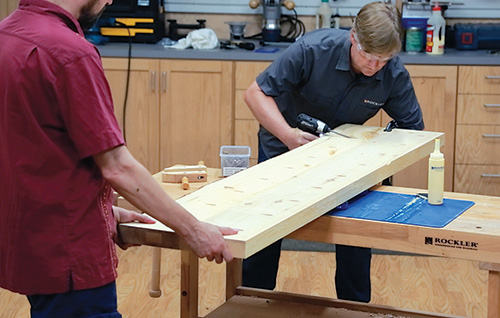
Arrange the 2″-thick live edge and center sections for a pleasing grain pattern — there will be some variation, especially if you order online and can’t handpick the pieces.
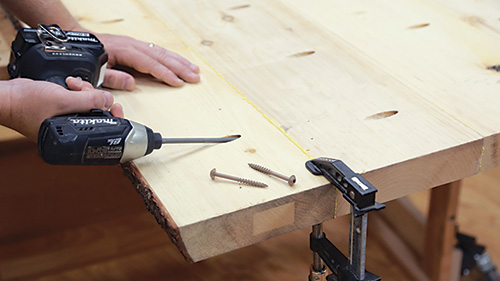
Mark the boards order, then spread glue on their mating edges and assemble with 2-1/2″ pocket screws. When the joints dry, remove the edge bark with a scraper, drawknife or chisel and sand the surfaces up to 180-grit.
Then apply your choice of finish. I used wipe-on urethane for my table.
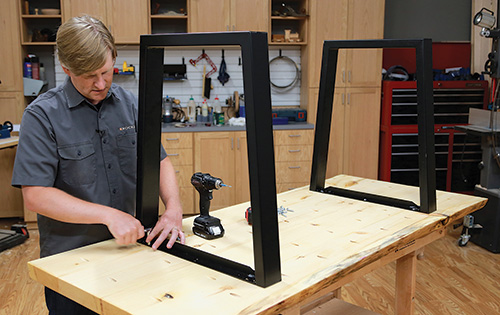
Rockler offers several styles and sizes of painted or unpainted welded-steel leg sets that simply fasten to your new tabletop with lag screws. Then voilà, you’re done. There’s no faster way to build a custom on-trend table than this!
Hard-to-Find Hardware:
Pine Timber-Link Slab, Edge Piece, 6′ Long x 2″ Thick x 5-8″ Wide (2) #63608
Pine Timber-Link Slab, Center Piece, 6′ Long x 2″ Thick x 8″ Wide (2) #64197
28″ H V-Shaped Welded Steel Table Leg Set, Black (1) #66014


