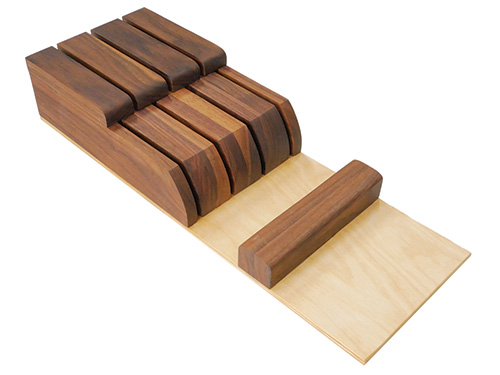
The best way to store kitchen knives is in a knife block. It will keep them organized and protect the blades from both getting damaged and perhaps even injuring you! While countertop knife blocks often serve as decorative accents in a kitchen, not everyone wants their cutlery on display. Or maybe you just don’t have room for another object on the countertop. A knife block that fits inside a drawer is a great space-saving alternative.
The two-level design I’ve come up with here is relatively easy to build and offers a wide range of customization options. The dividers are made from a combination of 1/2″- and 3/4″-thick solid walnut and mounted on a 1/4″-thick Baltic birch plywood base. But you can choose just about any species of wood, mix and match multiple species or even use Baltic birch plywood for all the parts, if you like.
Cutting the Parts
Look at the the Drawings and Material List to familiarize yourself with the knife block’s design and pieces. Start construction by ripping enough 2-1/4″-wide stock to make the bottom inside and outside dividers.
Then rip 1-3/8″-wide pieces for the top dividers and handle rest. Crosscut the bottom dividers, top dividers and handle rest parts 1/4″ longer than necessary for now.
Shaping the Dividers and Rest

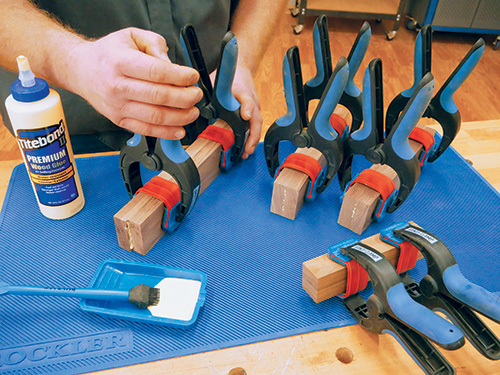
Face-glue three pairs of bottom inside dividers together, and do the same for the two handle rest parts. Carefully align their edges and ends flush. When the glue dries, unclamp and crosscut the parts to final length.
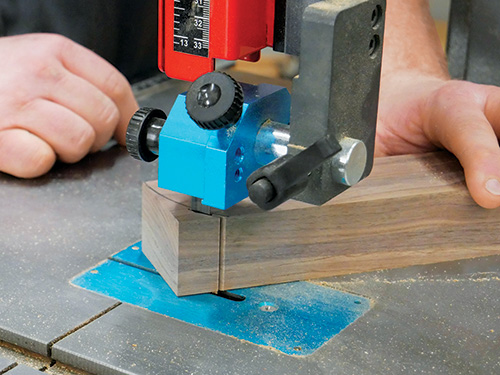
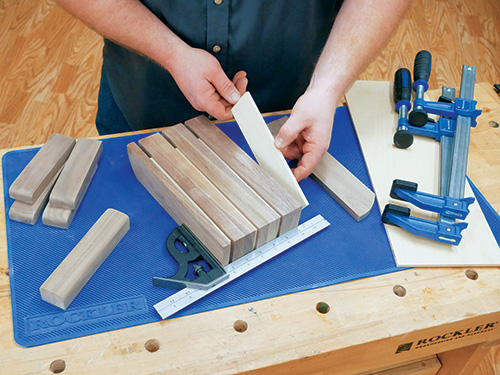
Now grab your compass to lay out a 1-5/16″ radius on the sides of the top dividers and a 3-3/4″ radius on the sides of the bottom dividers. Then, use a band saw or jigsaw to cut just outside the layout line on each divider.

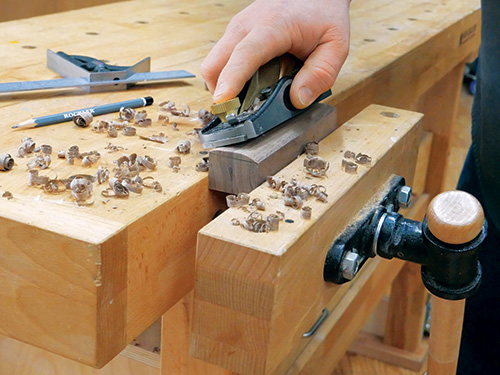
I clamped the top dividers into a single group and did the same for the bottom dividers so I could sand their curves to the layout lines all at once. Next, use a hand plane, file or sanding block to shape a slight radius on the top of the handle rest. When that’s done, sand all the knife block parts to 180-grit.
Assembling the Knife Block
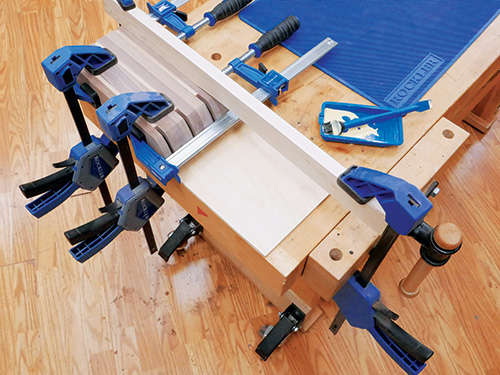
Cut the plywood base to size as well as seven spacers for the top and bottom dividers from 1/4″-thick scrap. Place the bottom dividers upside down and insert spacers between them, aligning the back ends of all pieces. The spacers are narrower than the dividers to prevent them from contacting the base when the dividers are installed.
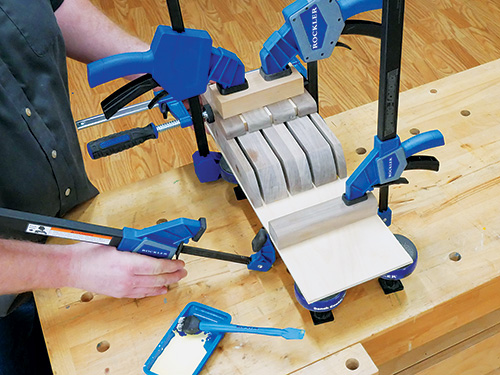
Clamp the dividers and spacers together. Apply a thin layer of glue to the bottom edges of the dividers only. Then flip the divider-and-spacer assembly over and clamp it to the base.
When that glue-up dries, remove the clamps and spacers. Repeat the assembly process to install the top dividers. Glue and mount the handle rest to the base where it best suits the handles of your knives.
Finally, lightly sand all surfaces with 220-grit paper and apply a wipe-on poly finish to all surfaces. It will be foodsafe once the finish completely cures.


