
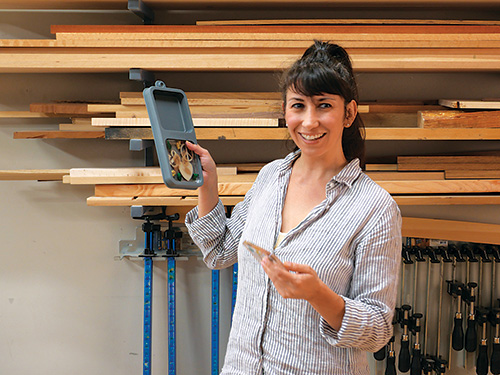
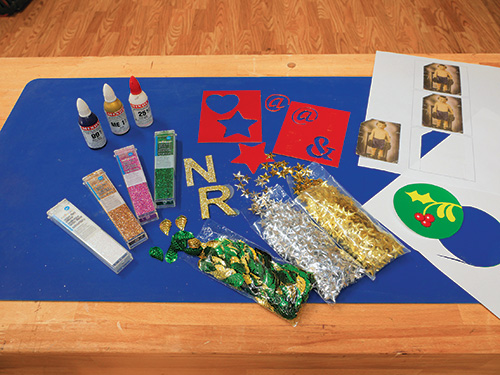
Handmade gifts never go out of style, and they’re a fun way to explore your own creativity. Lately I’ve been excited to make some epoxy coasters using Rockler’s cool new silicone coaster molds. These coasters are not hard to make, do not require special tools and present so many opportunities for customization!
Some of my favorites were a photo of my grandpa and “woodworkers’ coasters” using screws and washers … plus, of course, various holiday themes.
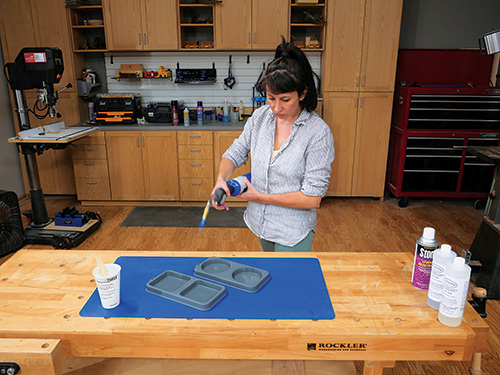
Prepping for Pouring
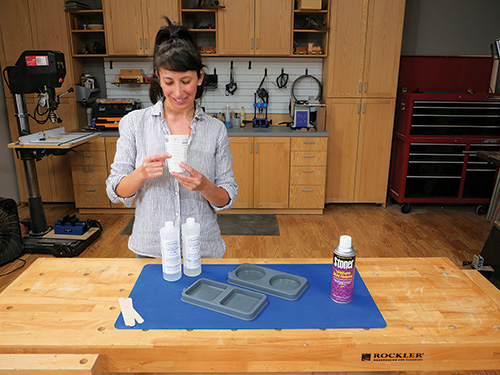
Make sure your work area is set up for measuring, mixing and pouring epoxy that will stick to nearly everything, such as your workbench and clothing. I recommend using a silicone mat or plastic sheeting to protect work surfaces. And if you’re working in a kitchen or small workspace, covering the floor with plastic sheeting or a painting drop cloth is also a good idea. Drop cloths from a big box store are cheap, and you can reuse them. They’ll protect against spills and make cleanup easy.
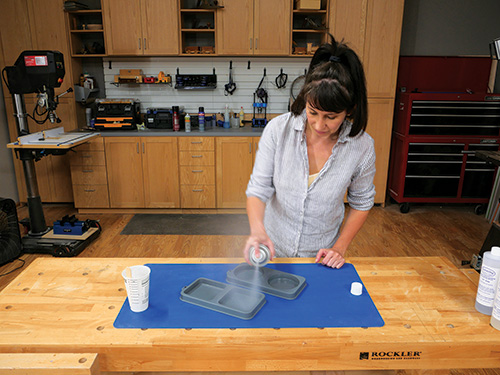
When using these gray silicone molds, mold release is not required, but I highly recommend it for prolonging the life of your mold. Mold release is a spray that allows cured epoxy castings to pop out of the mold more easily.
Open Time and Mixing
Epoxies have different cure times. The epoxy I’m using here cures in about 30 to 40 minutes at 70°F. Larger pours and warmer room temperatures will shorten your working time.
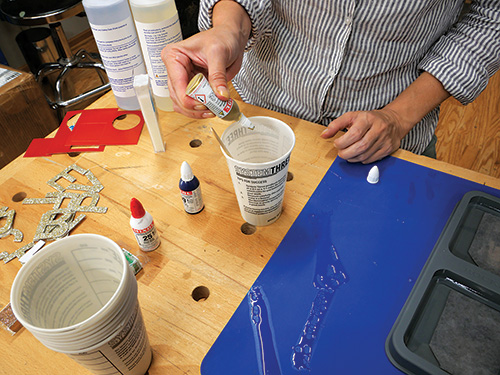
This epoxy’s mix ratio is 1:1 by volume. Using a graduated mixing container, measure out equal parts. If the ratio is off even a little bit, you could end up with tacky, uncured surfaces.
Make sure to mix thoroughly; keep the stir stick in contact with the bottom of the cup to reduce air bubbles in your resin. Mix for approximately 3 to 5 minutes. Make sure to scrape the sides and bottom of the mixing cup, and continue to stir until no swirls are visible. Once the fluid is clear, mix it for an additional two minutes. Because of the differences in viscosity between the two parts, mixing does take some time.
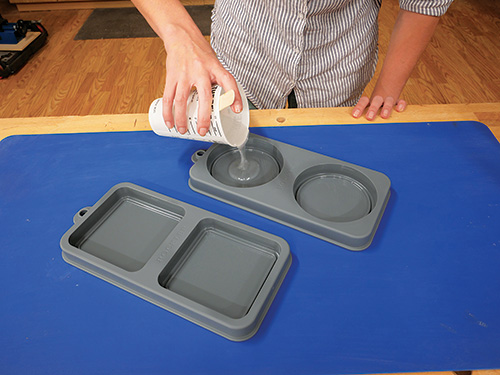
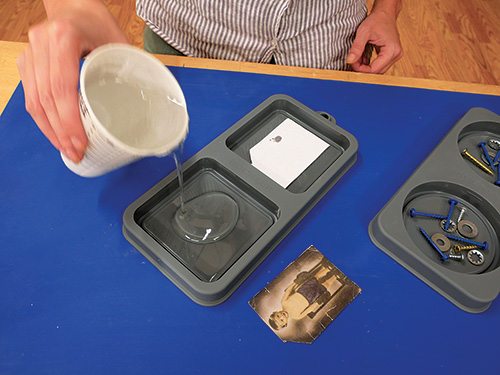
Pouring, Layering and Embedding
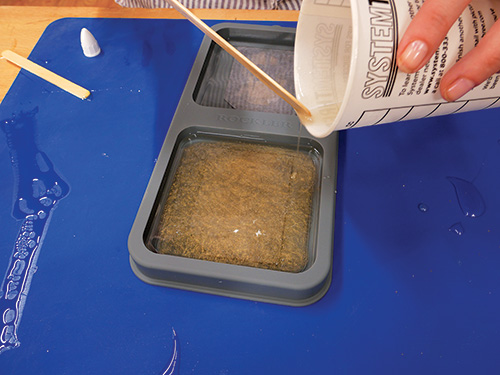
At this point you could introduce a pigment or mica powder to the resin. When you’re ready to pour, do it down the side of the mold to avoid making air bubbles.
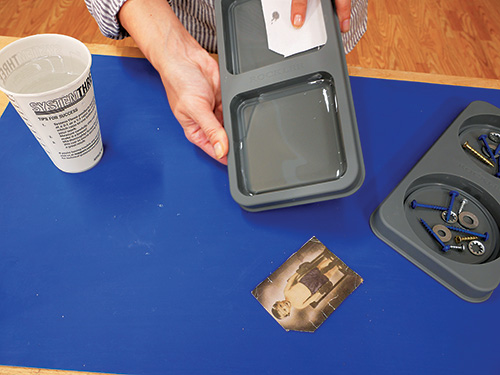
Allow the resin to cure for 18 to 24 hours. Heat and mass will dictate the amount of cure time required; the more mass, the faster it will cure. And the warmer the room temperature the faster the cure. Thin areas take longer to cure.
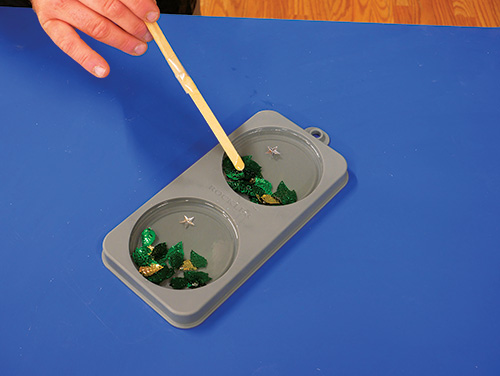

I found that to create interesting layers, a good technique is to pour just enough epoxy to fill in the lip of the coaster. After the first layer cures, it’s a perfect time to add objects and pour another layer. This layer could be of a different color.
If bubbles form in the uncured resin, wait about 10 minutes, then lightly heat the surface with a torch and watch them disappear — it works like magic!
Cleaning Up Liquid Resin
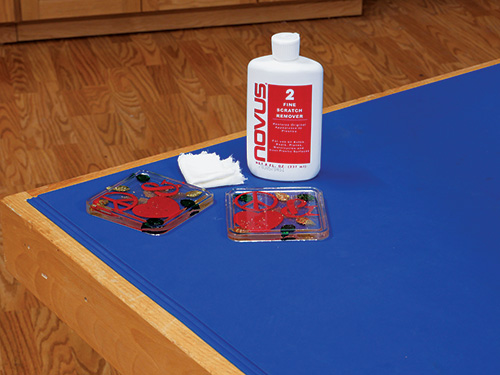
To clean up drips or spills on hard surfaces, use rubbing alcohol (even hand sanitizer works) on a clean rag, wiping up the epoxy immediately. Once cured, epoxy resin is nearly impossible to remove, but it sure makes a great coaster!
Here’s wishing you a creative and happy holiday season!


