Live-edge slabs have been trendy solutions for bar tops, mantels, tabletops, shelving and all sorts of cutting boards for many years now. If you can imagine a project where the rugged good looks of a piece of wood in its most natural form might be appealing, don’t be afraid to turn that notion into reality for all sorts of home decor!
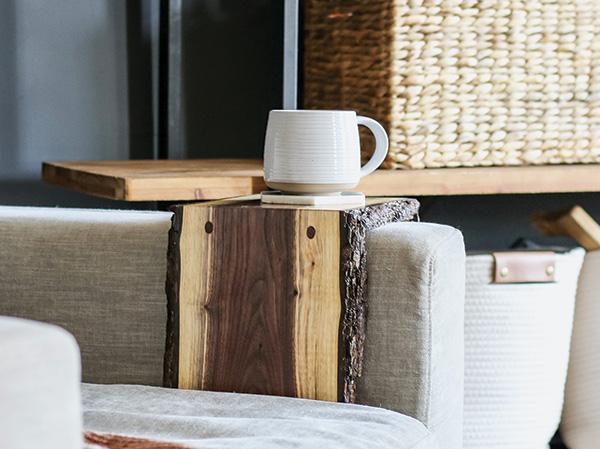
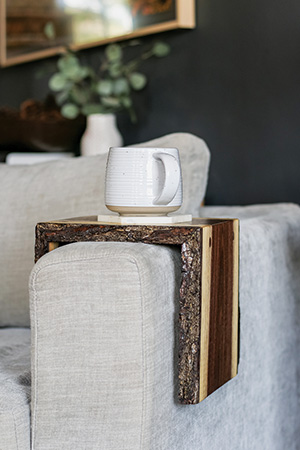
That’s exactly what we’ve done here with this sofa armrest table. It started out as a roughly 10″-wide x 30″-long slab of 3/4″-thick walnut. You can find similar slabs at Rockler stores or many hardwood lumber vendors these days. The dark brown heartwood, separated by stripes of walnut’s cream-colored sapwood, can’t help but call attention to itself! And wrapping the slab around the armrest of a sofa not only makes it a conversation piece but also a super handy place to park a coffee cup, your smart device, a bowl of snacks or the game controller you’re using at the moment.
You won’t need a lot of power tools to build this project. It requires the use of a table saw or track saw to make various cuts, Rockler’s Corner Key Doweling Jig to reinforce the miter joints, a drill/driver and a random orbit sander. A tape measure, combination square, several F-style bar clamps and a means of cutting the dowels flush (we used an oscillating multitool, but a flush-cut saw will work fine, too) are about all you’ll need for hand tools.
Cutting the Miter Joints
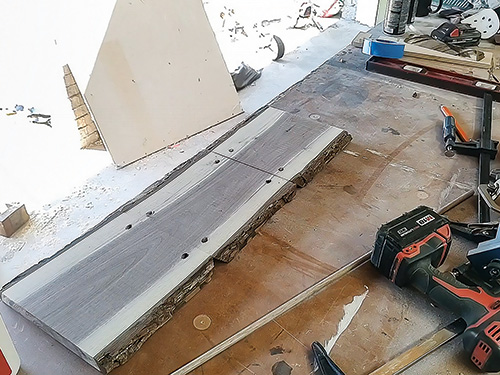
The sofa shown here has armrests that are about 6-1/2″ wide. So, after crosscutting the ends of the slab square, we found its center point and drew a layout line across it. Then we drew a pair of parallel layout lines across the slab that each were 4-3/4″ away from the center line. Those established the top corners of the table’s top panel; if you draw a 45-degree line back from these layout lines on what would be the edge of the slab, the “bottom” length of this top panel is 8″ — an easy fit over many sofa arms. But be sure to measure the armrest width of your sofa and adjust the length of the top panel accordingly, if needed.
It’s imperative that the slab be held securely when cutting the top panel free of the two side panels, and this becomes trickier if your slab has very irregular edges. One way to do it is by setting the slab on a crosscut sled, aligning the edge of the sled with each of the cutting lines on the slab and miter-cutting them at 45 degrees with the slab clamped to the sled. You could also tip a track saw to 45 degrees and align the edge of the track to follow each cutting line, then cut the top panel free from the rest of the slab that way. A miter saw could be another option, but it will only work safely if both edges of the slab are flat and parallel so you can set them against the saw fence for cutting.
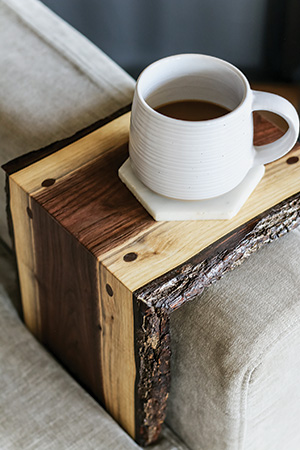
You now need to miter-cut the edges of the two side panels that were abutting the top panel to 45 degrees. Line these cuts up carefully so all you are doing is trimming off the mitered waste but not shortening the side panels in the process. That way, when the table is assembled, the slab’s grain pattern will wrap around the armrest in a continuous “waterfall” style.
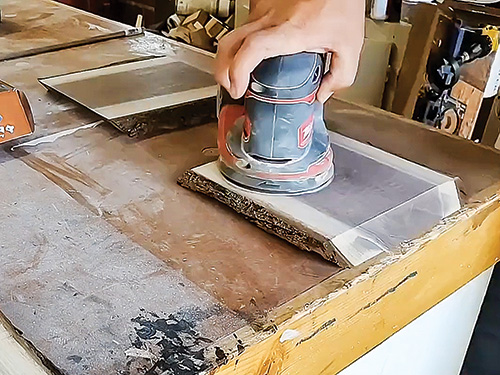
With the miter cuts behind you, set the top and side panels together to check that the miter joints form 90-degree corners. Now is also a good time to verify that the length of the side panels will allow the table to sit flat on the top of the armrest without being obstructed by the seat cushions. Shorten the bottoms of the side panels if they are too long for your sofa. Then give the faces of the three panels a finish-sanding up to 180-grit or higher.
Assembling the Table
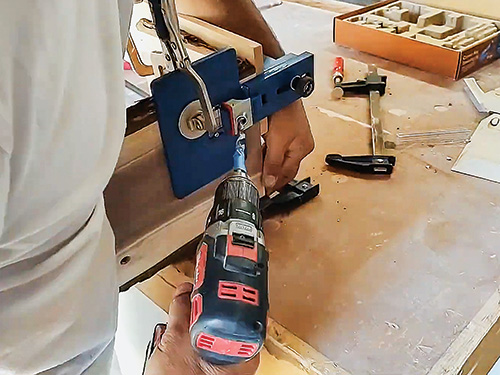
Rockler’s Corner Key Doweling Jig enables you to drive dowels in three different diameters diagonally across miter joints. It reinforces them with a mechanical connection that makes the joints significantly stronger. The dowel ends show through the faces of the joints as ovals, which adds a decorative detail. We followed Rockler’s instructions to set our jig up for drilling 3/8″-diameter dowel holes here. The jig enables you to adjust the position of the dowels within the joint, and we located them to be centered on the joint thickness.
Both members of a mitered corner are clamped together inside the jig, so you can drill each dowel hole completely through the joint in a single pass. We positioned the dowels for our table about 1-3/16″ in from the front and back edges of the joints, but you could locate them anywhere you like. Same goes for how many dowels you choose to insert in the joints. We think two look good for this project because the walnut dowels we usedcontrast nicely with the light-colored sapwood. But you can use as many dowels as you like.
When you drill the holes, don’t try to drill all the way through at once. Drill partway, back the bit out to clear the accumulating chips and then drill some more, letting the drill and bit do the work. Ease up on your hand pressure on the drill when the tip of the bit begins to poke through the other side, to avoid punching it through the joint face and potentially tearing out the surface. The cleaner the exit holes are, the better the dowel details will look!
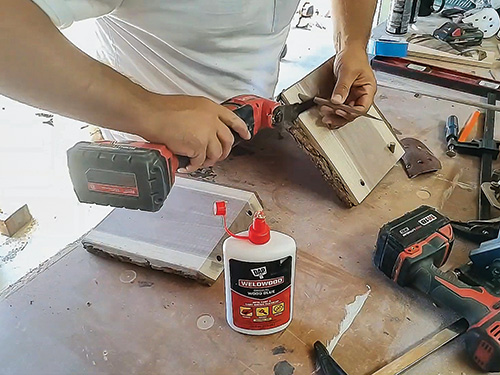
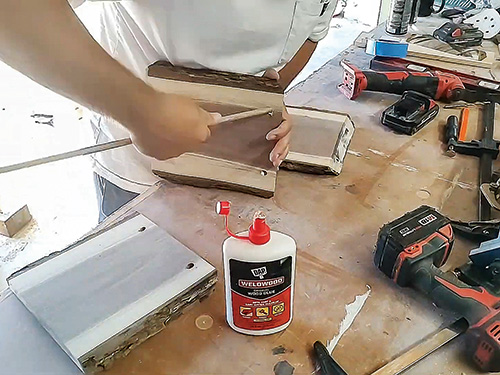
It’s time to round up several bar clamps so you can assemble your table! Since the dowels will hold the joints together, that’s a pretty easy process to do. We spread glue along the mitered edges of one joint, set the top panel and side panel together and inserted a length of dowel into one of the glued dowel holes.
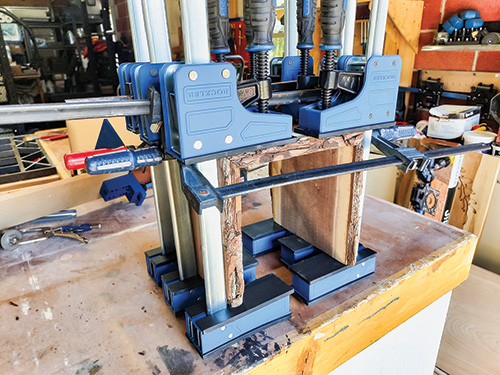
Leave the dowels overly long for now so you can continue to install dowels in the remaining hole or holes of the first joint, then repeat the process for the second joint. Install clamps on the table to pull the joints closed, and wipe off any glue squeeze-out before it begins to cure. Allow the joints to dry for at least eight hours.
Finishing Up
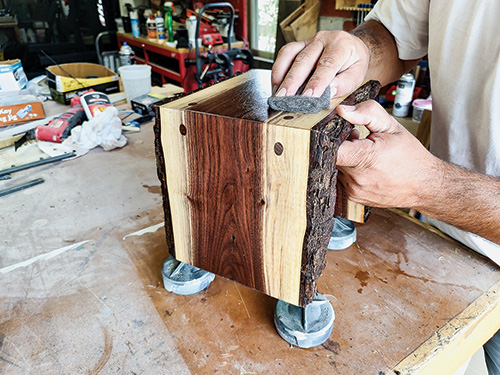
When the clamps come off, trim the ends of the dowels flush with the faces of the panels. Then give the dowel areas another round of careful sanding to smooth them until you can’t detect their ends by feel from the surrounding wood.
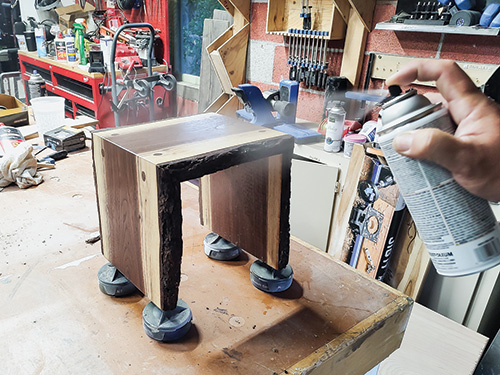
Walnut with sapwood like this is too pretty to cover with stain, so we decided to keep the wood’s color as natural as possible. You can enhance the color and grain pattern, however, by wiping on a liberal coat of boiled linseed oil. Wipe off the excess completely, and give the oil at least a full 24 hours to dry. Then topcoat with oil-based polyurethane in a sheen you prefer — we used satin. The poly will give this project a durable, waterproof surface. Rub out any imperfections, and apply a second coat. When that dries, it’s ready for use on your sofa!
Click Here to Download the Drawing and Materials List.
See more woodworking projects at makingmanzanita.com.


