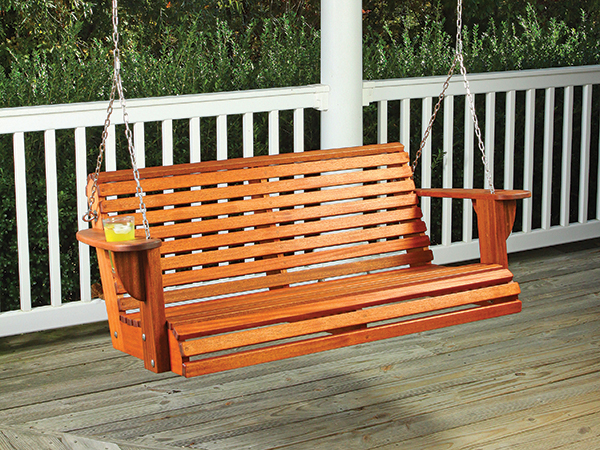
Our home’s wraparound front porch offers a shady spot on the hottest summer days. It’s a perfect location for a contemporary porch swing like this. If you don’t have a porch, a sturdy horizontal tree limb could offer another hanging option, or you could build a freestanding framework or arbor to install the swing practically anywhere in your yard or garden. I made my swing out of 4/4 African mahogany; it’s a good weather- and insect resistant wood. But cedar, cypress, white oak or redwood would be other good choices, too. If you’ve ever built an Adirondack chair or a simple picnic table, you’ve got the skills you need to make one of these swings for your special outdoor getaway.
Making the Seat Framework
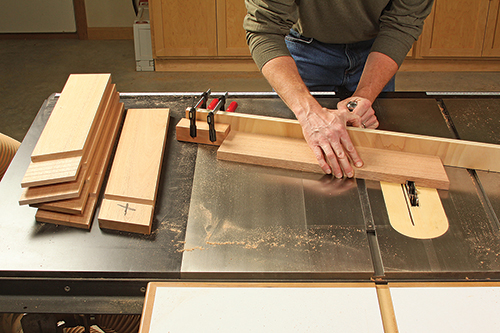
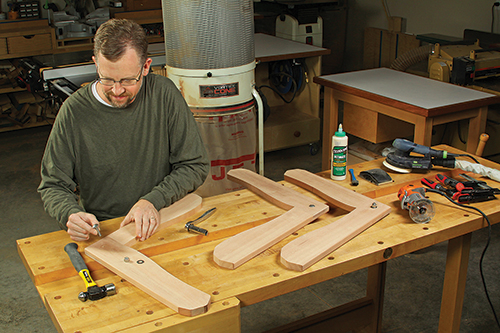
Start by preparing blanks for the three seat supports and seat backs. Cut them to the rough sizes specified in the Material List. The seat supports and backs are connected by an angled half-lap joint at their back corners. It’s easiest to make these lap joints before shaping the parts further. Start by angle-cutting one end of the workpieces to 15˚, either at a miter saw or at a table saw using a miter gauge.
Mark the seat supports and backs for the lapped areas to be removed — it’s the back 4 1⁄4″ of the seat supports and the bottom 3-3⁄4″ of the seat backs, measured along their edges. Install a wide dado blade in your table saw, and raise it to 3/8″. Test the blade height on two 3/4″-thick scraps with a few cuts to make sure the workpiece faces will be flush with one another when the lap joints are assembled. Then cut the lap joints on the swing parts with the workpieces backed up against a miter gauge swiveled to 15˚.
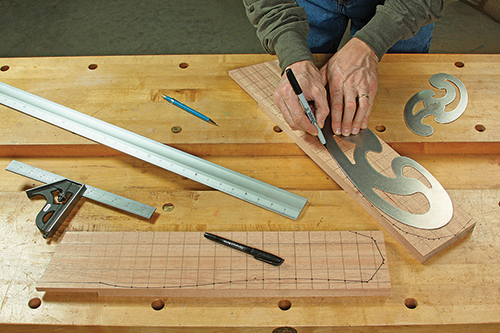
Once all of the lap joints are cut and test-fitted, follow the gridded Drawings on page 35 to plot points and lay out one seat support and one seat back on two workpiece blanks. Use a large French curve or a flexible wood batten to connect the dots with smooth curves to form the two contoured shapes.
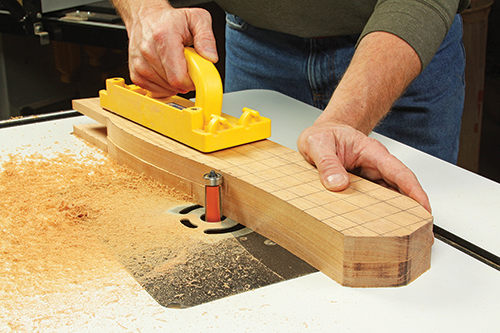
Cut out the seat support and seat back at a band saw or with a jigsaw. Refine the edges as needed at a disc sander and either a spindle sander or sanding drums on a drill press. Now use the shaped workpieces as templates to draw the remaining two sets of seat supports and backs on your other four workpieces. Cut these to shape just outside of your layout lines, then template-rout the second and third sets to final shape using the first pieces as the masters. I stuck the parts together with double-sided carpet tape and used a piloted flush-trim bit at the router table for this task.
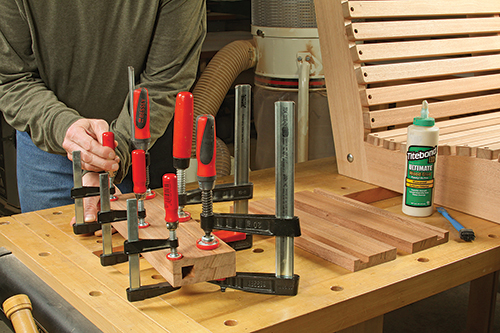
Assemble the parts into three seat frames with glue and clamps. When the lap joints dry, sand the frames smooth. I also eased the bottom and back edges of the frames with a 1/8″ roundover bit in a handheld router. Reinforce the joints with a single 1-1⁄2″ carriage bolt, washer and locknut, centering the hardware on the joints.
Next, rip and crosscut 22 seat slats to width and length. Choose the best face of each slat as the “show” face, and sand these faces smooth. Ease their edges with a 1/8″ roundover bit at the router table to help prevent splinters. Touch up the roundovers by hand-sanding to remove any burn marks left from the router bit, and round over the corners of the seat slats if you wish.
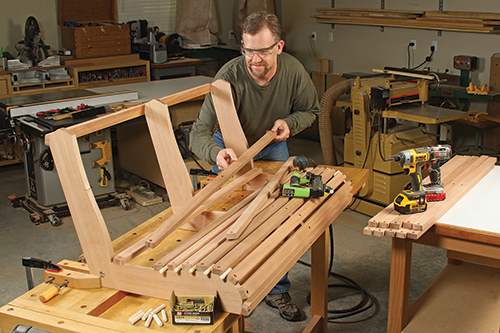
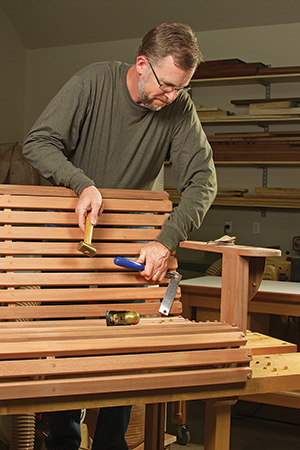
Let’s get the swing frame assembled! Fasten the front-most and rear-most seat slats to the three seat frames with a single counterbored, 2″ deck screw at each seat frame (you’ll plug the counterbores to hide the screw heads later). Add the rear slat to the back top end of the seat backs, too. These three slats will hold the seat frames upright. Now lay out the positions of the other seat slats so they’re evenly spaced, and attach them to the seat frames with counterbored screws. (I found that, for most of the slats, 1/2″-diameter dowel pins worked ideally as spacers.) Once all the seat slats are in place, repeat the process to attach the seatback slats.
Adding Vertical Supports
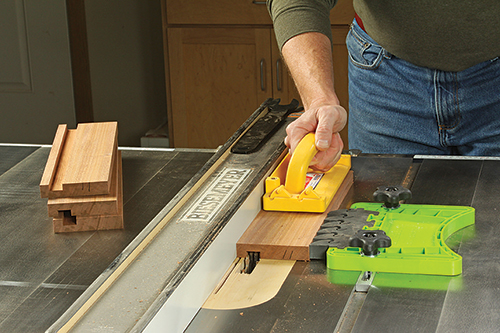
Study the Drawings, and you’ll see that the porch swing’s arms rest on vertical supports in front. These are glued-up laminations of two 3/4″ workpieces. Inside the supports, a groove runs from top to bottom, forming a channel to both hide the front chain and to provide an attachment point for it at the bottom front carriage bolt. To make these vertical supports, first rip and crosscut the four laminations to size. Then mill a 3/8″-deep groove into one face of each lamination, 1/2″ in from an edge, using either a 3/4″-diameter straight bit at the router table or with a 3/4″-wide dado blade at the table saw. Glue pairs of laminations together with their grooves aligned to create the two supports.
The vertical supports are located 3″ back from the front ends of the seat supports. Mark their locations on the swing frame. Then lay out the vertical supports with holes for a pair of carriage bolts that will attach each of them to the swing (the Seat Support Pattern locates these positions). Make sure the front carriage bolt is centered on the inside channel of each support. Drill 5/16″-diameter holes through the supports at your drill press to ensure that these holes are straight and true.

Now set the supports in place on the swing frame and mark their inside edges where the tops of the seat slats cross them. Ease the outer long edges of the supports and the inner edges above the seat slats with a 1/4″ roundover bit in a handheld router or at the router table. Sand the faces and roundovers smooth. You still need to extend the carriage bolt holes on the vertical supports through the seat frame. Once that’s done, install the supports on the swing frame with bolt hardware.
Completing the Arm Assemblies
With the vertical supports in place, you can add the arms. Start by preparing two blanks for the arms from 3/4″ stock. Use the gridded Arm Pattern to plot and draw the shape of one of the arms onto an arm blank, just as you did for the seat frame parts. Cut out the arm and sand the long curved edge to fair it. Use the first arm as a pattern to draw the second arm’s profile, then as master to template-rout it to shape after you’ve cut it out for a perfect match.
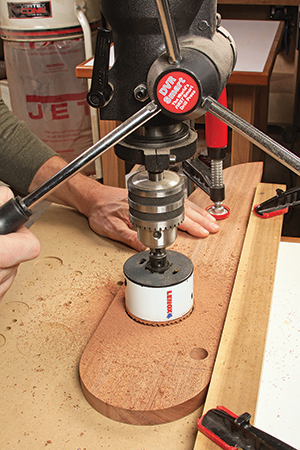
Next, mark the position of the 3/4″-diameter hole in each arm that will allow the front chain to pass up and through from the vertical support channels underneath. Drill these holes with a Forstner bit. There’s also a 3″-diameter cup hole to make in both arms. I happened to have a 3″ hole saw, so I bored these big holes at the drill press, but a jigsaw, scroll saw or fly cutter would also do the job of cutting these holes out.
Ease the top and bottom edges of both arms with a router and 1/4″ roundover, but leave the portion of the bottom edge square where the arms meet the vertical supports. Switch to a 1/8″ roundover bit and ease the inside top edges of the chain and cup holes, too. Give the arms a good final sanding to remove any burn marks or rough edges left from routing.
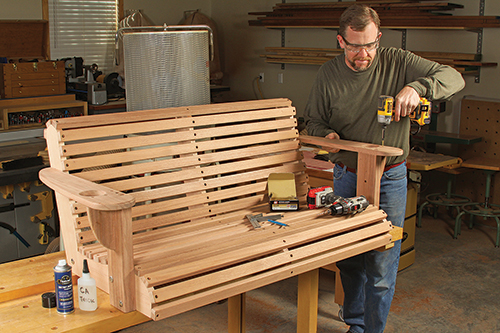
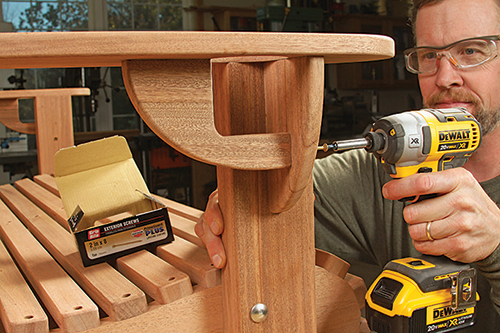
With the arms now completed, you can fasten them to the vertical supports and seat backs with pairs of 2″ counterbored deck screws at each joint. Make sure the inside edges of the arms are flush with the inside faces of the supports and that the arms are parallel, front to back, with the bottom edge of the swing. Also make sure that the chain holes in the arms line up with the vertical support channels.
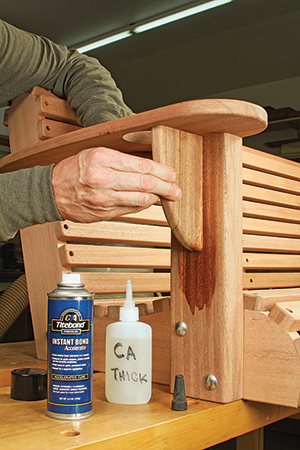
A small curved arm support fits up underneath each arm, centered on the width of the vertical supports. Cut these supports to size and shape, and round over their curved edges. Once they’re sanded smooth, drive 2″ screws down through the arms and one 3″ screw through the vertical supports to attach them.
The last pieces to cut to shape are the notched cup holders that fit behind the arm supports. Follow the gridded drawing to lay out one of these cup holders on a workpiece blank. Cut out the cup holder, and smooth its outer curve on a disc or drum sander. Use it as a template to match and make the second cup holder. Round over the outer curves of the cup holders, give them a good sanding, and install them on the swing with counterbored 2″ screws. They should be centered under the cup holes in the arms.
Finishing Up
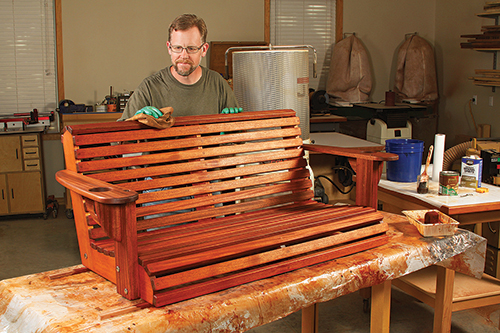
Give the finish at least a day or two to dry. Then mark and drill holes through the seat back for 3/8″ threaded eyebolts that provide the back attachment points for hanging chains. Install the eyebolts with a large metal washer on both sides of these connection points. The washers will prevent the bolts from twisting forward under load and marring the wood. Secure the eyebolts with lockwashers and nuts or nylon-insert locknuts.
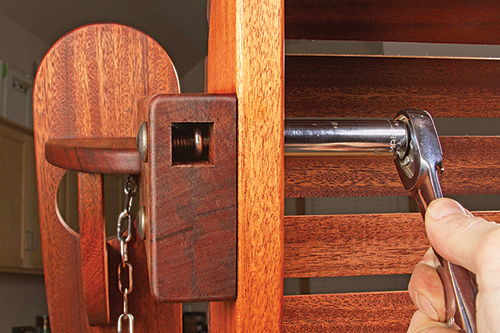
And with the woodworking now done, it’s time to hang your swing! I used stainless-steel straight link chain with 5/32″-thick links. It won’t rust, and each link provides a safe working load of 500 lbs. — plenty for two average size adults. You also could use a more economical twisted-link variety of “swingset” style chain. Just make sure it provides adequate working load. Cut two 33″ lengths of chain to pass up through the vertical supports and two more 20″ lengths to attach to the rear eyebolts. The bottom link of the front chains fits around the front carriage bolt inside the channel. Remove these carriage bolts, slip the chain down through the arm channels, and insert the bolts through the links. Reinstall the washers and nuts. Attach the back chains to the eyebolts with quick links. Then connect the front and back chains with a quick link to serve as single attachment points for the long chains that suspend the swing from your porch ceiling.

Hang your new swing from long 3/8″ eyebolts driven into sturdy ceiling framing on your porch. Space these eyebolts 46″ apart. Aim for the seat height to be about 21″ up from the porch floor. The chains you’ve installed already will pitch the front of the swing up slightly higher than the rear, which makes for a comfortable, slightly reclined seated posture. Two 5′ lengths of chain got my swing suspended at just the right height.
Remove any extra links with a hacksaw or bolt cutters, if you wish, to wrap this handsome project up. Now mix up a pitcher of lemonade, and take a load off to enjoy the fleeting days of summer!


